

 Portable Tire Inflators
 Electric Air Pumps
 Electric Car Tyre Pumps
 Electric Ball Pumps
 Electric Bike Pump
 SUP Air Pump

Portable Electric Bicycle Pump: A Practical Guide to Compact Inflation and Roadside Tire Maintenance
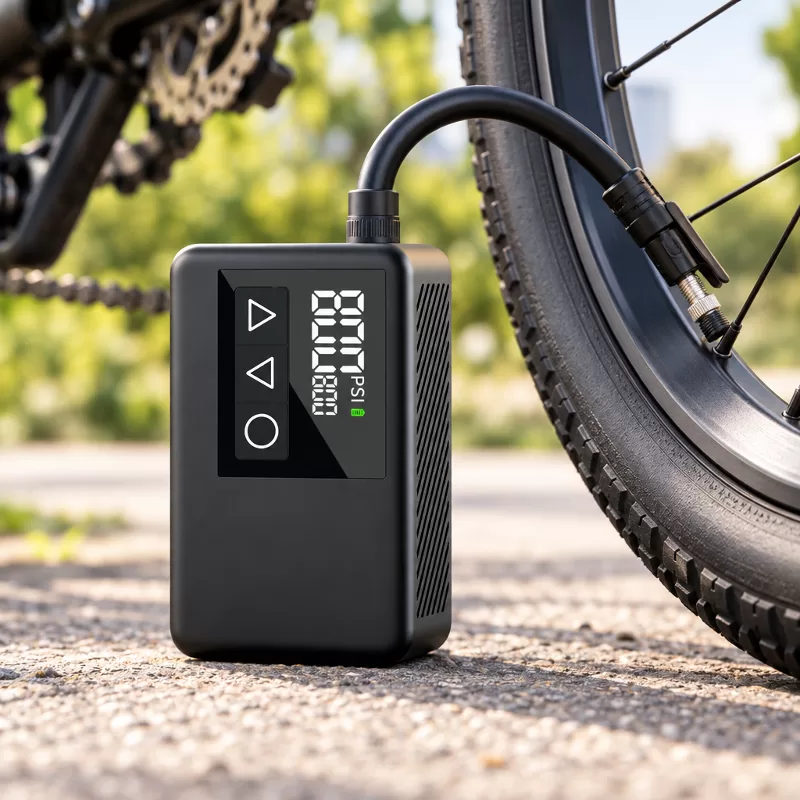
Finding yourself stranded on a gravel trail or shoulder with a soft tire quickly reveals the limits of manual hand pumps. Carrying a reliable portable electric bicycle pump transforms roadside flats from an exhausting workout into a controlled, automated routine. Modern micro-pneumatic engineering allows riders to carry pocket-sized inflators that seat valve stems, monitor pressure, and deliver air automatically without manual effort. Understanding these mechanical capabilities helps cyclists make informed decisions before leaving their garage on long training routes or daily urban commutes.
Selecting the right mini inflator requires understanding real-world pneumatic capabilities rather than focusing solely on peak marketing numbers. Operating pressures, battery watt-hours, volumetric flow rates, and thermal thresholds dictate how an inflator performs when you need it most. This guide examines how compact cordless compressors operate, how to interpret engineering specifications, and how to maintain proper tire pressure across diverse riding conditions, ensuring that your equipment remains dependable whenever tire maintenance is required.
Understanding the Portable Electric Bicycle Pump
How Compact Cordless Inflators Operate
Compact inflators typically use a small motor-driven compression system powered by an internal rechargeable battery cell. The system draws atmospheric air through dedicated intake vents and compresses it into a high-pressure line connected to the tire. The BL03 is specified as using a small brushless pump; its detailed internal mechanism is not stated in the supplied specification, but its architecture is engineered to provide steady air delivery up to a rated maximum ceiling. By replacing physical arm strokes with a compact motor, the device eliminates the physical exertion typically associated with emergency tire maintenance.
The BL03 includes automatic shut-off to help stop inflation at the selected setting, simplifying pressure management without continuous manual monitoring. The supplied specification does not describe the internal sensing method or control sequence. In practice, automated shut-off mechanisms provide a consistent way to target a chosen pressure without requiring the rider to estimate tire firmness by hand, reducing the risk of accidental overinflation when operating on roadside shoulders or dimly lit trailheads.
The Problem With Traditional Roadside Inflation
A mini hand pump can require substantial physical effort, especially when raising a road tire to riding pressure roadside. Misalignment or excessive lateral force can damage a valve stem with any pump, particularly when pushing forcefully against delicate lightweight bicycle valves. Riders frequently struggle to achieve adequate rolling pressure while balancing the pump against a loose wheel, often ending up with sore arms, bruised palms, and underinflated casings that remain vulnerable to immediate pinch flats.
Disposable CO2 cartridges inflate quickly, but they provide limited air volume and can affect tubeless sealant performance inside the casing. Riders should follow the sealant manufacturer’s guidance and replace CO2 with air when practical. In addition, single-use canisters lack dynamic pressure control and create metal waste after each roadside flat repair, leaving riders stranded if a second puncture occurs on the same ride without backup gas canisters.
An automated mini inflator delivers a steady volume of ambient air without introducing aggressive physical torque to the rim interface. Riders simply attach the connector, define the target pressure, and permit the motorized mechanism to complete the task steadily without physical exhaustion. This hands-off inflation cycle keeps the valve core stable and allows the cyclist to monitor bead seating calmly as air fills the casing.
Key Technical Factors When Choosing a Portable Electric Bicycle Pump
Maximum Pressure and Working Pressure Range
Pneumatic inflators are defined by their maximum pressure ceiling alongside their effective operating range across different tire formats. High-performance road tires often operate between 70 and 90 PSI, whereas high-volume gravel or commuter setups require lower values between 30 and 60 PSI. A pump’s ability to reach a target pressure depends on its pressure rating, airflow, tire volume, starting pressure, and operating limits, which dictate how the internal motor handles increasing air resistance.
Its specified 2–120 PSI range covers the pressure requirements of many bicycle tires and sports balls, although actual inflation performance depends on tire volume, starting pressure, and operating conditions. Riders must always follow the tire and rim manufacturers’ permitted limits during use rather than assuming any pump can safely fill a wheel to its highest rated figure. Adhering to these documented boundaries prevents structural damage to lightweight composite or hooked bead interfaces.
Airflow Rate and Inflation Time
Airflow measures the volumetric quantity of air displaced per minute, generally expressed in liters per minute (L/min). Miniature portable pumps balance physical packaging volume against airflow displacement, as a pocket-sized motor cannot house the massive stroke displacement found in stationary garage compressors. Understanding this trade-off allows cyclists to form realistic expectations about roadside fill times across various rim and casing widths.
The BL03 is listed at approximately 14 L/min airflow. That figure helps readers compare it with other inflators, but it does not by itself establish a particular inflation time or suitability for every tire size. Understanding this rating prevents unrealistic expectations: a micro-pump fills tires through continuous mechanical cycles rather than instantaneous high-volume bursts, making it well-suited for gradual pressure elevation rather than explosive tire seating.
Weight, Dimensions, and Carry Configuration
Weight distribution dictates whether an emergency tool accompanies every ride or gets left behind on a workbench. Traditional frame-mounted pumps interfere with water bottle cages and accumulate road grit during foul-weather riding. Saddle bag space remains at a premium, requiring inflator bodies to minimize volumetric bulk while retaining protective shell integrity against accidental drops and road vibration during rough gravel rides.
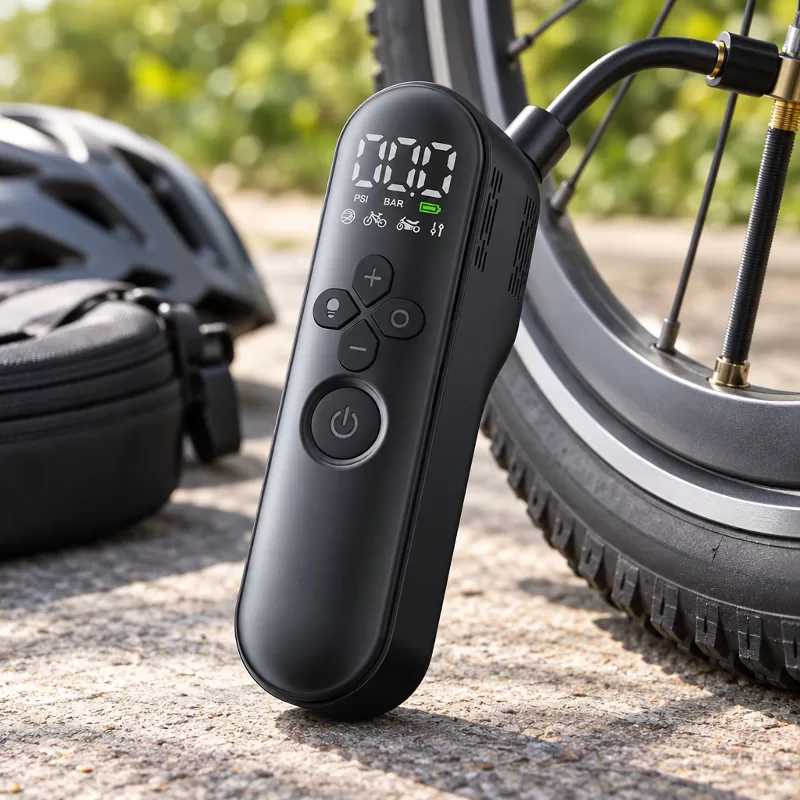
Its listed dimensions and 129 g net weight are intended for compact cycling carry, including jersey pockets, saddle bags, and commuting packs. With physical dimensions of 74 × 48 × 34 mm, the BL03 fits into compact top-tube packs or commuter panniers without creating awkward pack configurations. This compact format allows cyclists to transport motorized inflation without unnecessary bulk, making regular tire pressure management practical on everyday urban routes.
Battery Capacity, Power, and Recharging Standards
Cordless inflators rely on internal lithium-ion chemistry to drive high-draw electric motors under load. System power is measured in working wattage, while runtime reflects cell watt-hours under continuous mechanical resistance. The BL03 operates at roughly 40W working power, drawing from an internal 500mAh, 7.4V (3.7Wh) battery configuration. This electronic balance provides adequate energy to handle emergency inflation cycles while keeping cell mass low enough for lightweight jersey pocket transport.
The BL03 uses Type-C charging with a listed input of 5V/1.5A and a stated charging time of less than one hour under the manufacturer’s specified conditions. The specification lists approximately five minutes of runtime per charge cycle. Because roadside maintenance typically requires limited runtime, riders can complete targeted adjustments before the cell needs replenishment, providing a reliable power platform for routine commuting and weekend training rides.
Digital Pressure Monitoring and Automatic Shut-off
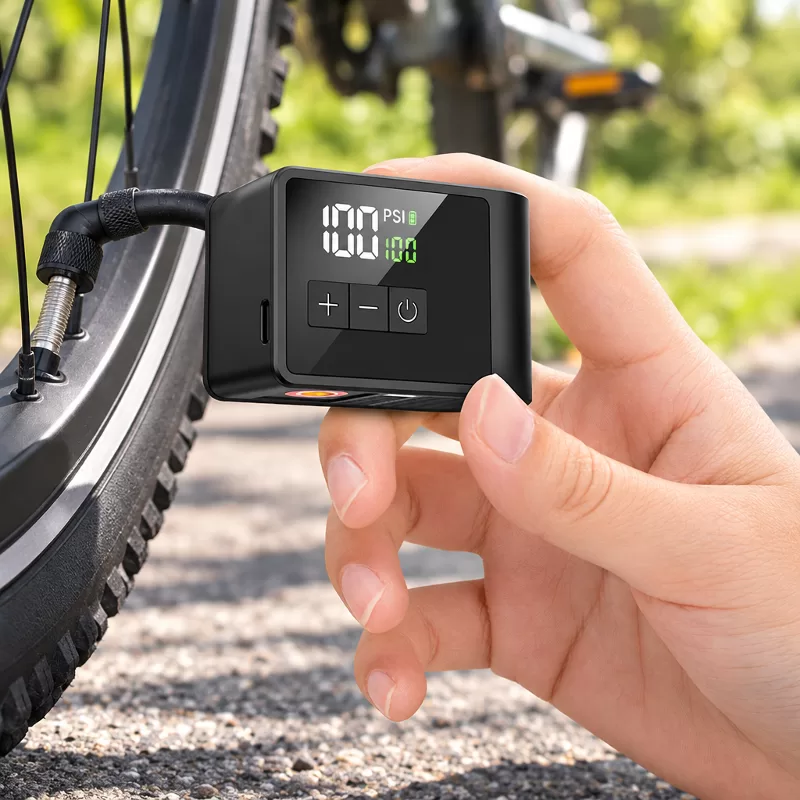
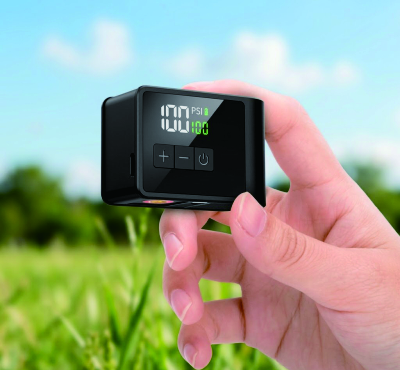
Manual pressure gauges on mini pumps are notoriously difficult to read in dim light or dusty roadside conditions. The BL03 has a dual LCD display and control interface for viewing inflation information. The supplied specification does not define every displayed metric, so riders should consult documentation for exact screen readouts, ensuring they understand unit selections and operational status indicators before setting out on distant routes.
Automatic shut-off can simplify pressure control at the selected setting, stopping air delivery once target resistance is met. It is not a substitute for checking the tire and rim limits or monitoring the connection during inflation. Operators should always verify tire seating visually to maintain safe inflation standards, ensuring that casing beads sit uniformly within rim hooks throughout the entire pressurized profile.
Technical Specifications: BL03 Mini Tire Inflator
Published Product Specifications Table
Evaluating equipment performance requires clear visibility into factory parameters. The technical attributes of the BL03 mini tire inflator illustrate the engineering balance achieved in micro-pneumatic cycling accessories:
| Technical Parameter | Manufacturer Specification |
|---|---|
| Model Identifier | BL03 |
| Product Classification | Mini Bike Tire Inflator |
| Maximum Pressure | 120 PSI |
| Operational Pressure Range | 2 to 120 PSI |
| Volumetric Airflow | Approximately 14 L/min |
| Motor Architecture | Small brushless pump |
| Battery Configuration | 500mAh, 7.4V, 3.7Wh |
| Battery Cycle Longevity | 100 cycles, 80% original capacity or above |
| Rated Working Power | Approximately 40W |
| Charging Input & Interface | Type-C, 5V / 1.5A |
| Full Charge Duration | Less than 1 hour |
| Continuous Operational Runtime | Approximately 5 minutes |
| Operational Temperature Span | 0°C to 45°C |
| Acoustic Output | 85 dB or below at 1.5 meters |
| Exterior Dimensions | 74 × 48 × 34 mm |
| Net Unit Weight | 129 g |
Realistic Scope and Intended Applications
The supplied description identifies bicycles and sports balls as the primary applications. It does not provide tested inflation times for each bicycle tire size or sports-ball type. Keeping the device within its stated applications and operating conditions may help avoid use beyond the product’s intended scope, preventing thermal strain on internal mechanical elements during active inflation cycles.
The BL03 is specified for bicycles and sports balls, not passenger-car tires. Its approximately five-minute runtime and 14 L/min airflow are not presented by the manufacturer as suitable for automotive inflation. Recognizing the dedicated cycling focus of this hardware ensures reliable service throughout its operational life, preventing premature battery exhaustion or excessive component heat buildup during regular field operation.
How to Determine and Set the Correct Bicycle Tire Pressure
Reading Sidewall Markings and Rim Standards
Tire sidewalls commonly show tire size and a maximum permitted pressure. Use the tire manufacturer’s recommended operating range and the rim manufacturer’s limit rather than treating the maximum as the target. The sidewall maximum is a permitted upper limit, not necessarily the recommended riding pressure. Follow the lower applicable tire or rim limit and use the manufacturer’s recommended pressure range to ensure safe retention and optimal casing deflection.
For hookless systems, follow the specified tire type, compatible width, and the lowest applicable tire or rim pressure limit; incorrect pressure or compatibility can increase the risk of bead loss. Some road guidance uses 5 bar, while wider or narrower combinations may have different limits; always follow the lowest applicable manufacturer or standards-based limit. Adhering to these strict compatibility guidelines prevents catastrophic tire blow-offs on modern tubeless road and gravel wheelsets.
Factoring Rider Weight, System Load, and Tire Width
Optimal tire pressure is an active variable driven by the combined mass of the bicycle, rider, and carried luggage. Rear pressure is often set higher because the rear wheel commonly carries more load, but the exact front/rear difference should come from a tire-pressure calculator or the tire and wheel manufacturers’ guidance rather than a fixed assumption. Properly proportioned pressures ensure balanced cornering stability and predictable braking performance across varying pavement conditions.
Tire width dictates the internal air chamber volume, directly governing required operating pressures. Wider casings can often use lower pressures, but the pressure must still be high enough to avoid excessive casing collapse and rim strikes for the rider, wheel, tire, and terrain. Narrower setups require adequate pressure to maintain stable rolling characteristics across paved surfaces without transmitting excessive road vibration directly into handlebars and saddle contact points.
- Road Tire Baselines: Narrower or tube-based road setups may need more pressure to reduce impact and pinch-flat risk, but the correct value depends on the tire, rim, load, and setup.
- All-Road and Endurance: Medium-width casings operate effectively at moderate pressures, balancing rolling efficiency against surface vibration absorption.
- Gravel Applications: Wider gravel casings function at lower pressures to maintain casing compliance over loose stones and unpaved trails.
- Urban Commuter Setups: City tires balance puncture protection and efficient rolling resistance, tailored to cargo load and rider weight.
Surface Conditions and Grip Dynamics
Pneumatic pressure alters how tire rubber interfaces with road imperfections. Over-inflated tires bounce off micro-irregularities in the asphalt, wasting forward kinetic energy and reducing cornering traction. Slightly lower pressures permit the casing to deform around surface roughness, preserving momentum and rider comfort, especially during multi-hour endurance rides across coarse backroads and neglected chip-seal surfaces.
On suitable tires, a small pressure reduction may improve comfort or grip on rough or loose surfaces, but remain within the tire and rim limits and avoid excessive casing deformation. When navigating wet roads, loose gravel, or broken pavement, moderate downward tuning helps expand the contact patch. A digital inflator interface can help cyclists select and repeat a target setting, but the article should not claim measurement accuracy without published accuracy data.
Step-by-Step Guide: Using a Portable Electric Inflator Safely
Pre-Inflation Inspection
Executing a brief systematic inspection before attaching an inflator protects both the tire hardware and the pump mechanism across varied roadside conditions:
- Inspect Casing Integrity: Run visual checks across the tread surface to verify that glass shards, thorns, or wires are removed before adding pressure.
- Verify Valve Cleanliness: Remove visible grit or dried sealant from the valve area before attaching the connector, and follow the valve and pump manufacturer’s cleaning instructions.
- Prepare Presta Valves: For a standard Presta valve, loosen the small tip locknut before attaching the pump. Do not remove or tap the valve core unless the valve is specifically designed for core removal and the pump instructions require it.
- Check Device State of Charge: Check the unit’s charge status or power it on according to the product instructions before setting out on your ride.
Attachment and Operation Sequence
Careful attachment prevents physical stress on bicycle valve hardware while ensuring an airtight seal during operation throughout roadside maintenance:
- Align Chuck Properly: Press the pump connector squarely onto the open valve stem without applying twisting force.
- Engage Locking Mechanism: Secure the mechanical lever or threaded collar firmly to establish an airtight pneumatic pathway.
- Power System Activation: Turn on the unit and check the display according to the product instructions before selecting a target pressure.
- Select Target Pressure: The product description identifies a dual LCD display and control interface; verify the available pressure-setting functions in the model’s instructions.
- Commence Air Delivery: Engage the motor button. Keep the connector aligned with the valve and avoid pulling or twisting the device while it is attached. Follow the supplied operating instructions.
- Observe Automated Shut-off: Allow the pump to run until its automatic shut-off activates, then verify the tire pressure and seating within the applicable tire and rim limits.
Post-Inflation Inspection and Maintenance
Once the pump motor disengages, proper disconnection preserves the air charge and hardware integrity. Release the connector according to the pump’s instructions, avoiding unnecessary twisting or pulling on the valve stem to prevent brass hardware bending or seal damage.
After disconnecting the pump, retighten the small Presta tip locknut so the valve is closed. Where a bead-seat line is visible, check that it runs evenly around both sides of the rim. Follow the wheel and tire manufacturer’s inspection guidance for hookless systems, allowing the inflator housing to cool before enclosed pocket or saddle bag storage.
Comparing Inflation Methods: Electric Inflator, Manual Mini Pump, and Workshop Floor Pump
Portable Electric Pump vs. Manual Mini Frame Pump
Manual mini pumps remain simple mechanical tools, yet their field execution carries notable physical demands. Raising a high-pressure road tire with a short hand pump requires sustained effort, often leading to fatigue. Furthermore, awkward hand positioning during roadside pumping can place unwanted strain on delicate valve stems, risking stem failure far from home repair stands.
A compact electric inflator eliminates manual pumping through motorized compression. The operator simply stabilizes the tool, keeping the connector aligned with the valve without applying aggressive lateral force. While manual pumps never depend on battery levels, the steady operation and integrated digital readout of cordless units make them convenient during roadside emergencies, sparing cyclists from unnecessary physical exhaustion.
Portable Electric Pump vs. Workshop Floor Pump
Workshop floor pumps feature long metal barrels, broad stable bases, and long flexible rubber hoses. These stationary tools move substantial air volume per stroke, quickly filling tires without electrical power. However, their physical mass and dimensions make them impractical to transport on a bicycle, limiting their usefulness strictly to home workshops and team support vehicles.
Portable electric pumps provide automated inflation in a compact form factor and can be useful for roadside top-offs when the battery and valve connection are appropriate. They do not replace heavy-duty workshop floor pumps in home garages. A workshop floor pump is useful for routine inflation and many installations, while difficult tubeless bead seating may require a compressor, air reservoir, or tubeless-specific pump.
Inflation Method Selection Framework
Selecting the right inflation device depends entirely on your riding context, route distance, and pack configuration across daily commutes and weekend adventures:
- Daily Commuting & Urban Transit: A compact electric inflator provides rapid top-offs, allowing riders to maintain proper pressure without physical exertion before work.
- Group Road Rides & Club Sportives: For group rides, an electric unit may reduce manual effort and help riders repeat a selected pressure, provided the device has sufficient charge and the connection is compatible.
- Multi-Day Remote Bikepacking: For remote rides, carry a manual backup unless the manufacturer confirms power-bank charging and operation requirements. A power bank may extend readiness between rides, but it should not be assumed to support simultaneous operation.
- Home Workshop Maintenance: A dedicated workshop floor pump remains an essential tool for initial tire installations and routine home tire checks.
| Tool Type | Primary Strength | Key Limitation | Example Use Case |
|---|---|---|---|
| Portable Electric Pump | Automated digital inflation | Battery runtime limits | Roadside top-offs when battery and valve compatibility are appropriate |
| Manual Mini Frame Pump | Unlimited strokes, zero battery reliance | High physical effort required | Remote backcountry touring, emergency backup |
| Workshop Floor Pump | High volumetric output, rapid fill | Completely non-portable | Home garage setup, initial tire mounting |
Everyday Maintenance and Battery Care for Mini Pumps
Thermal Management and Duty Cycles
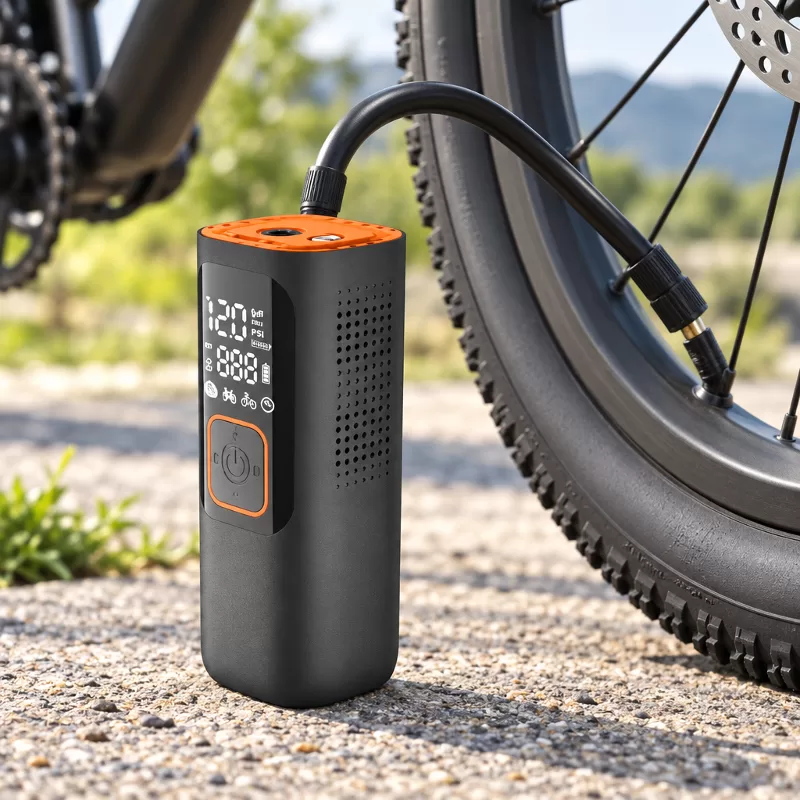
Compressing atmospheric air generates thermal energy as air molecules are driven into smaller spaces under pressure. This thermodynamic reality causes the pump head and exterior housing of any micro-inflator to warm up during active cycles. Some supplied product images show ventilation openings, but the available specification does not document their thermal-performance role in active heat dissipation.
Operate the device within the listed 0°C to 45°C temperature range; the supplied specification does not quantify effects on calibration or service life outside or within that range. If inflating multiple tires consecutively, provide a brief resting interval between cycles. This pause allows the pump mechanism and internal components to shed residual heat buildup naturally before the next inflation cycle begins.
Lithium-Ion Storage and State-of-Charge Management
Internal lithium-ion cells require routine care to maintain their capacity over multiple riding seasons. The listed battery-cycle specification is 100 cycles with 80% of original capacity or above. Avoid storing the unit fully discharged for extended periods, and follow the manufacturer’s storage and charging instructions to preserve chemical stability and cell longevity over winter off-seasons.
The BL03 is specified with Type-C charging at 5V/1.5A and a charging time of less than one hour under stated conditions. Checking and charging the unit periodically can improve its readiness for roadside use, ensuring that the inflator maintains sufficient energy reserves when called upon during an unexpected flat. Newo manufactures smart electric air pumps and portable inflation products, including electric bicycle pumps.
Frequently Asked Questions (FAQ)
Can a portable electric bicycle pump inflate road bike tires to 100 PSI?
The BL03 is specified for a pressure range of 2 to 120 PSI, so 100 PSI is within its published range. Actual performance depends on the tire and operating conditions, including initial casing pressure, ambient temperature, and connection integrity. Riders should ensure their specific rim and tire combination permits three-digit pressures before inflating.
How many bicycle tires can the BL03 inflate on a single charge?
The specification lists approximately five minutes of runtime per full charge cycle. The number of tires depends on starting pressure, tire volume, target pressure, temperature, and operating conditions, so a fixed tire count should not be promised without test data. For typical roadside maintenance, this run window allows riders to complete targeted tire top-offs.
Does the BL03 portable electric bicycle pump work on both Presta and Schrader valves?
The supplied specification does not confirm the included valve fittings. Verify whether the specific BL03 package supports your Presta or Schrader valve before purchase or use, and obtain the appropriate valve connector or adapter if required to ensure an airtight seal on your specific rim setup.
Can this mini inflator seat tubeless tires?
The supplied description identifies bicycles and sports balls as its primary applications. It does not state that the BL03 is designed or tested for unseated tubeless-bead installation. Seating unseated tubeless beads generally requires a dedicated air reservoir, tubeless floor pump, or workshop compressor to snap beads firmly into rim channels.
Is the BL03 suitable for motorcycle or passenger car tires?
The BL03 is specified for bicycles and sports balls, not passenger-car tires. Its approximately five-minute runtime and 14 L/min airflow are not presented by the manufacturer as suitable for automotive inflation. Attempting to service car tires may exceed the pump’s intended duty limits and deplete the battery prematurely.
How loud is an electric bicycle pump during operation?
The listed noise level is 85 dB or below at 1.5 meters. Users should avoid placing the device close to their ears during operation, as motorized compression produces noticeable acoustic output at close range, which can feel loud when operating in enclosed indoor spaces or quiet residential streets.
Conclusion and Pre-Ride Checklist
Integrating a portable electric bicycle pump into your everyday cycling kit provides peace of mind across daily commutes, training loops, and club sportives. Automated pressure monitoring helps simplify roadside tire management, minimizes manual exertion, and helps you achieve your desired operating pressures quickly. Rather than struggling with miniature hand pumps, riders can resolve unexpected punctures with controlled, motorized efficiency.
Before heading out on your next ride, run through this concise practical checklist to guarantee seamless inflation readiness across all road conditions:
- Confirm Battery Level: Check the unit’s charge status or power it on according to the product instructions before a ride.
- Verify Valve Compatibility: Ensure your kit contains the proper Presta or Schrader fittings compatible with your wheelset.
- Review Target Pressure: Confirm your desired tire pressures according to tire, rim, and load specifications.
- Check Housing Cleanliness: Ensure external cooling vents remain clear of dirt, dust, and saddle bag debris.
Equipping yourself with a reliable portable electric bicycle pump turns unpredictable punctures into brief, structured stops, ensuring that road maintenance remains more structured and less physically demanding whenever you encounter road debris.
-
Meet NEWO at the 140th Canton Fair: Visit Booth 10.3 M03–04
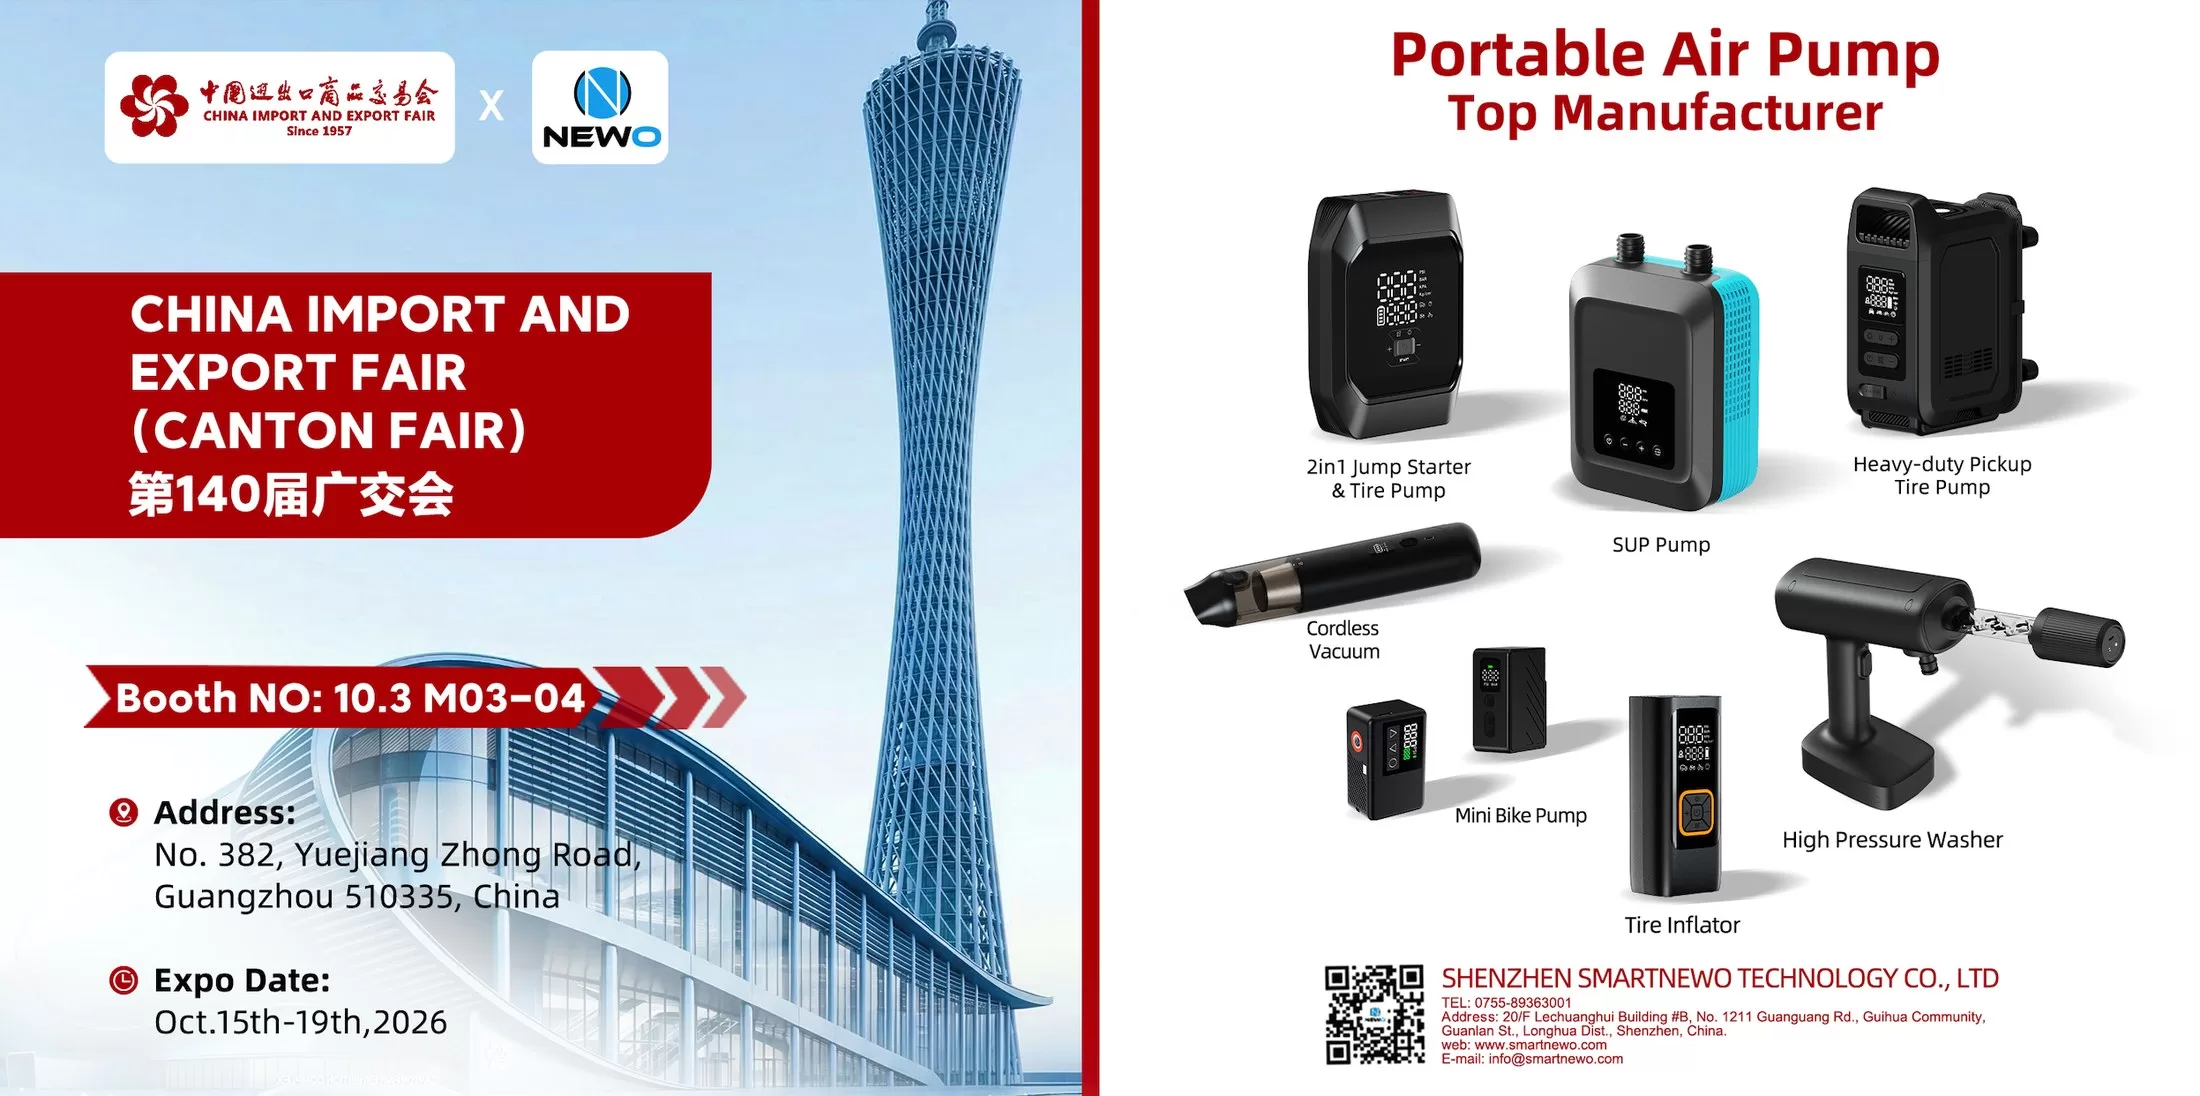
Meet NEWO at the 140th Canton Fair in Guangzhou, October 15–19, 2026. Visit Booth 10.3 M03–04 to explore portable air pumps and discuss OEM, ODM and distribution opportunities.... -

As Shenzhen Welcomes the World for APEC 2026, NEWO Welcomes You to Our Factory
As Shenzhen prepares for APEC 2026, NEWO welcomes international buyers and partners to visit our factory, meet our team and explore future cooperation.... -
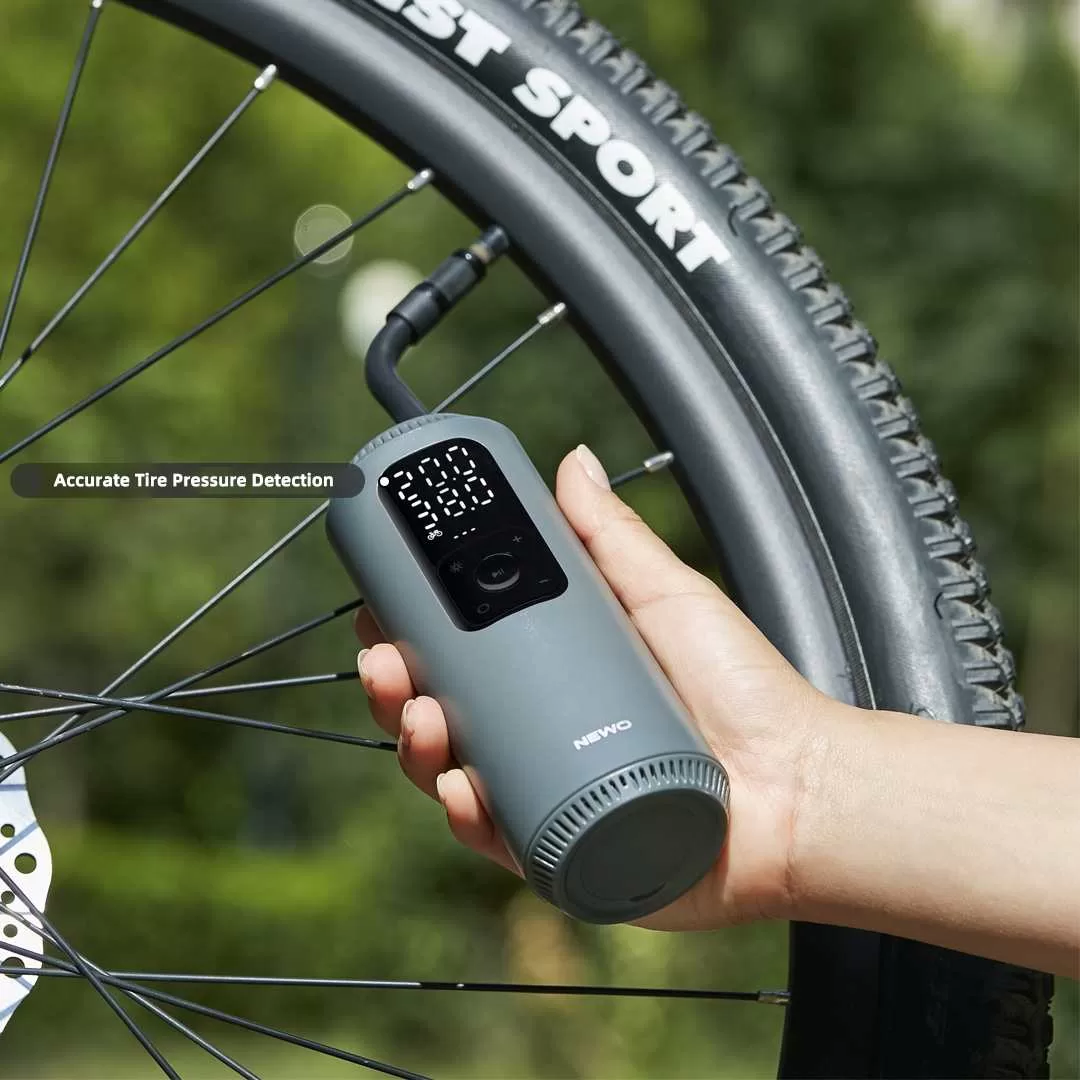
Leading the Way in Product Innovation and Excellence
Smartnewo exemplifies professionalism in product innovation and manufacturing. Their collaboration with Xiaomi Youpin on the G01 crowdfunding project highlights their expertise in creating compact, powerful inflatable pumps. Rigorous engineering, meticulous production processes, and advanced quality assurance underscore their commitment to excellence. The success of the G01 project, with significant market... -
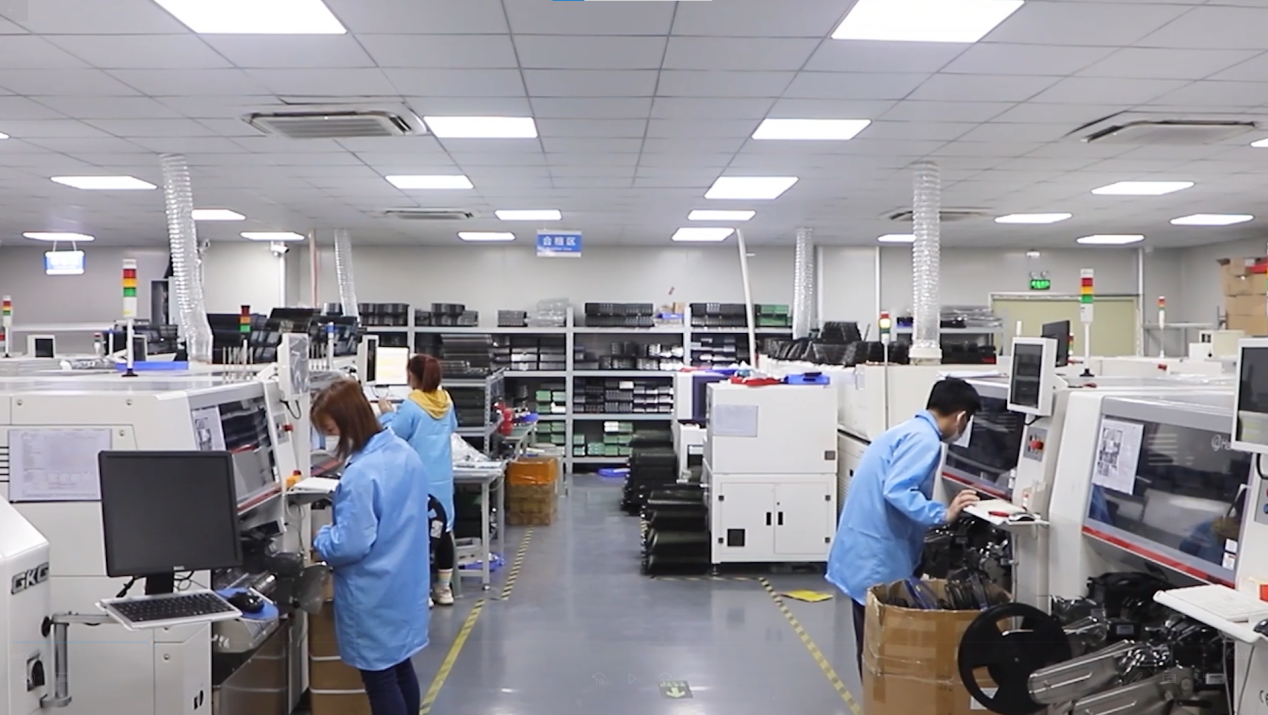
Essential Qualities of an Excellent Supplier
In today's competitive market, finding a reliable supplier is crucial for business success. Based on insights from Smartnewo and broader internet research, here are key qualities an excellent supplier must possess:... -
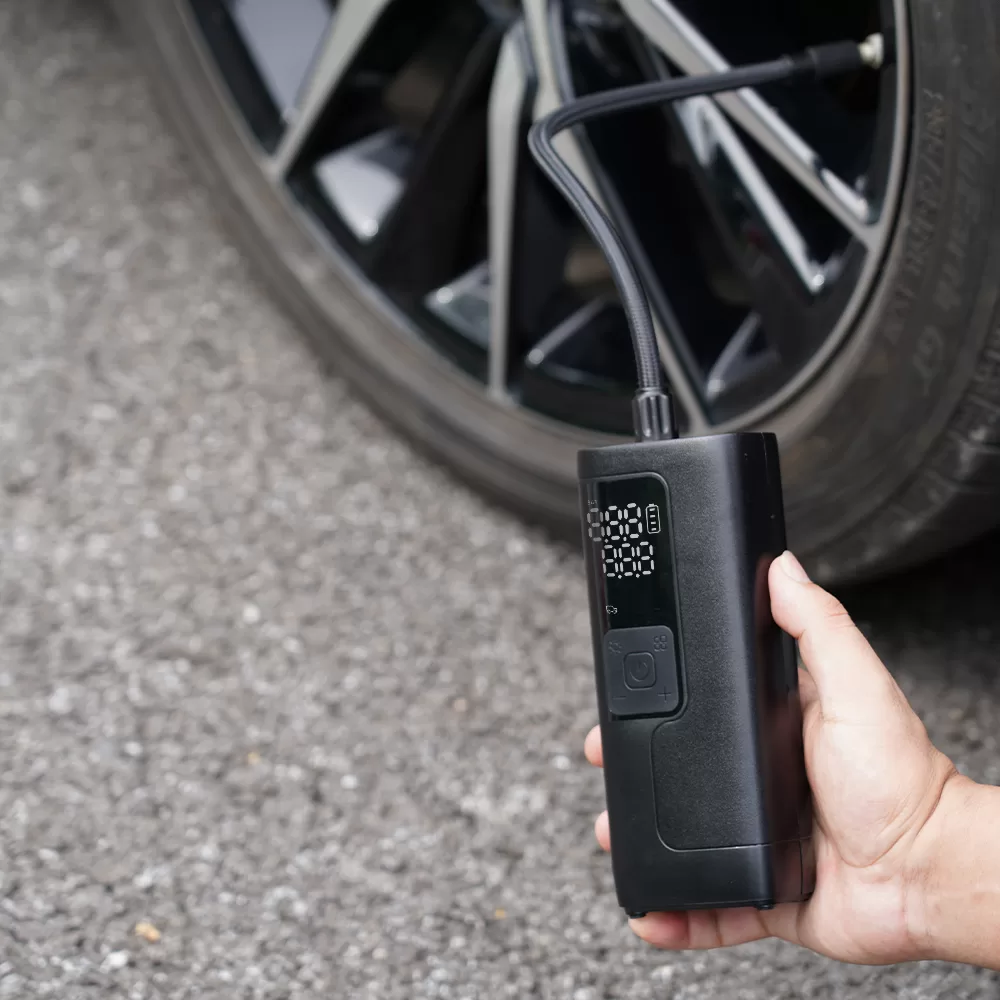
NW06 Tire Inflator: Compact Power for Quick Inflation
Summary The NW06 Tire Inflator delivers quick and efficient tire inflation with a powerful 35L/min airflow. It features a user-friendly LCD screen for real-time pressure monitoring, dual power options with a built-in 6000mAh battery, and multiple nozzle attachments for versatile use. Its compact design and integrated LED light ensure convenience and... -
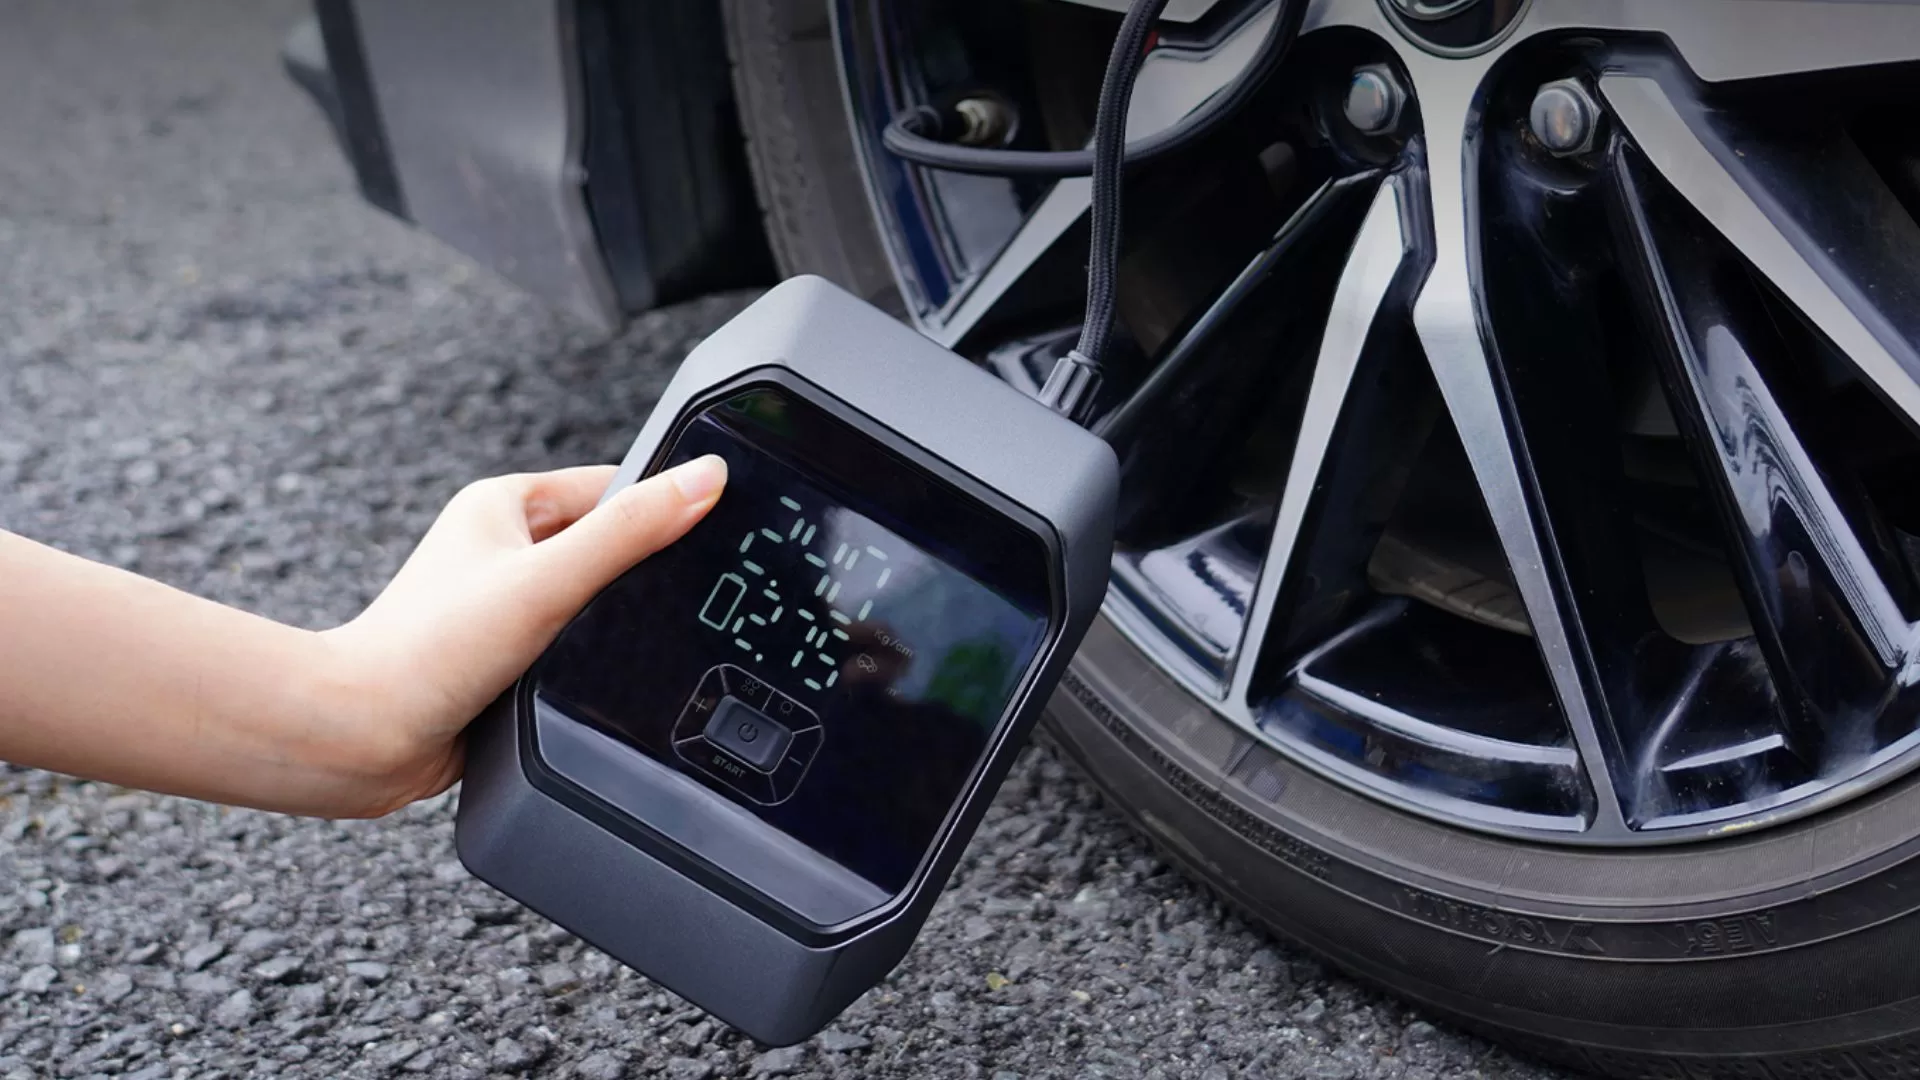
Unleash the Power of Portability: The SmartNewo Jump Starter with Air Compressor KF03
This guide will walk you through the steps to effectively use a portable tire inflator, helping you stay prepared and safe on the road.... -
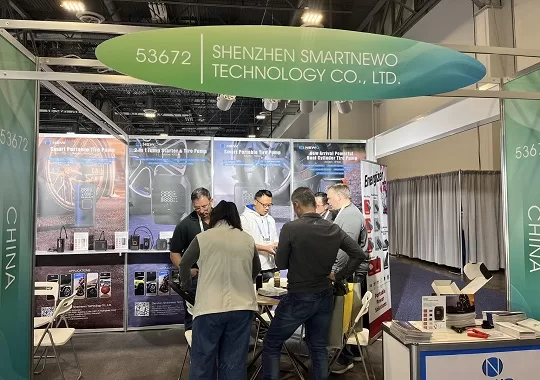
Newo Attends The 2024 Consumer Electronics Show (CES)
Smartnewo booth is located at 53672, Halls A-D, Level 2, Venetian Expo, Las Vegas Convention Center (LVCC). ... -
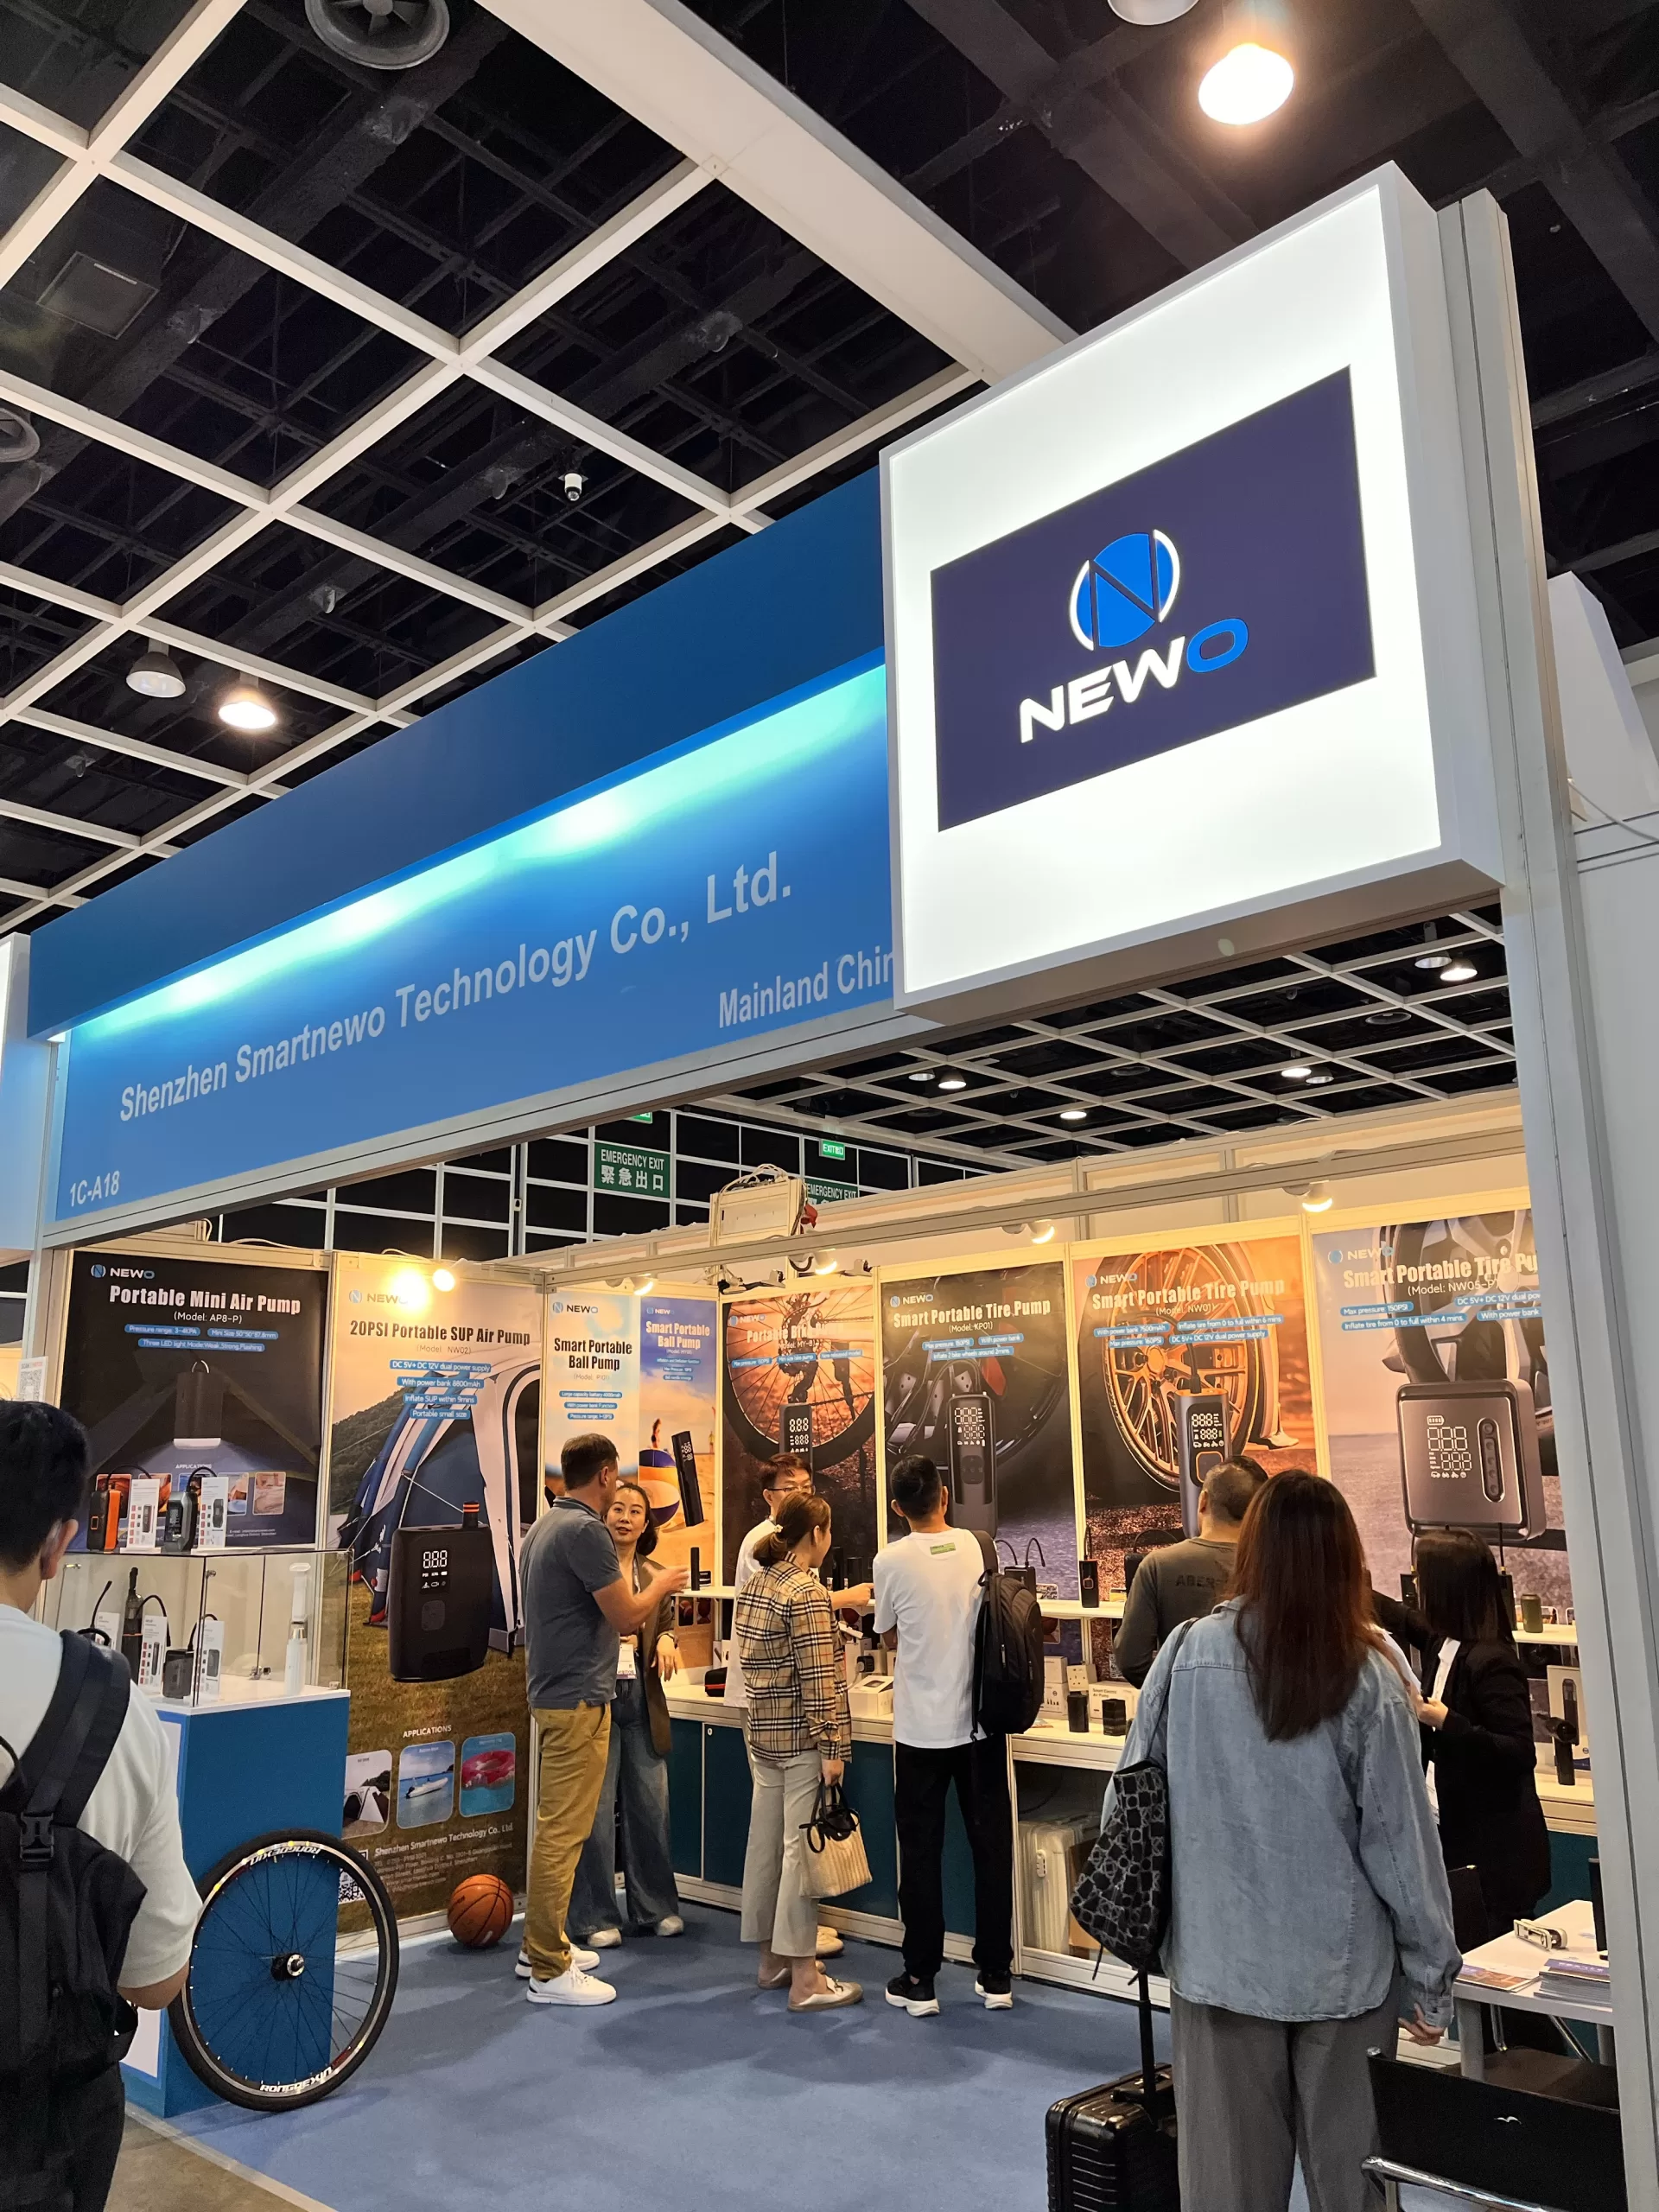
Smartnewo’s Dual-Cylinder Air Pump Rocks the Hong Kong Autumn Electronics Fair!
Smartnewo’s Dual-Cylinder Air Pump Rocks the Hong Kong Autumn Electronics Fair!... -
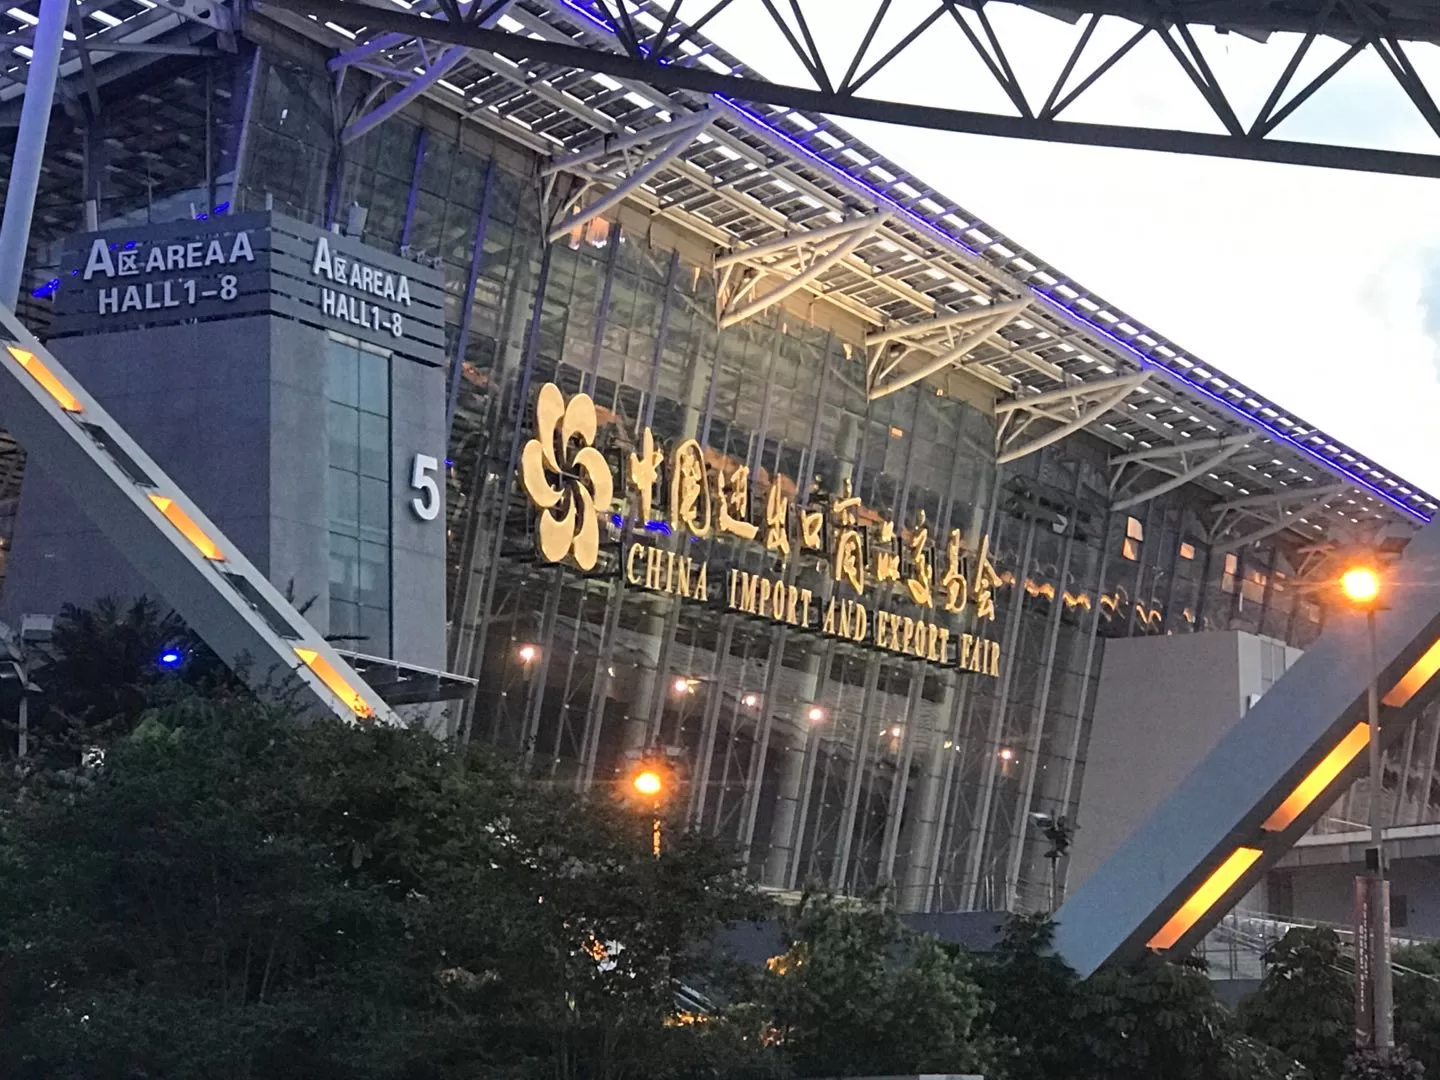
Meet at the Canton Fair! Smartnewo brings dual-cylinder air pumps, making your inflation experience faster and more stable!
NEWO has went deep communication and negotiation with customers from all over the world on booth.... -
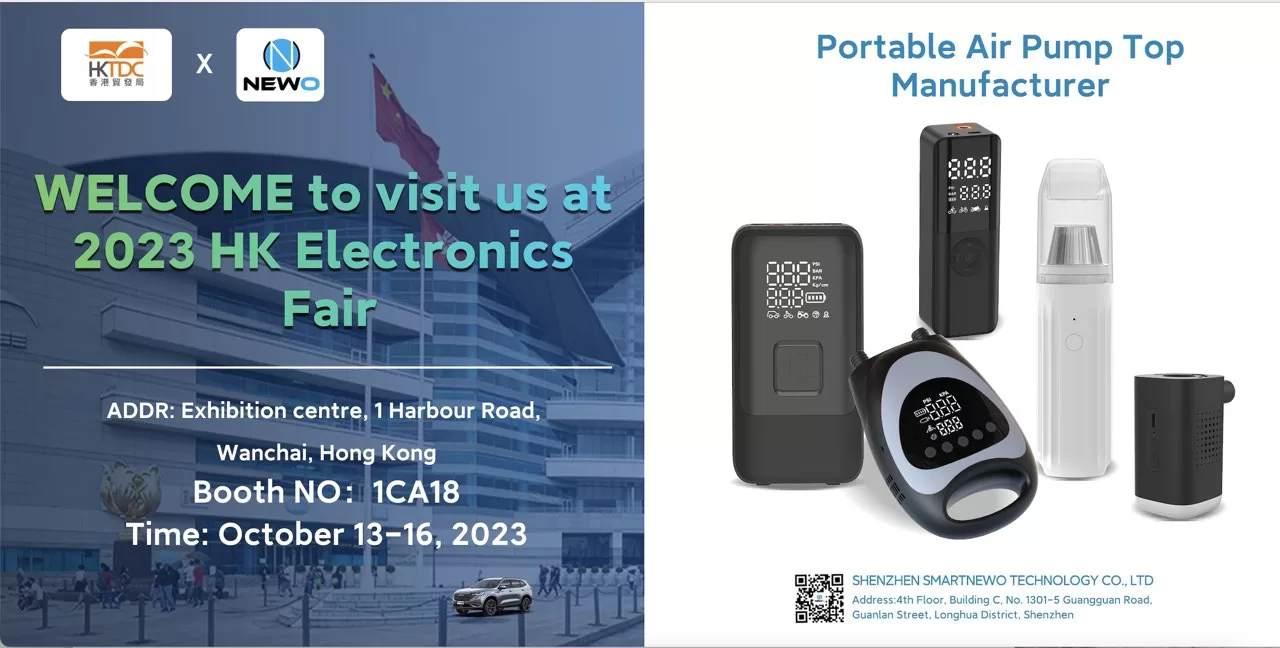
“Hong Kong Autumn Electronics Fair – 1CA18 (October 13th to 16th): Smartnewo invites you to visit our booth!
Hong Kong Autumn Electronics Fair...
-
What to Check Before Ordering Custom Electric Bike Pumps
Plan custom electric bike pumps with a clear requirements freeze for valves, TPU tubes, portability, repeated top-ups, charging, and model-specific documents.... -
OEM vs ODM Air Pumps: Which Manufacturing Model Fits Your Brand?
Compare OEM and ODM air pump projects by design responsibility, change approval, development scope, and written ownership terms before choosing your route.... -

How to Choose a Reliable Tire Inflator Manufacturer in China
Choose a tire inflator manufacturer in China with a focused RFQ, supplier evidence, configuration checks, and clear sample-to-pilot decisions for your brand.... -
Rechargeable Electric SUP Pump for Paddle Boards: Faster Inflation for SUPs, Kayaks and Inflatable Tents
The BL10-C Portable Electric Bike Tire Inflator is a compact and lightweight mini electric bike pump designed for modern cyclists. With up to 120 PSI pressure, a digital LED display, preset pressure control, automatic shut-off, USB-C charging, and multiple valve adapters, BL10-C offers a convenient inflation solution for road bikes,... -
Are Electric Bike Pumps Worth It in 2026? Electric Pump vs CO₂ vs Mini Hand Pump
Discover whether electric bike pumps are worth it in 2026. This guide compares electric bike pumps, CO₂ inflators, and mini hand pumps for road cycling, gravel riding, commuting, and long-distance rides. Learn the pros, limitations, best use cases, and key features to look for before choosing the right portable tire... -
BL10-C Portable Electric Bike Tire Inflator: Small Size, Reliable Power for Every Ride
The BL10-C Portable Electric Bike Tire Inflator is a compact and lightweight mini electric bike pump designed for modern cyclists. With up to 120 PSI pressure, a digital LED display, preset pressure control, automatic shut-off, USB-C charging, and multiple valve adapters, BL10-C offers a convenient inflation solution for road bikes,... -
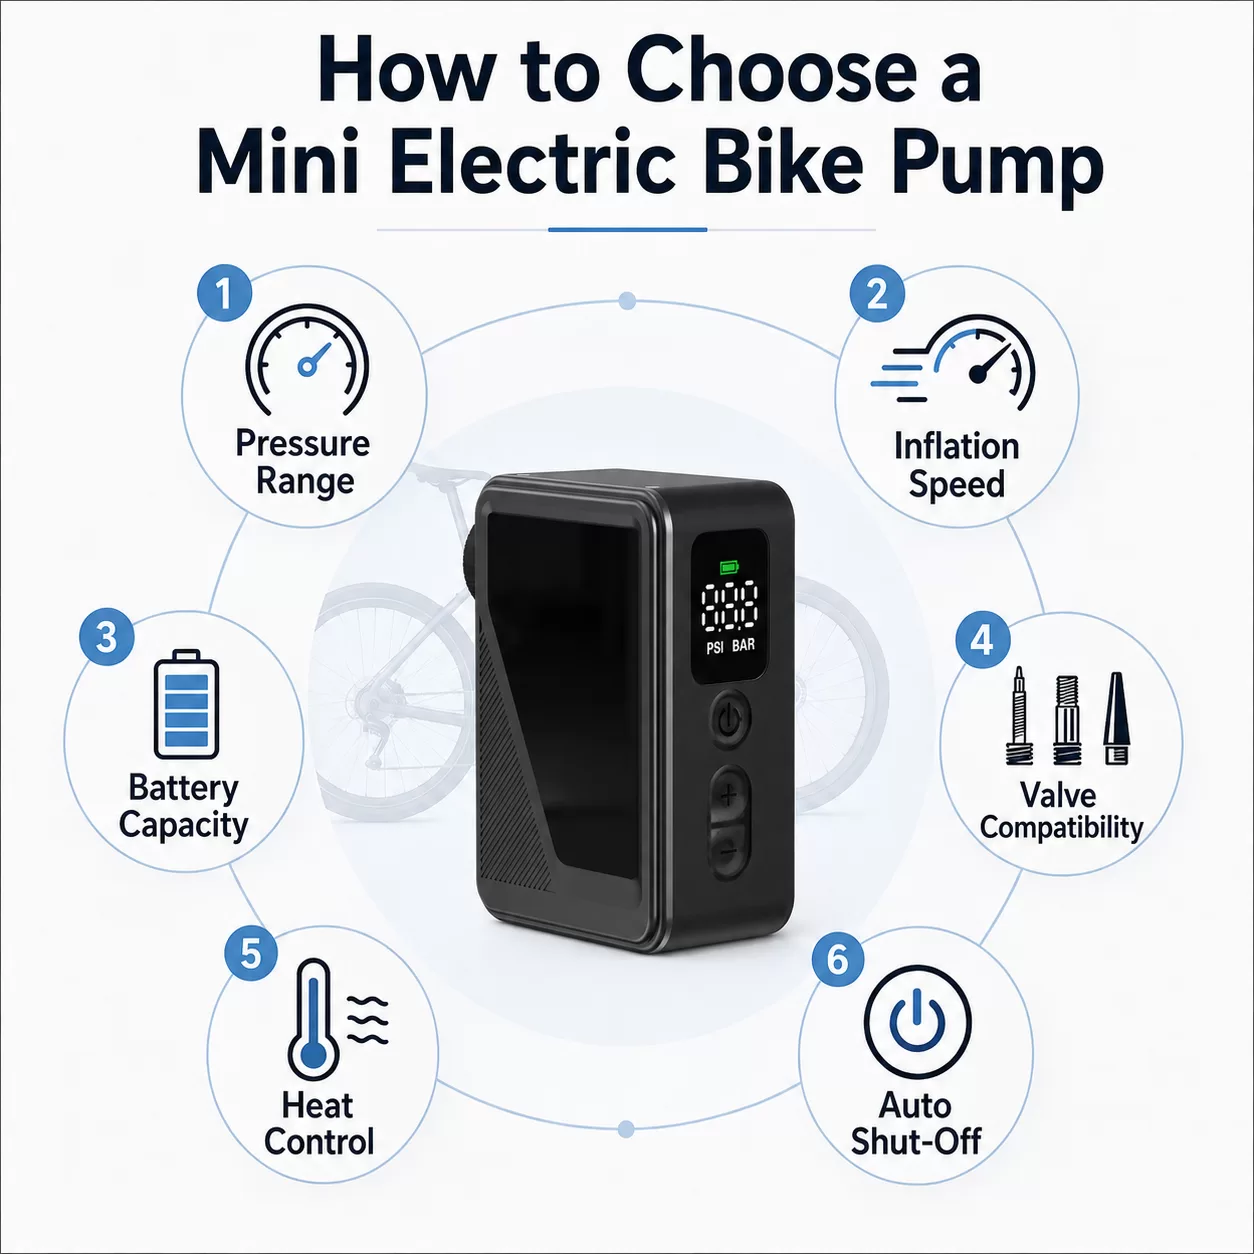
Why Mini Electric Bike Pumps Are Becoming Essential for Modern Cycling
Discover why mini electric bike pumps are becoming essential for modern cyclists. Learn how portable electric bike pumps improve tire pressure management, riding safety, and convenience.... -
The Ultimate Smart Solution for Easy Outdoor Adventures in 2026
Discover how a spring travel air pump simplifies outdoor trips with fast inflation, smart features, and powerful performance—perfect for every adventure.... -
Powerful 5-in-1 Portable Car Tire Inflator and Jump Starter: The Ultimate Emergency Tool for Every Driver
Why Every Driver Needs a Portable Car Tire Inflator and Jump Starter Modern drivers face many unexpected situations on the road. A flat tire, low tire pressure, or a dead car battery can happen at the worst possible time. That’s why having a portable car tire inflator and jump starter is... -
7 Real Cycling Scenarios That Show Why Every Rider Should Carry a Mini Bike Pump
Cycling is one of the most freeing activities you can enjoy. Whether you’re commuting to work, riding through city streets, or exploring quiet countryside roads, a bike ride can instantly improve your day. But there’s one small problem that almost every cyclist eventually faces: Low tire pressure. It might happen...
-
How Is a Football Properly Inflated?
The correct inflation of a football - with not too much and not too little air - is a hotly debated topic among footballers.... -
Application Scenarios of Car Inflator Pump
Often long-distance business trips or play car owners because the road may be more remote areas, in this case if you encounter a tire leak....