

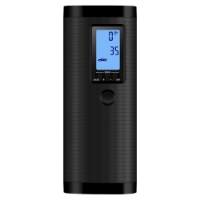
 Portable Tire Inflators
 Electric Air Pumps
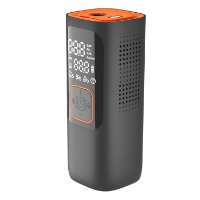 Electric Car Tyre Pumps
 Electric Ball Pumps
 Electric Bike Pump
 SUP Air Pump

Practical Guide to Choosing and Using a Portable Tire Inflator with Digital Display
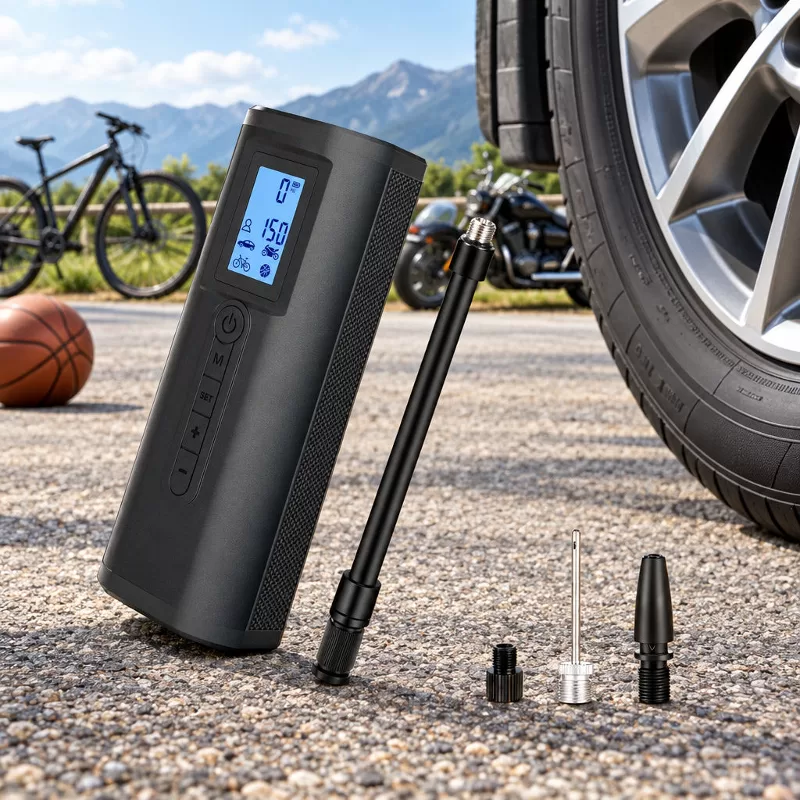
Tire pressure affects braking, fuel economy, tread wear, and how a vehicle handles in an emergency maneuver. Gas station air machines often come with worn hoses, damaged chucks, or gauges nobody has checked in years. A portable tire inflator with digital display gives you a numeric pressure reading and a pump in one tool, so you can check and correct pressure at home, at work, or on the roadside with the same instrument every time.
Cordless inflators were once seen mainly as noisy emergency gadgets kept in the trunk. Current digital models pair a rechargeable lithium battery with an electronic pressure sensor and an automatic shut-off. Instead of reading a needle that shakes with every piston stroke, you watch a number on a screen while the pump works toward the pressure you set. That change makes the tool useful for routine maintenance, not only for emergencies.
At Newo, we design and manufacture smart electric air pumps and portable inflation products, with engineering work centered on pneumatic performance, battery management, and practical industrial design. This guide explains how digital inflators work, what to compare before buying, how to inflate safely, and where a compact unit such as our LP1 fits into daily use.
Understanding Digital Air Compressors: Capabilities and Practical Limitations
How Digital Gauges and Automatic Shut-Off Function
Traditional mechanical gauges use a curved Bourdon tube or a spring-loaded sliding rod to move a needle or scale. A portable tire inflator with digital display uses an electronic pressure sensor instead and shows the result as a number on a screen. The exact sensor location depends on the design of each product. A numeric readout is easier to read than a needle, but it does not guarantee accuracy by itself. Accuracy depends on the individual device and its calibration, so comparing the reading with a trusted gauge now and then is a sensible habit.
Once the hose is connected to the valve, the controller converts the sensor signal into a number on the screen. Most units show two values at once: the pressure currently measured in the tire and the target pressure you have selected. Seeing both figures side by side makes it easy to judge how far you still have to go, and it helps you spot a reading that looks wrong before you start pumping.
When the measured pressure reaches the target, the controller stops the motor. This automatic shut-off reduces the risk of over-inflation, a common problem with manual compressors when attention drifts. It does not remove every risk, though, because a loose connection, a wrong unit setting, or a sensor fault can still produce a bad result. Stay nearby while the pump runs, and verify the final pressure after it stops.
Maximum Pressure Rating Versus Real-World Inflation Targets
Many compact pumps print a 150 PSI maximum on the box. That figure describes the highest pressure the pump is rated to produce, and it has nothing to do with the pressure your car needs. Most passenger cars and crossovers call for roughly 30 to 36 PSI when the tires are cold, although the exact figure varies by vehicle, so the placard on your door jamb always takes priority over any general range.
A high rating matters for narrow, high-pressure bicycle tires. Some road bike setups use pressures somewhere around 80 to 100 PSI, but the right target varies with tire width, rider weight, and the tire or bicycle manufacturer’s guidance. A pump with headroom above that range can reach such targets without working at its absolute limit. For cars, the more useful question is how quickly the pump moves air at moderate pressure, because a large tire holds far more air than a narrow bicycle tube.
Think of the maximum rating as a ceiling rather than a speedometer. A pump rated to 150 PSI can push against substantial resistance, but its airflow at 35 PSI determines how long a car top-up takes. Two pumps with the same maximum rating can feel very different in daily use, so airflow figures deserve more attention than the headline number on the packaging.
Where Portable Inflators Excel and Where They Reach Limits
Cordless battery inflators handle regular pressure checks, seasonal temperature adjustments, and slow leaks well. They suit commuter bicycles, e-bikes, motorcycles, wheelchairs, sports balls, and routine car top-ups. In each of these cases, the job involves adding a modest amount of air to a tire or inflatable that is already partly pressurized, which is exactly the workload a small cylinder and battery are sized for.
However, these tools are not meant to seat the bead on a fully deflated, dismounted truck tire or to fill large agricultural tires from empty. Those jobs need a workshop compressor with a storage tank that can release a large volume of air in a short burst. Asking a handheld pump to do that work drains the battery quickly and puts unnecessary heat and load on the motor.
For that reason, it helps to treat a pocket-sized cordless pump as a maintenance and emergency tool. Used within that role, it delivers consistent results and avoids the long, hot run times that shorten the life of a brushed motor and lithium cells. Used outside it, even a well-built unit will seem slow and disappointing.
Selection Criteria for a Portable Tire Inflator with Digital Display
Airflow, Cylinder Size, and Top-Up Speed
Inflation speed depends mainly on the size of the cylinder and how fast the motor drives the piston. Manufacturers usually express the result as airflow in liters per minute. Our LP1, for example, is specified with a 14 cylinder and an airflow of 15 to 18 L/min. That class of output works well for bicycles, motorcycles, and topping up car tires that have lost a few PSI, rather than filling large tires from flat.
The time a car top-up takes varies with tire size, starting pressure, target pressure, and battery charge. A small correction on a compact car tire finishes much sooner than a larger correction on an SUV tire. Because of that variation, it is sensible to check pressure before a trip rather than in a rush at the last minute, so a slower top-up never becomes a reason to skip the job.
Compressing air also produces heat, which is a normal part of how any compressor works. A pump with balanced airflow keeps current draw within a manageable range, and resting it briefly between tires helps keep temperatures down during a four-tire session. Pushing a small pump through long continuous runs is the fastest way to wear it out.
Display Readability, Contrast, and Pressure Unit Selection
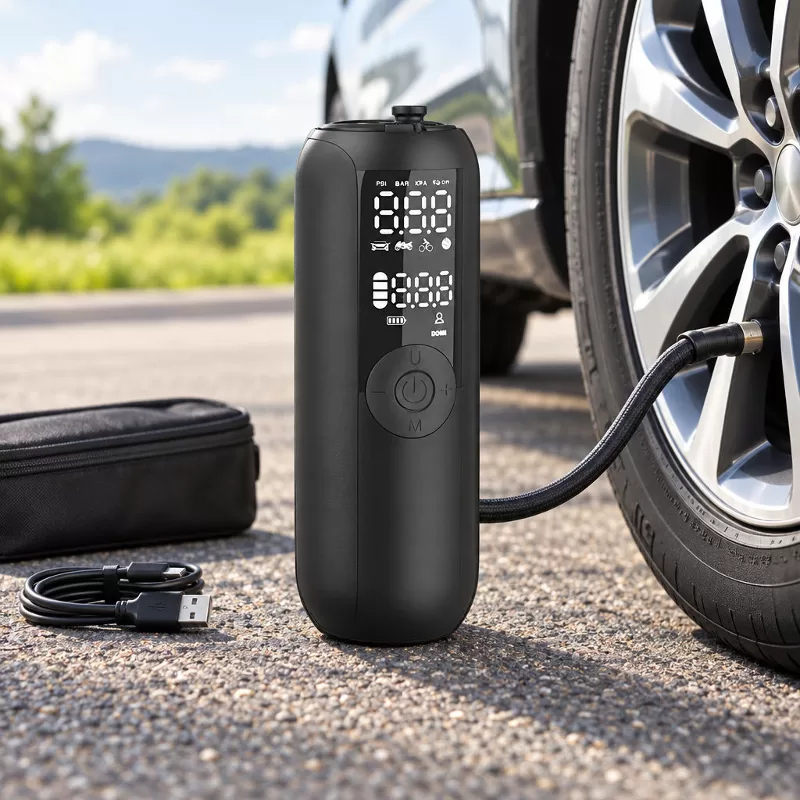
A good display stays readable in bright daylight and in the dark at the side of a road. Segmented LED screens with strong contrast usually work well in both conditions. Look for a screen that shows measured pressure and target pressure at the same time, along with battery level, because those three readings answer the questions you actually have while inflating.
Vehicle manuals and gauges use different units depending on the region and the type of equipment. Your inflator should let you switch between the common units without digging through settings:
- PSI (Pounds per Square Inch): The usual unit in North America for car placards and cycling equipment.
- BAR: Common in European vehicle manuals and pneumatic equipment, where 1 BAR is about 14.5 PSI.
- KPA (Kilopascals): The metric unit often printed on vehicle tire placards alongside PSI.
- Kg/cm²: Still found on some gauges and equipment in certain markets, and close in value to BAR.
Checking the selected unit before you press start prevents mistakes such as entering 24 when the placard says 2.4 BAR. That kind of slip can leave a tire badly under-inflated or cause the pump to keep running far past a sensible pressure, so a clearly labeled unit indicator is worth checking for.
Battery, Motor, and Thermal Behavior
Handheld inflators run on rechargeable lithium-ion packs. The LP1 uses a 2,000 mAh, 7.4 V pack rated at 14.8 Wh, which drives a 35 W brushed motor. Battery capacity sets how much air you can move per charge, and the motor rating gives a sense of how much work the pump can do against back pressure in a tire.
As the pump runs, heat builds up around the cylinder and the hose connector. Ventilation openings in the housing help the unit cope with that heat during heavy load. The LP1 specification lists battery protection voltages of 8.4 V and 6 V, along with motor overcurrent protection. Even so, short rests between tires remain good practice, especially when you top up several tires in one session.
Type-C charging is a practical advantage because the same cable type is used by many phones and power banks. The Type-C port can simplify charging, provided the wall adapter, power bank, or vehicle USB port supplies the input specified by the manufacturer. The LP1 accepts 10 W input and takes about 2 to 3 hours to charge fully, so a pump charged the evening before a trip will be ready in the morning.
Enclosure Design, Weight, and Integrated Hose Management
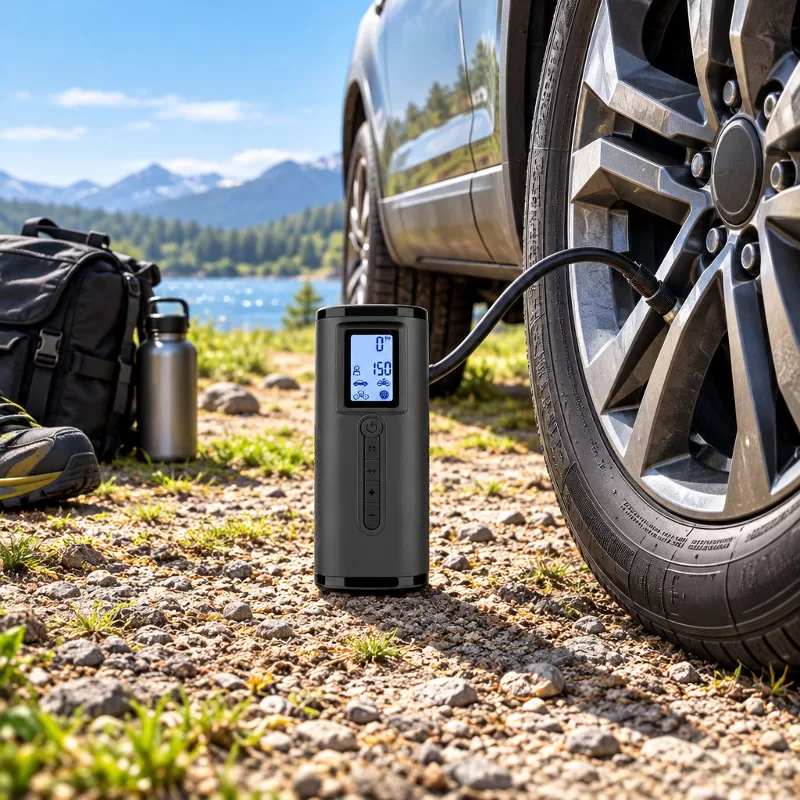
Loose hoses and small adapters tend to disappear into glove boxes and trunk bins. A compact body with built-in storage solves much of that problem. The LP1 measures 157 × 61 × 61 mm and weighs 438 g, and its water-cup shape is designed to fit in a pocket, backpack, vehicle compartment, or storage bin without taking much space.
Storing the hose inside the pump body also keeps the connector threads cleaner and protects them from knocks during transport. Threads that stay free of grit seal more reliably and are less likely to cross-thread on a valve stem. With the LP1, the 2-in-1 flexible hose stows inside the housing, so the pump and its main connection travel as a single piece.
Before buying any compact inflator, check its dimensions against the space where you plan to keep it. A pump that fits your door pocket or bag will be within reach when you need it, while one that lives in the garage does little good during a slow leak on the highway.
Valve Compatibility and Essential Adapter Kits
Different tires and inflatables use different valves, so a useful inflator needs to connect to several types straight out of the box. The most common connections are:
- Schrader Valves: The standard threaded valve on cars, light trucks, motorcycles, and many e-bikes.
- Presta Valve Adapters: Narrow screw-on fittings used on many road and gravel bike tubes.
- Ball Needle Pins: Thin needles for basketballs, soccer balls, and similar sports equipment.
- Tapered Nozzles: Press-fit nozzles for swimming rings and other low-pressure inflatables.
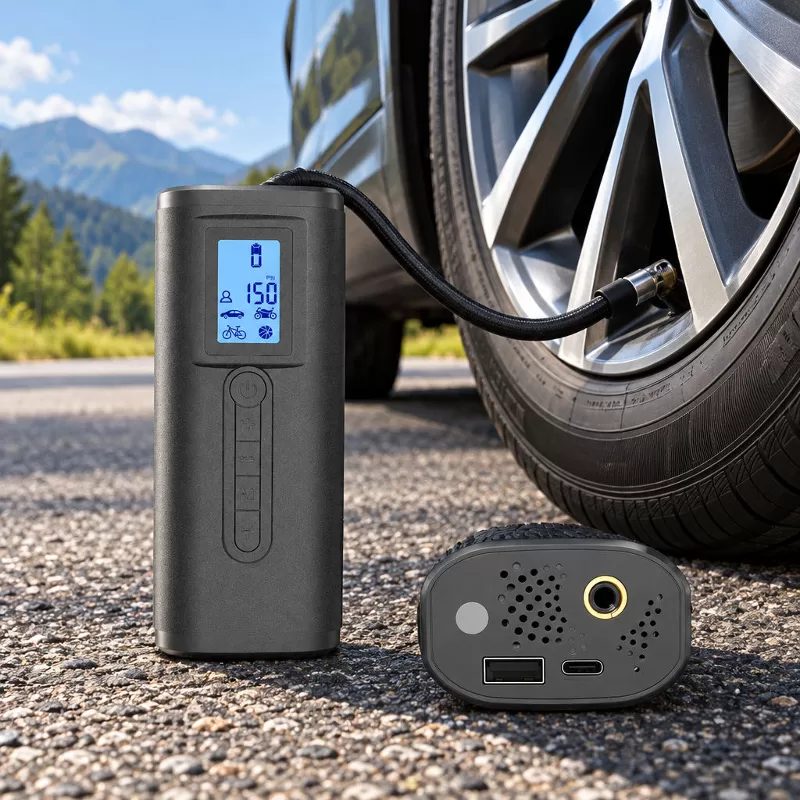
The LP1 comes with a Presta valve adapter, a ball needle, and a swimming ring nozzle, plus a Type-C charging cable. Keeping these pieces with the pump means you can move from a car tire to a bike or a ball without hunting for parts. A small zip bag or pouch in the same storage spot is a simple way to keep the adapters together.
Safe Inflation Protocols and Cold Pressure Verification
Locating Recommended Cold Pressure Values
A common mistake is to inflate to the number molded into the tire sidewall. That figure is the tire’s maximum permissible inflation pressure, not the pressure your car should run every day. Use the vehicle manufacturer’s recommended pressure on the placard or in the owner’s manual instead, because inflating to the sidewall maximum usually makes the ride harsh and can reduce grip.
The vehicle manufacturer sets this recommended pressure based on the weight, suspension, and load distribution of that specific model. You will usually find it on the tire and loading information placard on the driver-side door jamb. Some vehicles list different front and rear pressures, or a separate value for heavy loads.
If the placard is missing or unreadable, check the tire or specifications section of the owner’s manual before setting a target on your inflator. Avoid guessing from a neighbor’s car or a general range, because tire sizes and recommended pressures differ between models that look similar.
Why Cold and Hot Tire Readings Differ
Tire pressure should be checked and adjusted when the tires are cold. The National Highway Traffic Safety Administration (NHTSA) describes cold tires as ones that have been parked for at least three hours or driven less than a mile. Checking at home in the morning, before you drive, is the simplest way to meet that condition.
While you drive, the tire flexes as it rolls, and that flexing heats the air inside. Warmer air exerts more pressure, so a reading taken after a highway trip will be higher than the same tire’s cold reading. The difference is normal and does not mean the tire is over-inflated.
For this reason, do not let air out of a warm tire just because it reads above the placard value. Once the tire cools, the pressure will fall, and it may end up below the recommended level. If you must check tires while they are warm, note the reading and recheck after they have cooled before making large adjustments.
Step-by-Step Inflation Protocol
A consistent routine helps prevent air leaks at the valve, protects the pump, and gives accurate results on every wheel:
- Inspect the Valve Stem: Remove the valve cap, wipe away dirt from the threads, and check that the valve core is not damaged.
- Attach the Hose: Screw the hose firmly onto the valve stem, power on the pump, and wait for the display to show the current tire pressure.
- Select the Mode and Unit: Choose the unit that matches your placard, such as PSI or BAR, and set the target pressure.
- Start Inflation: Press the start button and keep the pump on a stable surface so its vents are not blocked.
- Confirm Automatic Shut-Off: Stay with the pump until it reaches the target and stops on its own, then check the final reading.
- Disconnect and Cap: Unscrew the hose quickly and cleanly to limit air loss, listen for any hiss from the valve, and refit the dust cap.
After each tire, give the pump a short rest before moving to the next one. This keeps motor temperature down during a full four-tire session, and it gives you a moment to check the final reading on a second gauge if you want extra confidence.
Identifying Tire Damage Beyond Air Pressure Loss
An inflator puts air back into a tire, but it cannot repair a damaged tire. Before connecting the hose, look over the tread and both sidewalls in good light. A quick visual check takes less than a minute and can reveal problems that pressure readings alone will never show.
If you see a bulge, exposed cords, deep cracks, or a large object stuck in the tire, adding air may cause the tire to fail. In those cases, fit the spare or call roadside assistance instead of trying to inflate and drive on. A pump is meant to correct pressure, not to keep a structurally damaged tire in service.
If a tire repeatedly loses pressure over several days, have a qualified tire professional check it for a puncture, valve leak, or bead leak. A proper inspection finds the cause, which is more effective than topping up the same tire again and again.
Technical Profile: The LP1 Portable Tire Inflator
Hardware Specifications and Operating Parameters
To see how these selection criteria look on a real product, consider the LP1, a cordless rechargeable pump designed for cars, motorcycles, bicycles, e-bikes, wheelchairs, balance vehicles, balls, and swimming rings. The table below lists its key specifications as stated in our product data.
| Technical Parameter | Manufacturer Specification |
|---|---|
| Product Model | LP1 Portable Electric Air Pump |
| Pressure Range | 0 to 150 PSI |
| Air Flow | 15 to 18 L/min |
| Cylinder Size | 14 cylinder |
| Battery | 2,000 mAh, 7.4 V, 14.8 Wh rechargeable |
| Battery Cycle Life | 300 cycles, 80% of original capacity or above |
| Motor | Brushed motor, 35 W |
| Motor Service Life | 200 to 400 hours |
| Charging | Type-C port, 10 W input, about 2 to 3 hours |
| Runtime | 20 to 30 minutes |
| Working Temperature | -10°C to 45°C |
| Dimensions | 157 × 61 × 61 mm |
| Weight | 438 g |
| Noise Level | 85 dB or below at 1 meter |
| Display and Presets | LED screen, PSI/BAR/KPA/Kg/cm², 5 preset modes |
The dual display shows measured pressure, preset pressure, battery status, and the selected application mode. The five preset modes let you start from a typical setting for a given use and then adjust the target to match your own placard or tire recommendation.
Hardware Features Versus Per-Charge Estimates
When reading any product sheet, separate the physical features from the performance estimates. The LP1’s 438 g weight, Type-C port, built-in 2-in-1 hose storage, and LED light are hardware you can see and handle. These details will be the same for every unit, regardless of how or where it is used.
The per-charge figures are a different kind of claim. Our product data estimates that a full charge can handle about 2 car tires, 8 motorcycle tires, or 50 basketballs. For bicycles, the published estimates range from about 10 to 15 tires depending on test conditions. Treat all of these as manufacturer estimates rather than a guaranteed capacity, because actual results vary with starting pressure, target pressure, tire volume, and temperature.
In practice, a top-up from 28 to 33 PSI uses far less battery than inflating a tire from zero. Topping up regularly, before pressure falls far, gets the most out of each charge. Keep the working temperature range of -10°C to 45°C in mind as well, since very cold or very hot conditions affect battery performance.
Practical Scenarios Suited for the LP1 Form Factor
The compact water-cup shape and 438 g weight make the LP1 easy to keep close to the vehicle or bike it serves:
- Daily Car Commuting: Stored in a door pocket or compartment, the pump is ready when your tire pressure warning light comes on after a cold night.
- Road and Mountain Biking: Riders can set a precise target such as 90 PSI without the effort of a hand pump before a ride.
- Motorcycle and Scooter Trips: The small size suits under-seat or luggage storage on rides far from service stations.
- Family Sports and Recreation: The ball needle and nozzle handle basketballs, soccer balls, and swimming rings.
The built-in LED light helps when you need to find a valve stem and attach the hose at night. Together with the auto shut-off, it means one person can complete a roadside top-up in the dark with both hands free for the hose and valve.
Frequently Asked Questions (FAQs)
Is 150 PSI the pressure I should set for my passenger car tires?
No. 150 PSI is the maximum pressure the pump is rated to produce, not a target for car tires. Most passenger cars call for roughly 30 to 36 PSI cold. Always use the value on your driver-side door jamb placard or in the owner’s manual.
Why does the tire pressure reading change after driving?
Driving warms the air inside the tire, and warmer air raises the pressure, often by a few PSI. For an accurate baseline, check pressure when the tires are cold, after the car has been parked for at least three hours.
How does the auto shut-off protect against over-inflation?
The controller watches the pressure sensor reading throughout inflation. When the measured pressure reaches the target you set, it stops the motor. This lowers the risk of over-inflation, but you should still stay nearby during inflation and check the final reading after the pump stops.
Can a cordless portable inflator replace a workshop air compressor?
No. A cordless inflator is built for top-ups, seasonal adjustments, and roadside use. It cannot supply the continuous air volume a workshop compressor provides for air tools, paint sprayers, or seating the beads on large off-road tires.
How should I store the inflator’s lithium battery in a car?
Avoid leaving the pump on the dashboard or anywhere in direct sun, where cabin temperatures climb quickly. A shaded door pocket, glove box, or trunk organizer works better. The stated -10°C to 45°C range is the product’s working-temperature specification. Store and charge the pump according to the manufacturer’s battery instructions, and check its charge before relying on it for a trip.
Conclusion
Correct tire pressure supports safe braking, even tread wear, and better fuel economy on every trip. A portable tire inflator with digital display lets you check and correct pressure wherever you are, without depending on unreliable station equipment. Use the cold pressure on your door placard, respect the pump’s limits, keep the adapters with the unit, and a compact cordless tire inflator with a digital gauge turns tire maintenance into a quick, routine task.
-
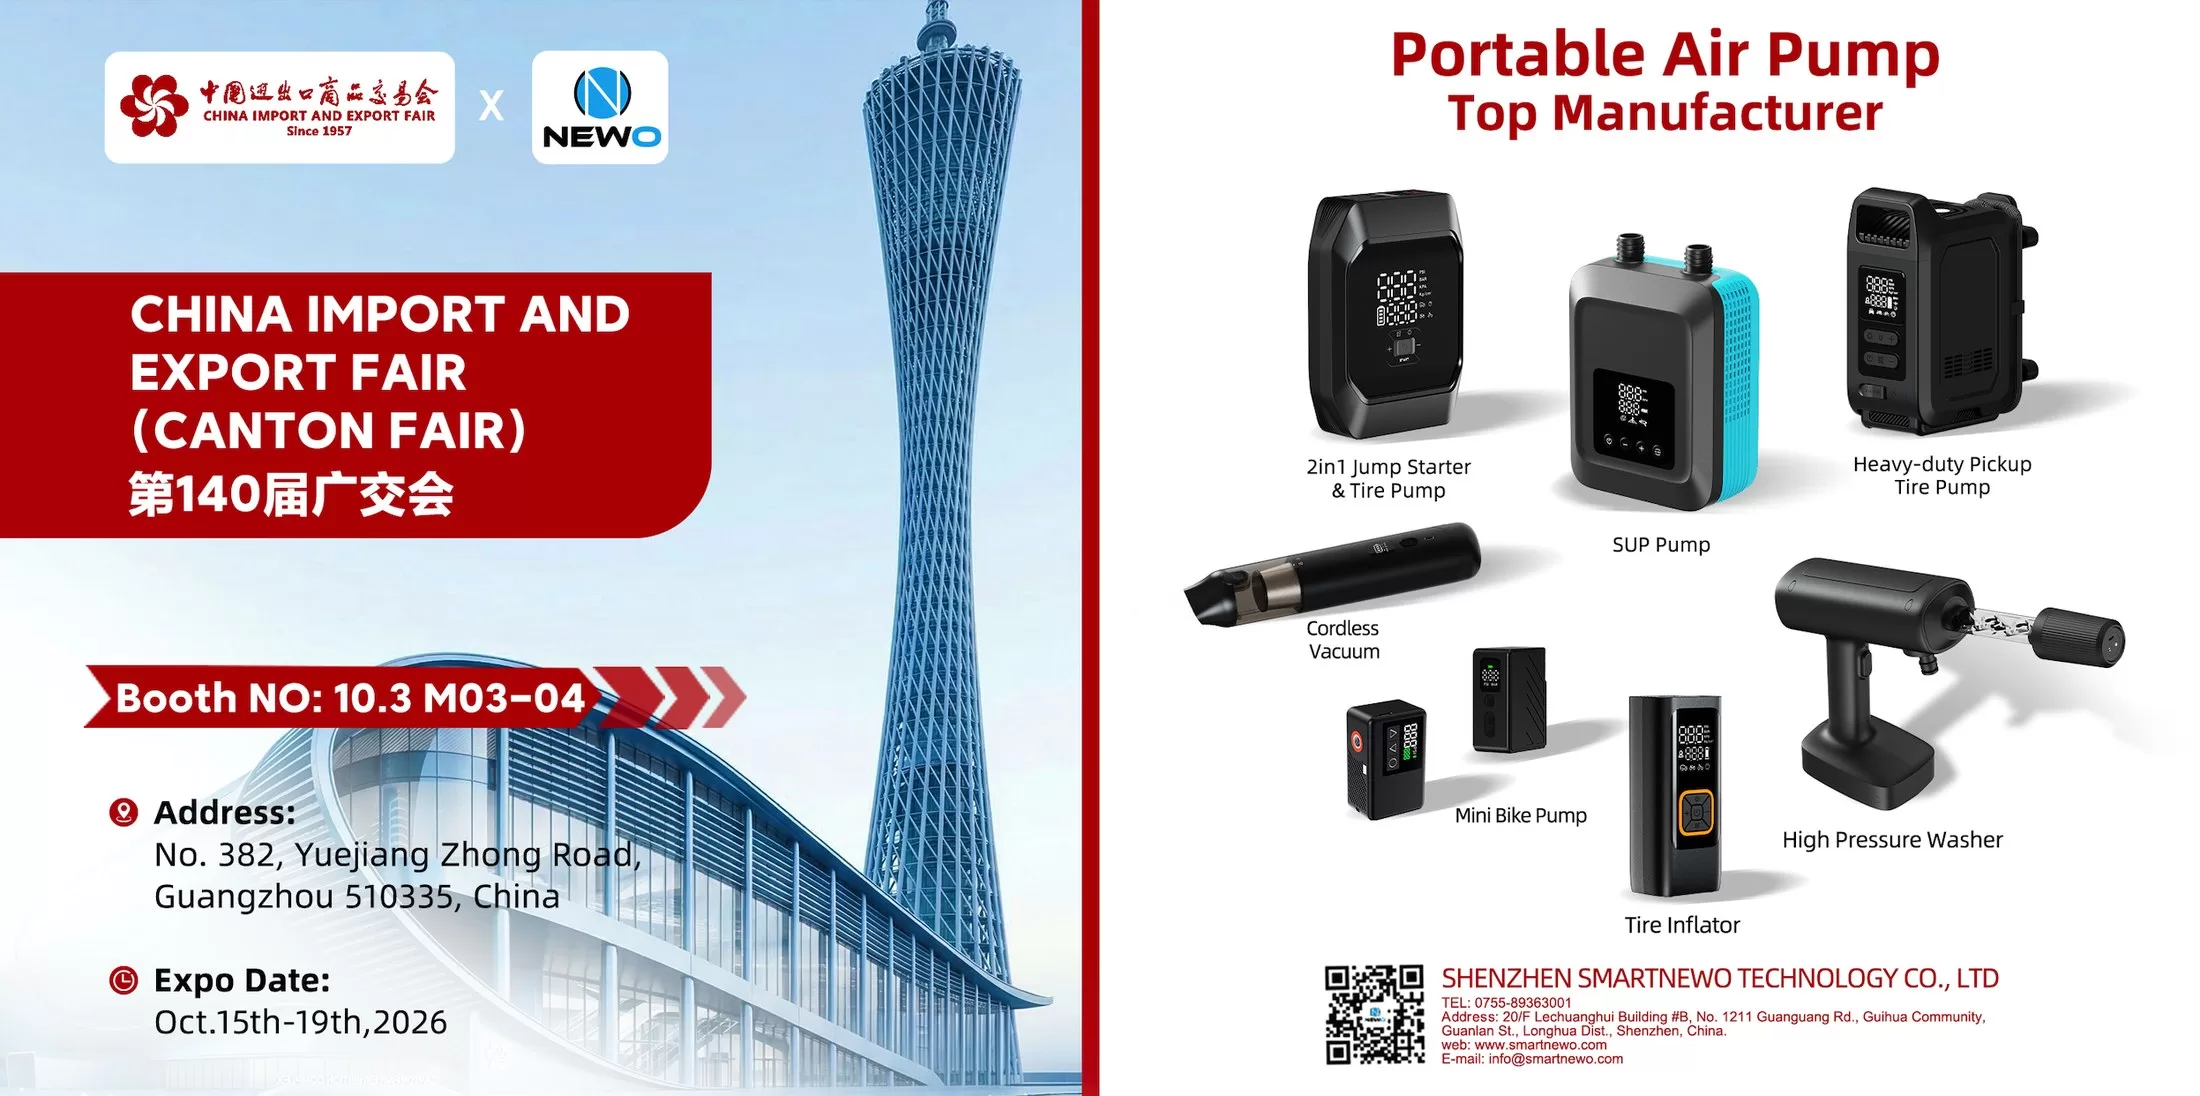
Meet NEWO at the 140th Canton Fair: Visit Booth 10.3 M03–04
Meet NEWO at the 140th Canton Fair in Guangzhou, October 15–19, 2026. Visit Booth 10.3 M03–04 to explore portable air pumps and discuss OEM, ODM and distribution opportunities.... -

As Shenzhen Welcomes the World for APEC 2026, NEWO Welcomes You to Our Factory
As Shenzhen prepares for APEC 2026, NEWO welcomes international buyers and partners to visit our factory, meet our team and explore future cooperation.... -
Leading the Way in Product Innovation and Excellence
Smartnewo exemplifies professionalism in product innovation and manufacturing. Their collaboration with Xiaomi Youpin on the G01 crowdfunding project highlights their expertise in creating compact, powerful inflatable pumps. Rigorous engineering, meticulous production processes, and advanced quality assurance underscore their commitment to excellence. The success of the G01 project, with significant market... -
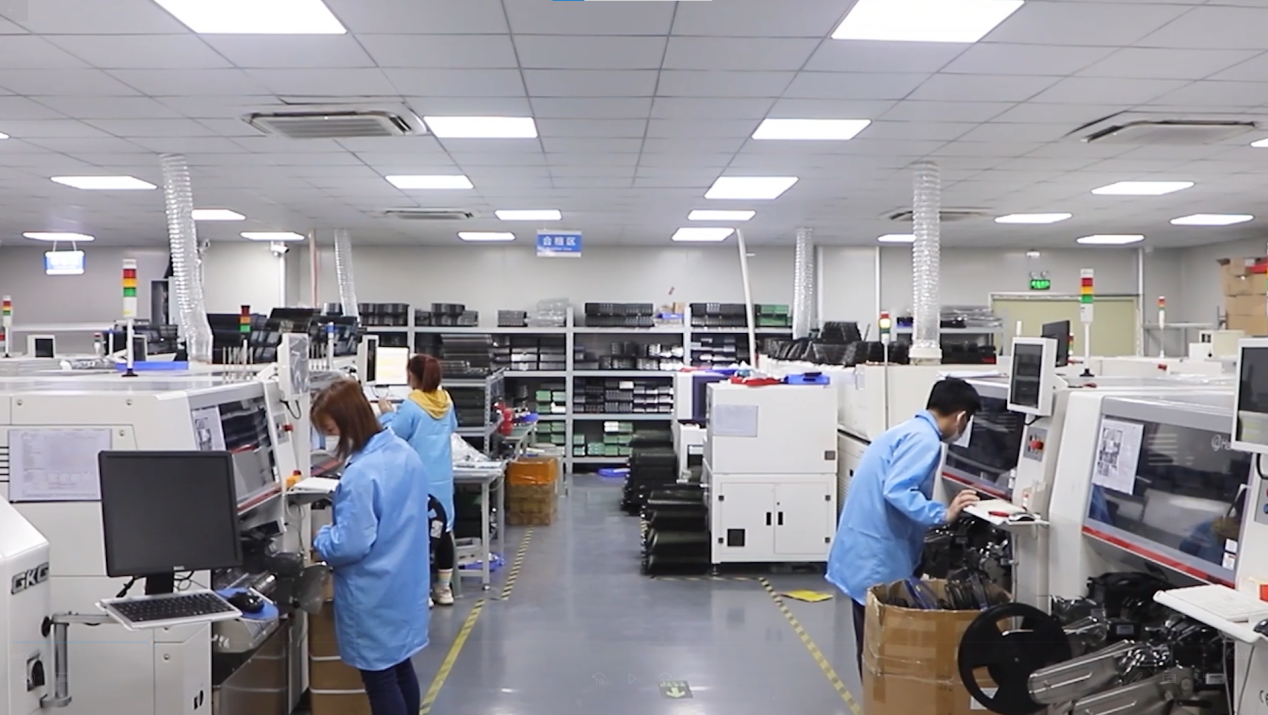
Essential Qualities of an Excellent Supplier
In today's competitive market, finding a reliable supplier is crucial for business success. Based on insights from Smartnewo and broader internet research, here are key qualities an excellent supplier must possess:... -
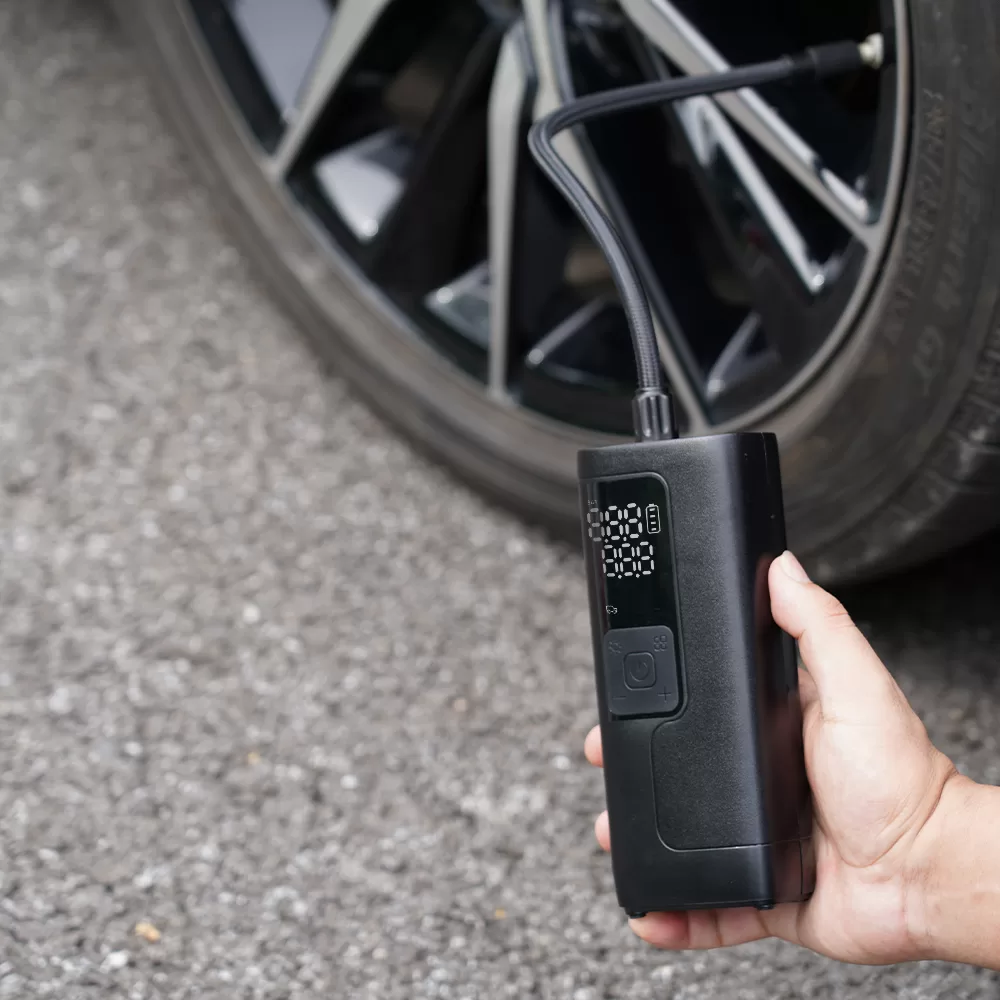
NW06 Tire Inflator: Compact Power for Quick Inflation
Summary The NW06 Tire Inflator delivers quick and efficient tire inflation with a powerful 35L/min airflow. It features a user-friendly LCD screen for real-time pressure monitoring, dual power options with a built-in 6000mAh battery, and multiple nozzle attachments for versatile use. Its compact design and integrated LED light ensure convenience and... -
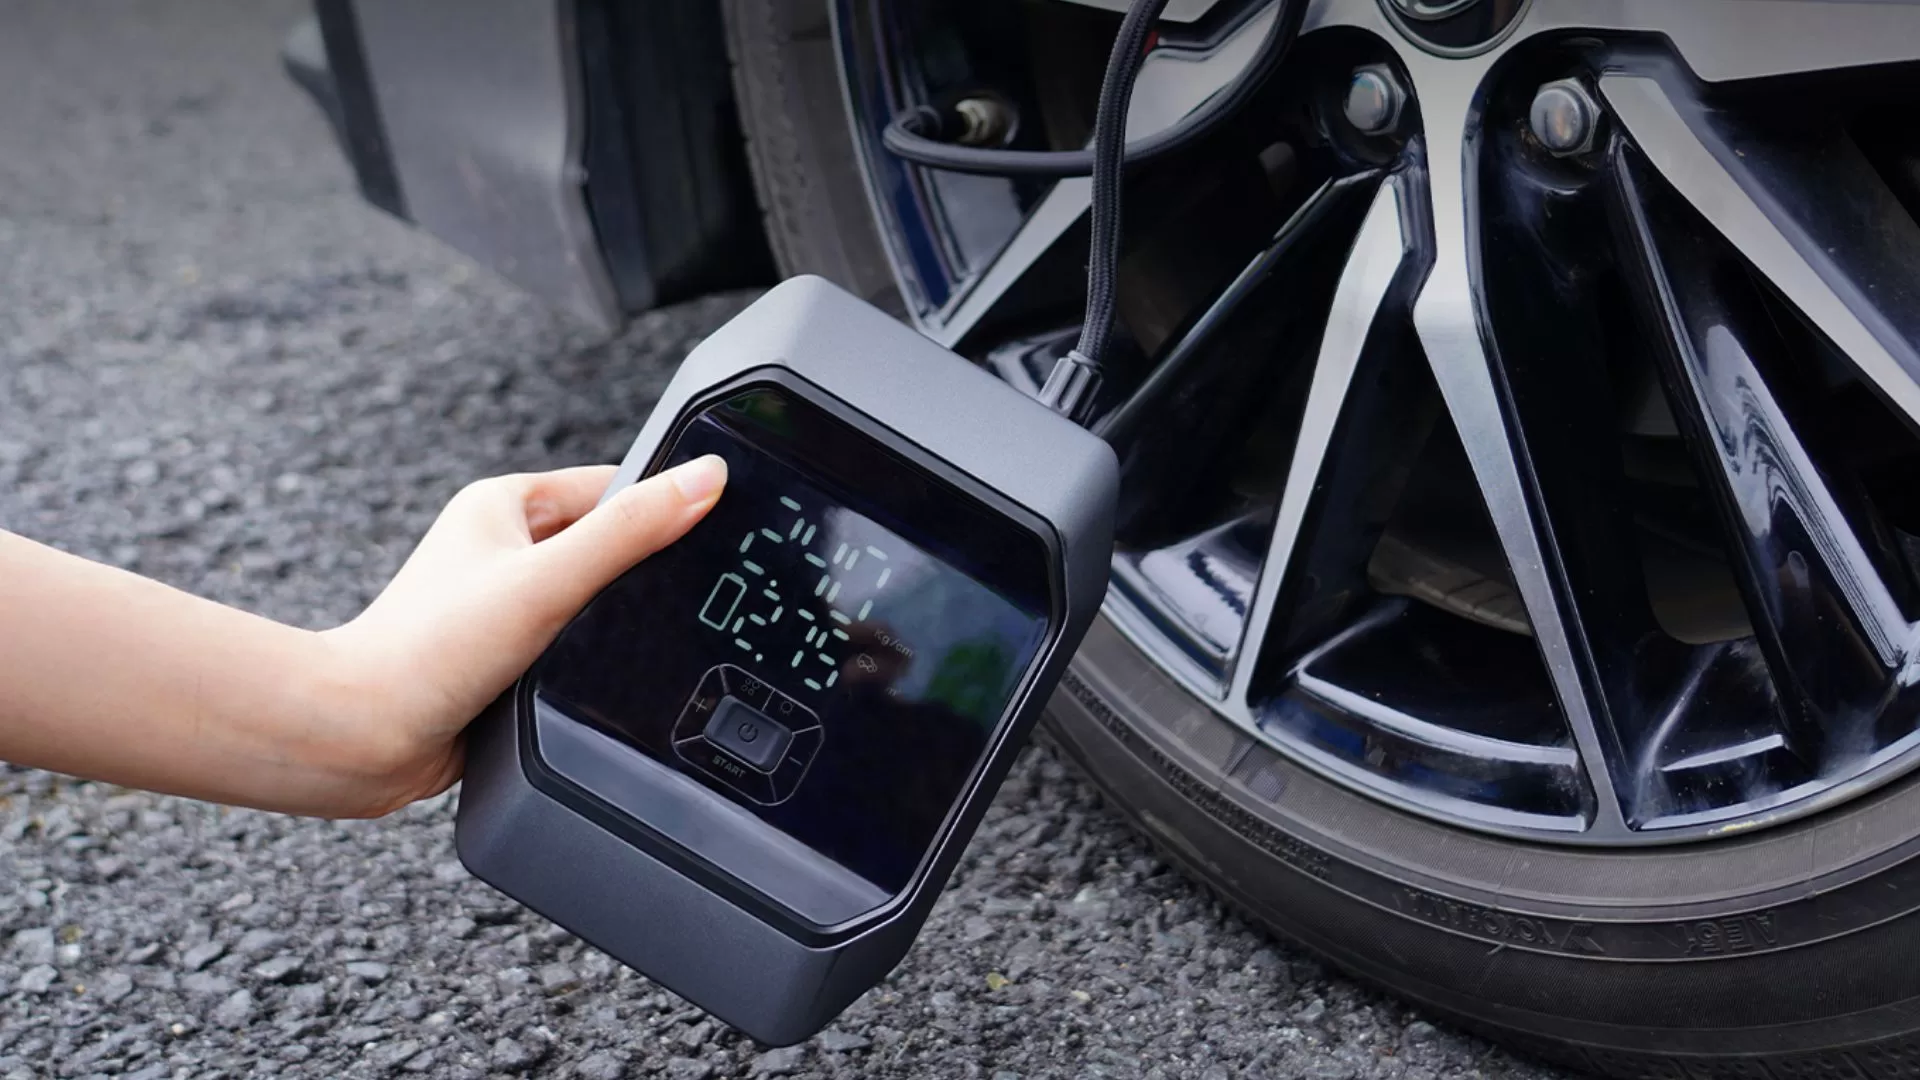
Unleash the Power of Portability: The SmartNewo Jump Starter with Air Compressor KF03
This guide will walk you through the steps to effectively use a portable tire inflator, helping you stay prepared and safe on the road.... -

Newo Attends The 2024 Consumer Electronics Show (CES)
Smartnewo booth is located at 53672, Halls A-D, Level 2, Venetian Expo, Las Vegas Convention Center (LVCC). ... -
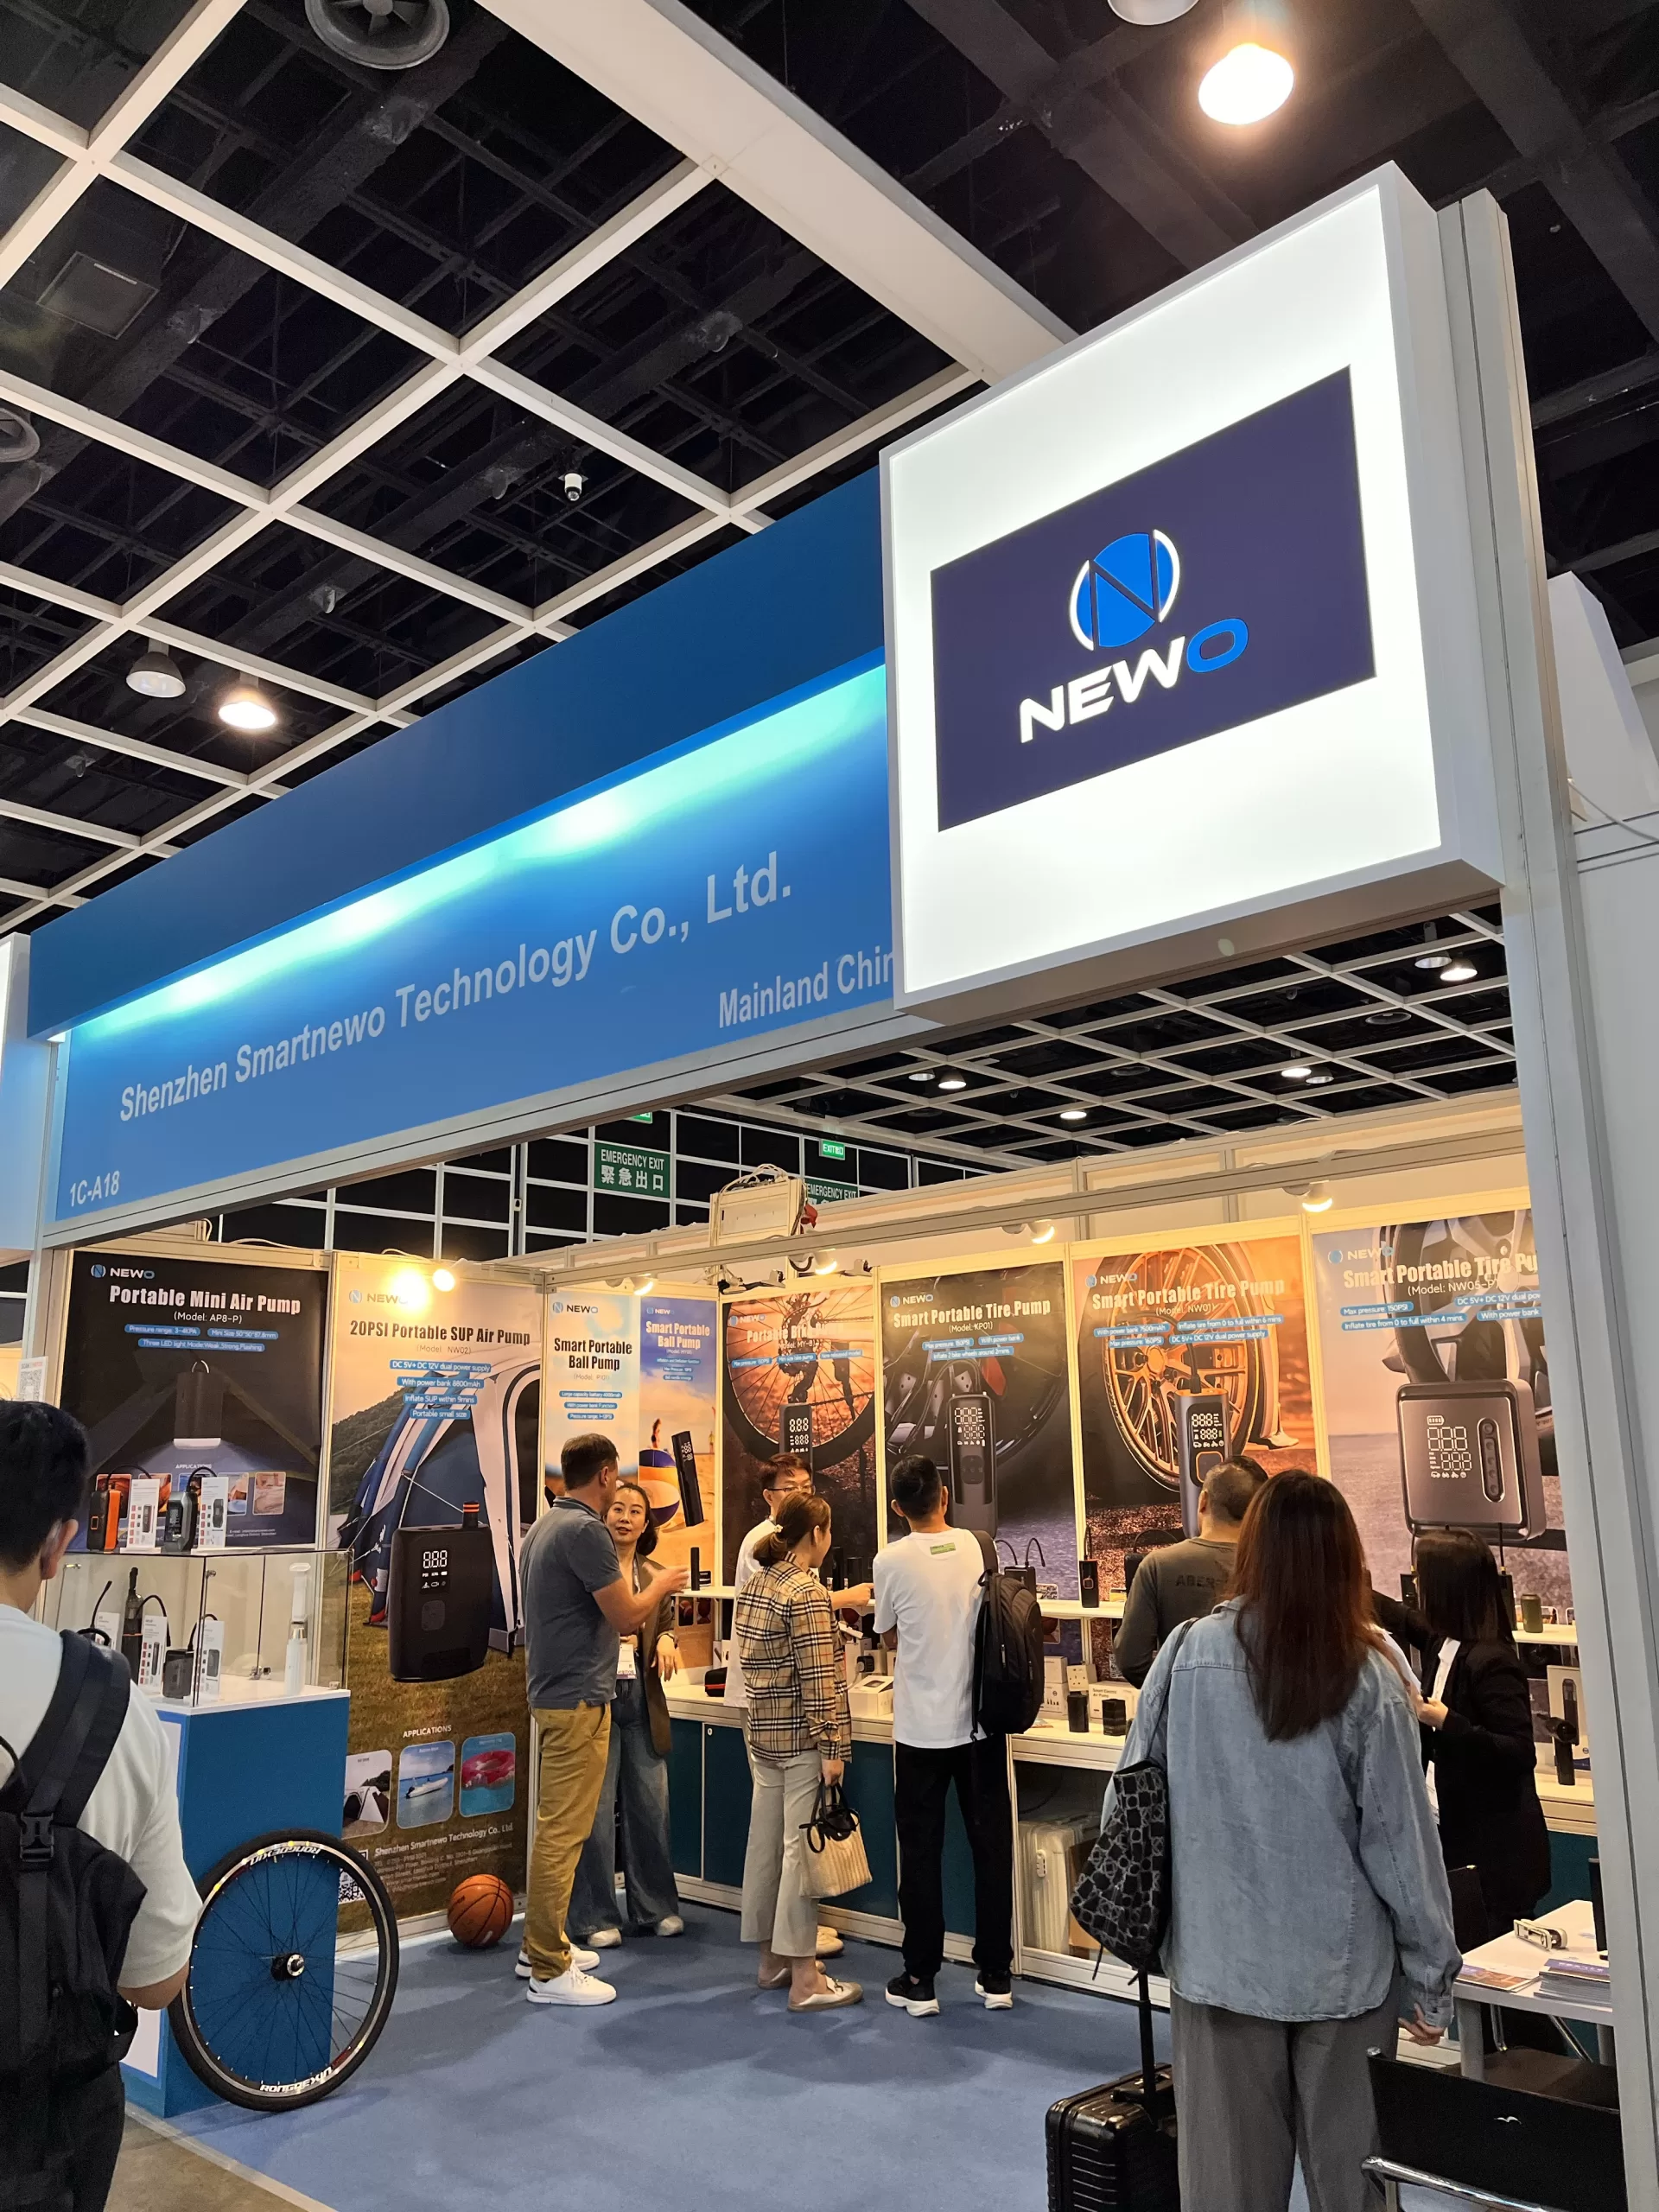
Smartnewo’s Dual-Cylinder Air Pump Rocks the Hong Kong Autumn Electronics Fair!
Smartnewo’s Dual-Cylinder Air Pump Rocks the Hong Kong Autumn Electronics Fair!... -

Meet at the Canton Fair! Smartnewo brings dual-cylinder air pumps, making your inflation experience faster and more stable!
NEWO has went deep communication and negotiation with customers from all over the world on booth.... -
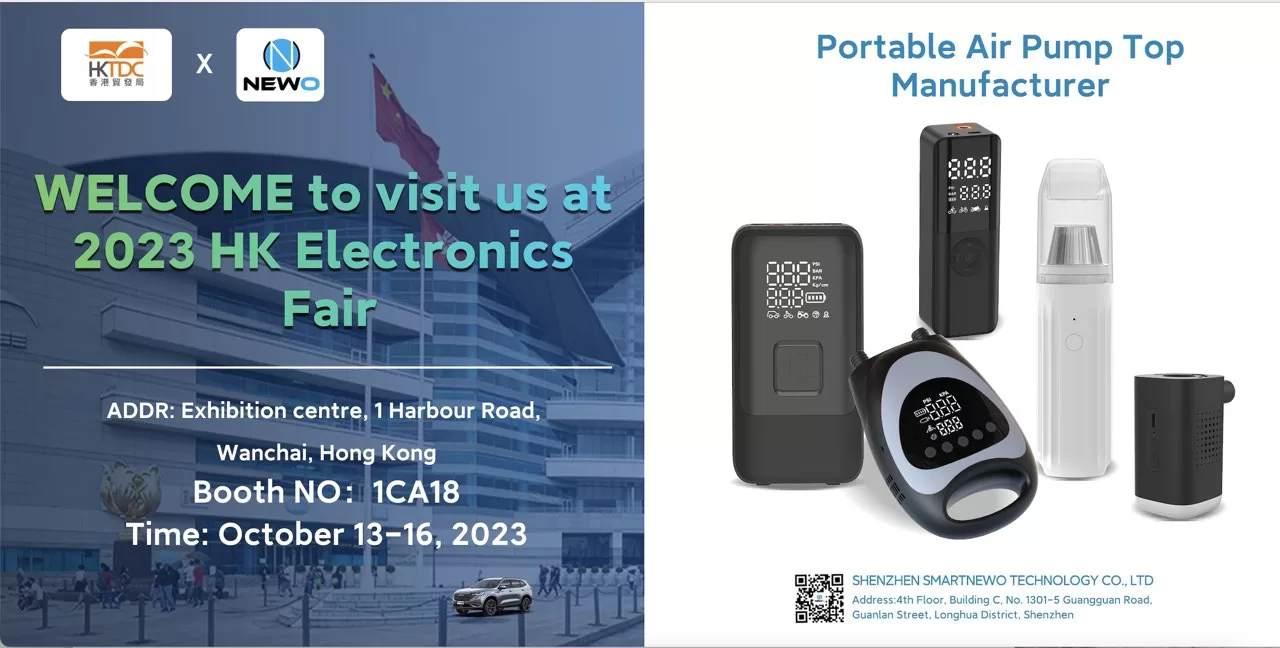
“Hong Kong Autumn Electronics Fair – 1CA18 (October 13th to 16th): Smartnewo invites you to visit our booth!
Hong Kong Autumn Electronics Fair...
-
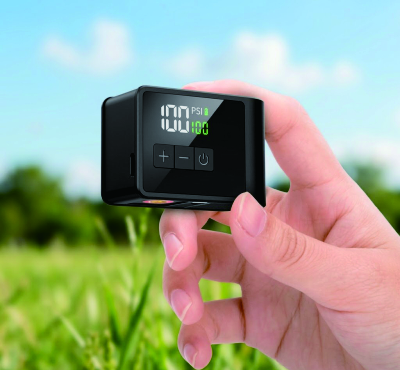
What to Check Before Ordering Custom Electric Bike Pumps
Plan custom electric bike pumps with a clear requirements freeze for valves, TPU tubes, portability, repeated top-ups, charging, and model-specific documents.... -

OEM vs ODM Air Pumps: Which Manufacturing Model Fits Your Brand?
Compare OEM and ODM air pump projects by design responsibility, change approval, development scope, and written ownership terms before choosing your route.... -

How to Choose a Reliable Tire Inflator Manufacturer in China
Choose a tire inflator manufacturer in China with a focused RFQ, supplier evidence, configuration checks, and clear sample-to-pilot decisions for your brand.... -
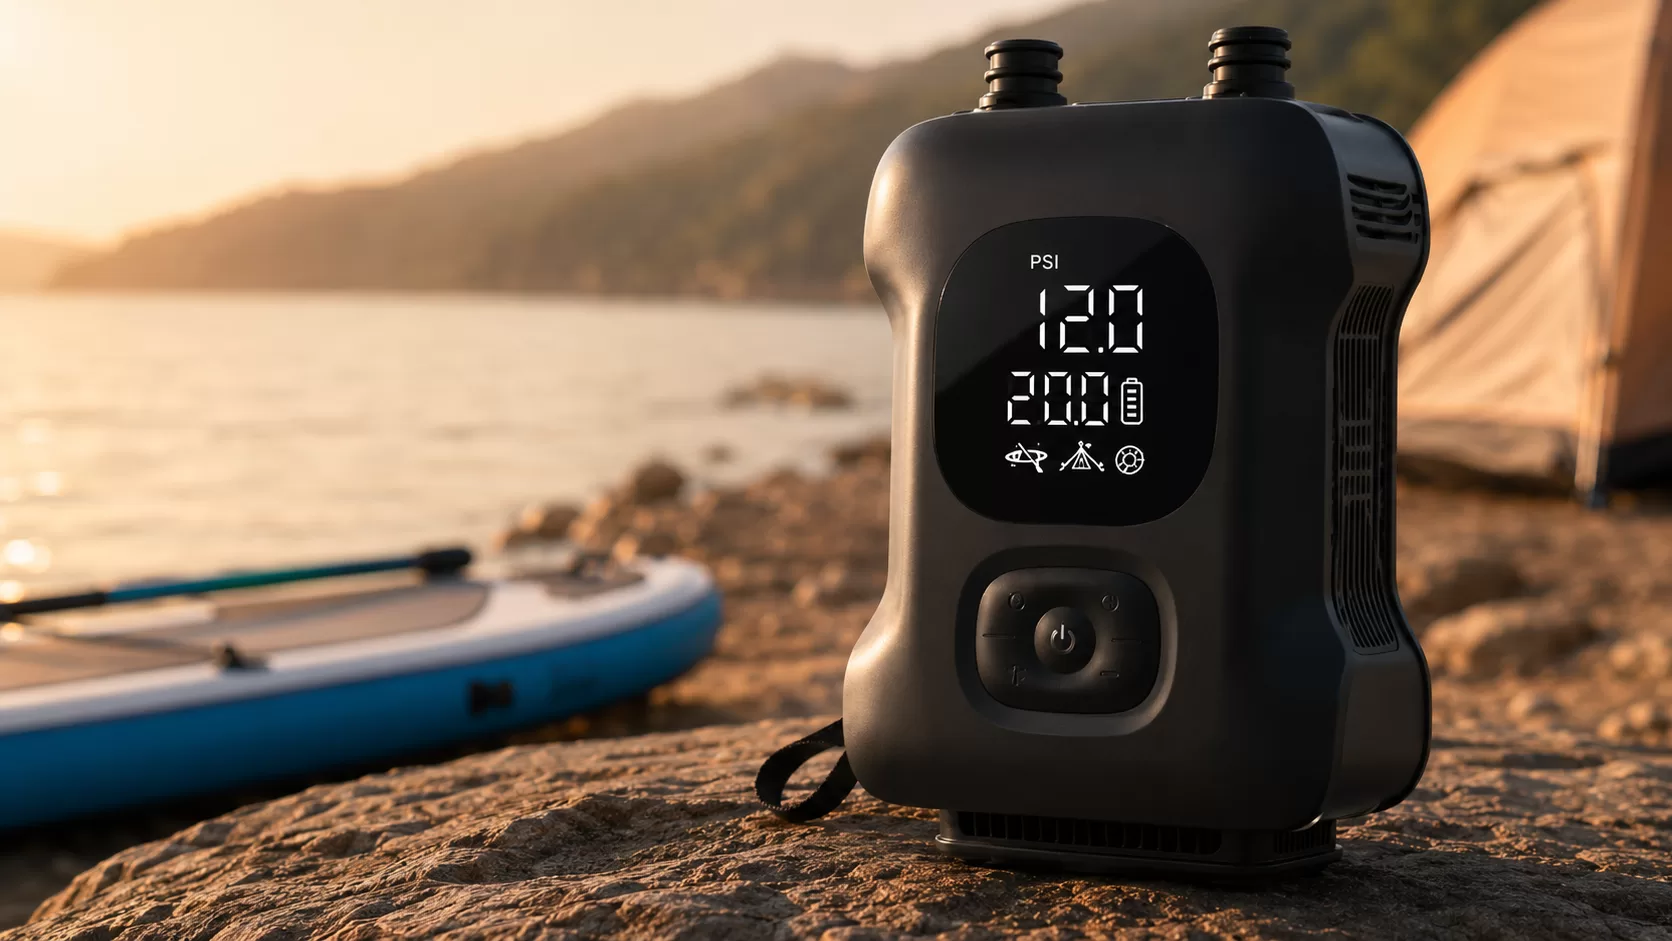
Rechargeable Electric SUP Pump for Paddle Boards: Faster Inflation for SUPs, Kayaks and Inflatable Tents
The BL10-C Portable Electric Bike Tire Inflator is a compact and lightweight mini electric bike pump designed for modern cyclists. With up to 120 PSI pressure, a digital LED display, preset pressure control, automatic shut-off, USB-C charging, and multiple valve adapters, BL10-C offers a convenient inflation solution for road bikes,... -
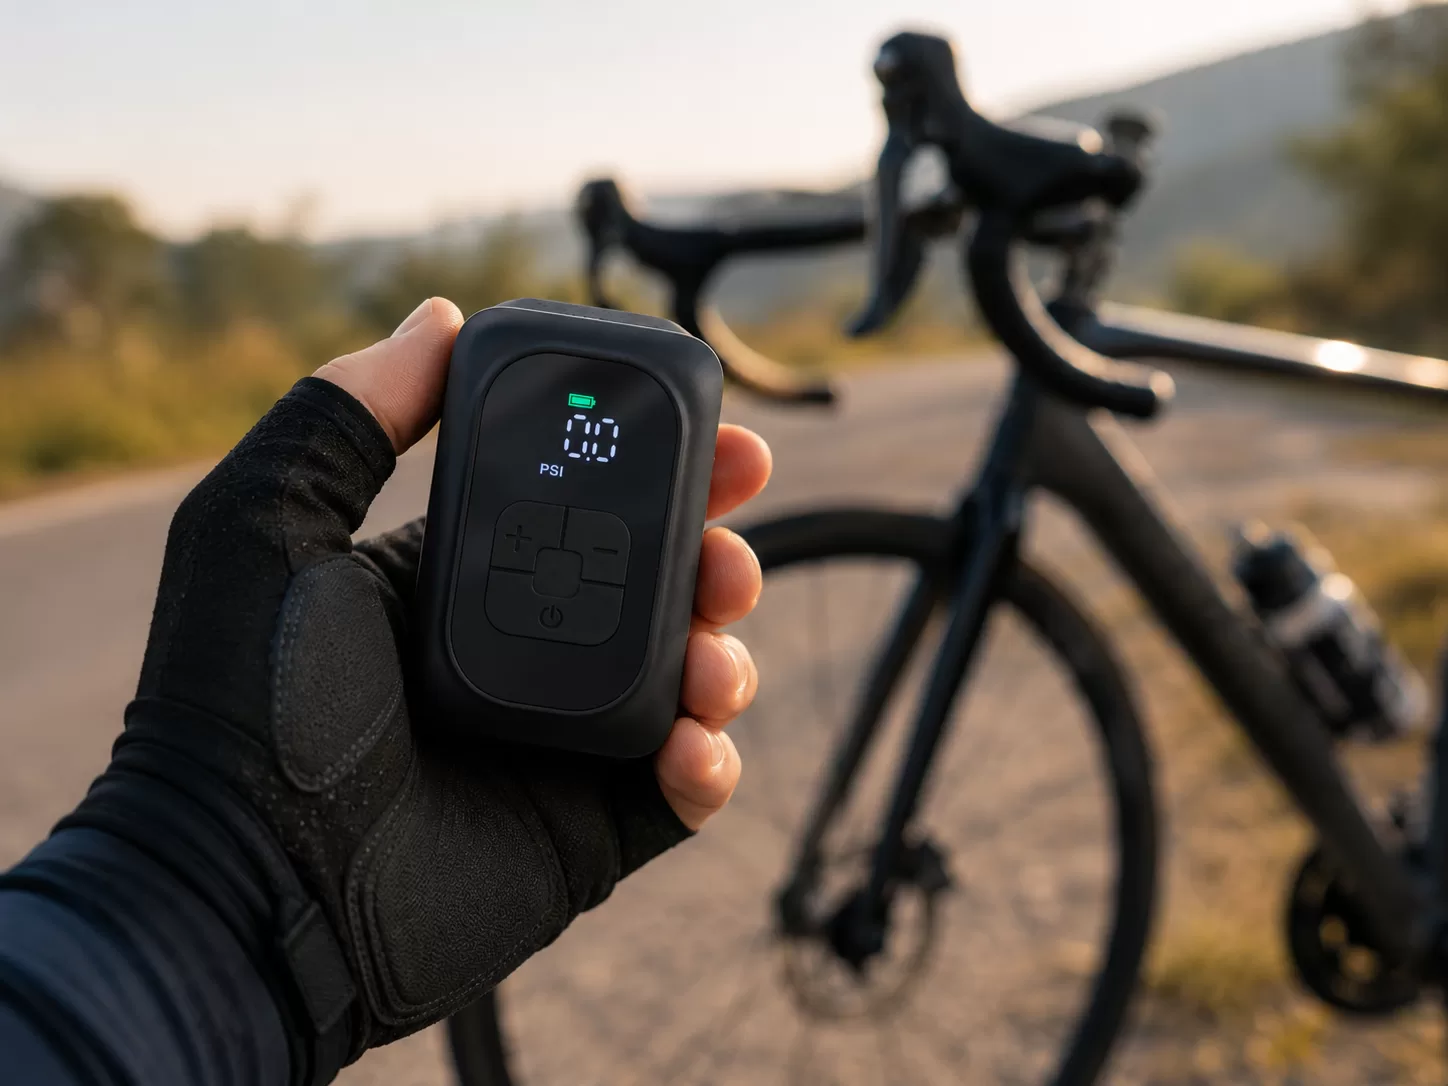
Are Electric Bike Pumps Worth It in 2026? Electric Pump vs CO₂ vs Mini Hand Pump
Discover whether electric bike pumps are worth it in 2026. This guide compares electric bike pumps, CO₂ inflators, and mini hand pumps for road cycling, gravel riding, commuting, and long-distance rides. Learn the pros, limitations, best use cases, and key features to look for before choosing the right portable tire... -
BL10-C Portable Electric Bike Tire Inflator: Small Size, Reliable Power for Every Ride
The BL10-C Portable Electric Bike Tire Inflator is a compact and lightweight mini electric bike pump designed for modern cyclists. With up to 120 PSI pressure, a digital LED display, preset pressure control, automatic shut-off, USB-C charging, and multiple valve adapters, BL10-C offers a convenient inflation solution for road bikes,... -
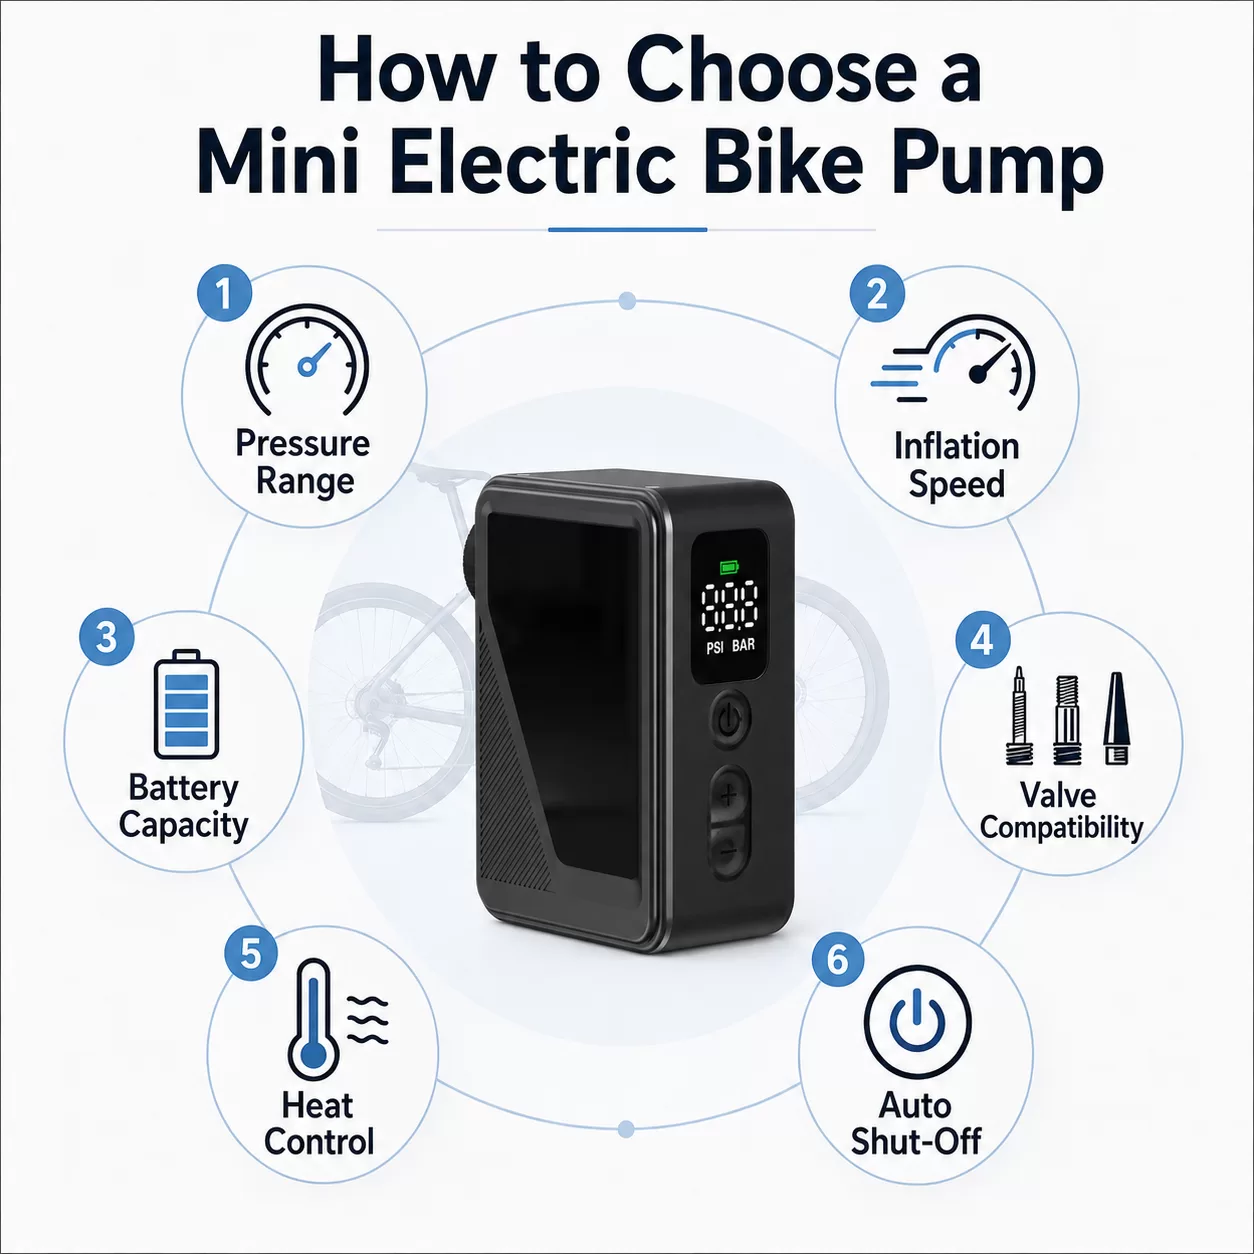
Why Mini Electric Bike Pumps Are Becoming Essential for Modern Cycling
Discover why mini electric bike pumps are becoming essential for modern cyclists. Learn how portable electric bike pumps improve tire pressure management, riding safety, and convenience.... -
The Ultimate Smart Solution for Easy Outdoor Adventures in 2026
Discover how a spring travel air pump simplifies outdoor trips with fast inflation, smart features, and powerful performance—perfect for every adventure.... -
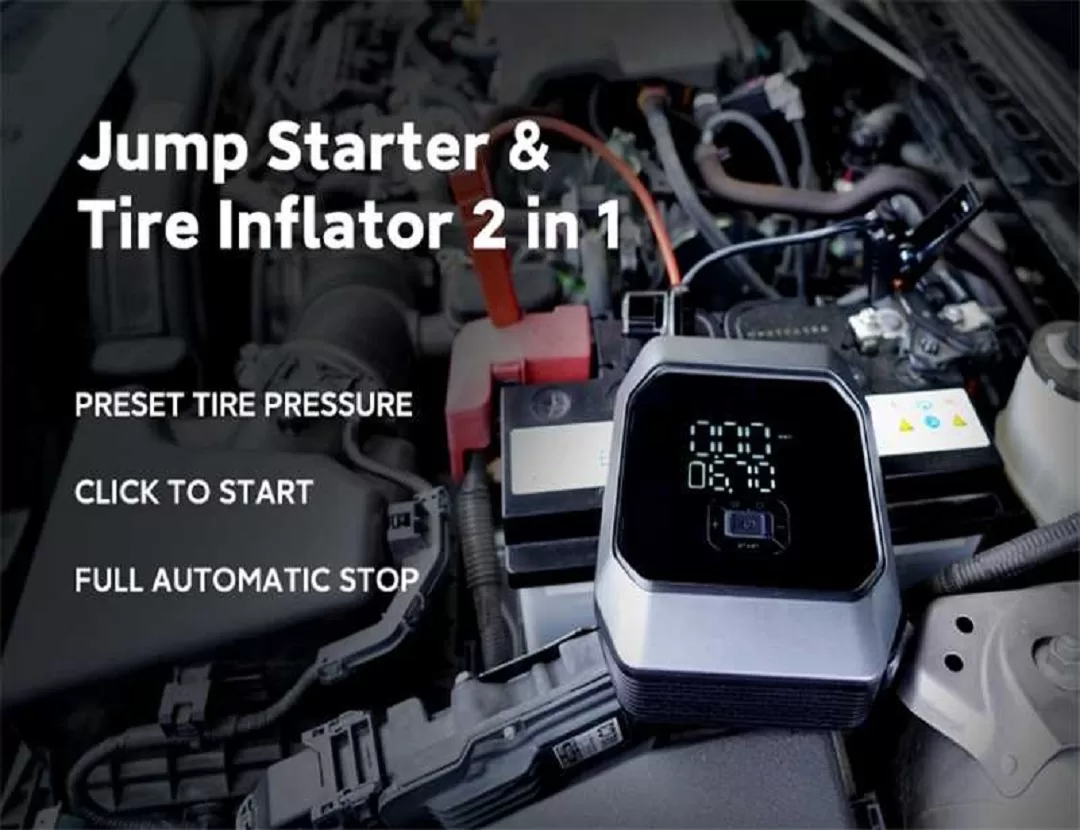
Powerful 5-in-1 Portable Car Tire Inflator and Jump Starter: The Ultimate Emergency Tool for Every Driver
Why Every Driver Needs a Portable Car Tire Inflator and Jump Starter Modern drivers face many unexpected situations on the road. A flat tire, low tire pressure, or a dead car battery can happen at the worst possible time. That’s why having a portable car tire inflator and jump starter is... -
7 Real Cycling Scenarios That Show Why Every Rider Should Carry a Mini Bike Pump
Cycling is one of the most freeing activities you can enjoy. Whether you’re commuting to work, riding through city streets, or exploring quiet countryside roads, a bike ride can instantly improve your day. But there’s one small problem that almost every cyclist eventually faces: Low tire pressure. It might happen...
-
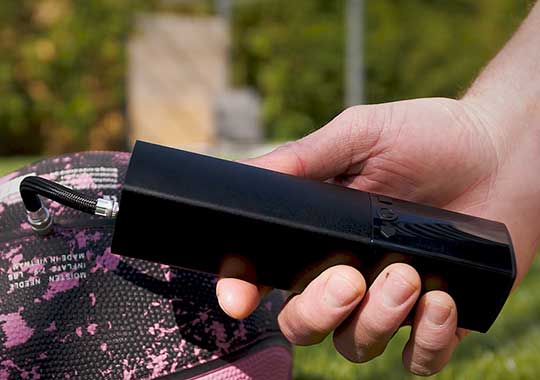
How Is a Football Properly Inflated?
The correct inflation of a football - with not too much and not too little air - is a hotly debated topic among footballers.... -
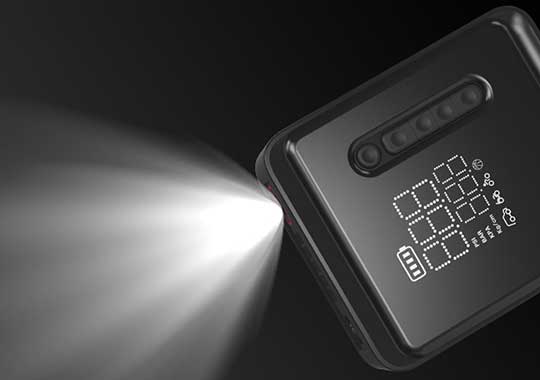
Application Scenarios of Car Inflator Pump
Often long-distance business trips or play car owners because the road may be more remote areas, in this case if you encounter a tire leak....