

 Portable Tire Inflators
 Electric Air Pumps
 Electric Car Tyre Pumps
 Electric Ball Pumps
 Electric Bike Pump
 SUP Air Pump

Mastering the Portable Bike Tyre Inflator: Mechanics, Pressure Management, and Roadside Reliability
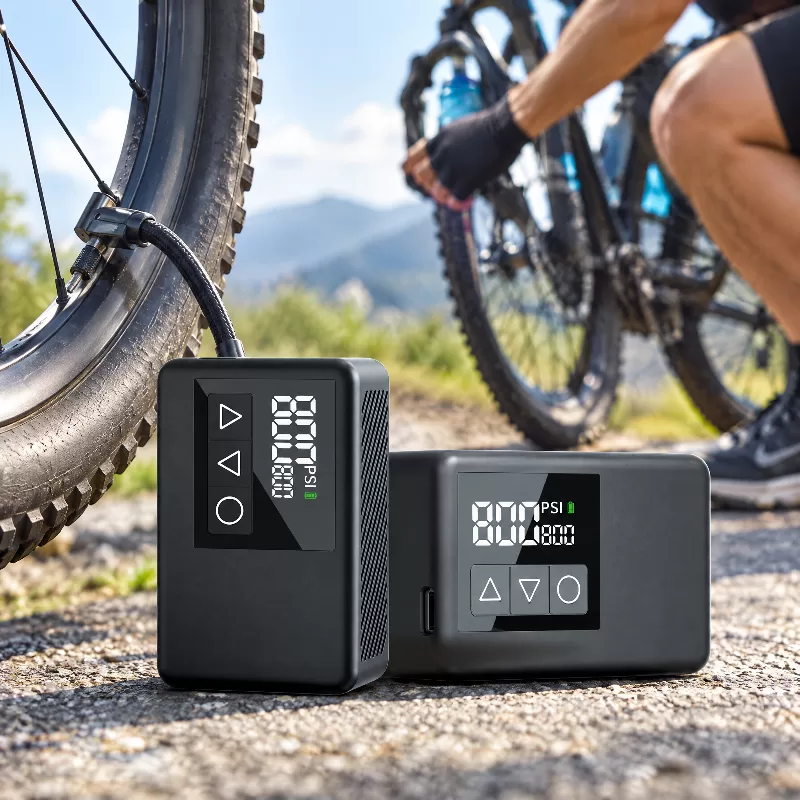
Punctures have an uncanny habit of occurring at the most inconvenient point of a ride, miles away from shelter or roadside assistance. For decades, cyclists faced a grim compromise between the endless, arm-numbing effort of a pocket hand pump and the single-shot gamble of a freezing CO2 canister. The arrival of the modern portable bike tyre inflator has fundamentally shifted that roadside reality. By condensing a miniature motor-driven pump, an integrated digital pressure sensor, and a lithium power cell into a pocket-sized chassis, these handheld devices turn a grueling mechanical chore into a calculated push-button operation.
Yet, relying on micro-pneumatics requires a practical understanding of how small air compressors actually behave under load. A pocket electric pump is not simply a miniature workshop compressor; it operates against distinct thermal, energetic, and volume constraints. Navigating real-world punctures requires cyclists to understand pressure thresholds, valve mechanics, and battery management to ensure their gear delivers when called upon, especially when remote terrain leaves little margin for equipment failure or miscalculation during a sudden mechanical stop.
Understanding the Modern Portable Bike Tyre Inflator
What Defines an Electric Handheld Inflator?
At its core, an electric bicycle inflator uses a motor-driven pump to compress and deliver air through the valve connection into the tyre casing. The BL01 is specified as a small brushless pump, but its detailed internal pneumatic architecture is not stated in the available product specifications. In general portable pump operations, ambient air enters intake ports and is compressed toward the tyre stem. Pump design and manufacturing quality can influence efficiency and heat, but the available BL01 specifications do not quantify either. Handheld units deliver air dynamically in a continuous stream of low-displacement strokes, making them practical for roadside pressure maintenance rather than high-volume burst delivery.
Portable Electric Pumps vs. Traditional Mini Hand Pumps
Manual mini pumps remain celebrated for their mechanical simplicity because they contain no batteries to deplete and no electronic boards vulnerable to moisture ingress. However, high-pressure inflation with a short manual pump can require many repeated strokes, especially from a completely flat starting pressure, straining wrists and increasing the risk of valve stem damage. Electric inflators reduce the repeated pumping effort required from the rider while integrating real-time pressure sensing. A rider presets the desired pressure, attaches the nozzle, and lets the internal drive mechanism work, shifting the practical trade-off from physical endurance to energetic awareness: you must ensure the battery holds adequate charge before leaving home.
Portable Inflators vs. Home Floor Pumps
A full-sized track pump in a home workshop generally moves more air per stroke than a mini pump and is designed specifically for routine garage maintenance and setting up tyres. Its long leverage barrel delivers steady volume without relying on electrical battery reserves. Pocket inflators cannot match this instantaneous volume. Instead, the pocket unit serves as an active roadside insurance policy, trading the mechanical leverage of a floor pump barrel for a compact form factor that riders can pack away on the bike without compromising handling or adding excessive weight to their riding kit.
Critical Specifications to Evaluate Before Buying
Maximum Pressure vs. Usable Operating Range
A maximum-pressure figure describes the upper rated range, not necessarily the pressure most riders should use. Many current road setups use lower pressures than older narrow-tire recommendations, but the correct pressure remains specific to the complete tire-and-rim system. The BL01 is specified for a 2–120 PSI range and is intended for bicycle tires and sports balls. Users should select a pressure appropriate to the specific item and its manufacturer’s limits, ensuring the target remains below the lower maximum marked by the rim or tyre manufacturer.
Airflow Rate and Inflation Speed
Airflow, measured in liters per minute (L/min), provides an indicator of pneumatic delivery under nominal conditions. The BL01 is specified at approximately 14 L/min airflow, but actual inflation time depends on tyre volume, starting pressure, target pressure, battery condition, and connection losses. When calculating real-world speed, tyre volume matters far more than target pressure; a wide cross-country mountain bike tyre holds vastly more air volume than a narrow road casing, requiring prolonged motor operation even though the final pressure is considerably lower.
Battery Architecture, Runtime, and Charging Flexibility
The internal cell is the central energy source of any cordless inflator. The BL01 uses a 25C polymer battery specified at 7.4 V and 500 mAh (3.7Wh). The available product data does not quantify its current delivery or motor performance under load, but it provides the power supply required by its brushless drive mechanism. Charging infrastructure also determines field readiness. The BL01 supports A-to-C and C-to-C charging cables, allowing charging from compatible wall adapters, vehicle USB outlets, computers, or power banks during multi-day bikepacking trips.
Physical Dimensions, Form Factor, and Thermal Management
Every millimeter counts when organizing saddlebags, frame packs, or jersey pockets. Its listed 71.5 × 45 × 32 mm dimensions make it suitable for consideration in a compact cycling kit, although riders should check their own storage space. Compactness, however, concentrates the heat generated by air compression into a small thermal mass. The housing includes visible ventilation slots. The available specifications do not state a thermal-throttling threshold, so users should allow the unit to cool if it becomes hot during use, noting its specified acoustic signature of 80 dB or below at 1.5 meters.
| Equipment Type | Operating Pressure Context | Stated Airflow Profile | Primary Power Architecture | Typical Practical Role |
|---|---|---|---|---|
| Everyday Commuter Inflator | Follows rim and tyre limits | Moderate displacement | Lower-discharge Li-ion | Commuting backpack emergency backup |
| BL01 Micro Inflator | 2 – 120 PSI specified range | 14 L/min rated airflow | 7.4V / 25C Polymer pack (40W) | Road, gravel, and MTB on-bike kit |
| Workshop Floor Pump | Model-specific workshop range | High displacement per mechanical stroke | Manual human effort (0W electrical) | Garage maintenance and workshop setup |
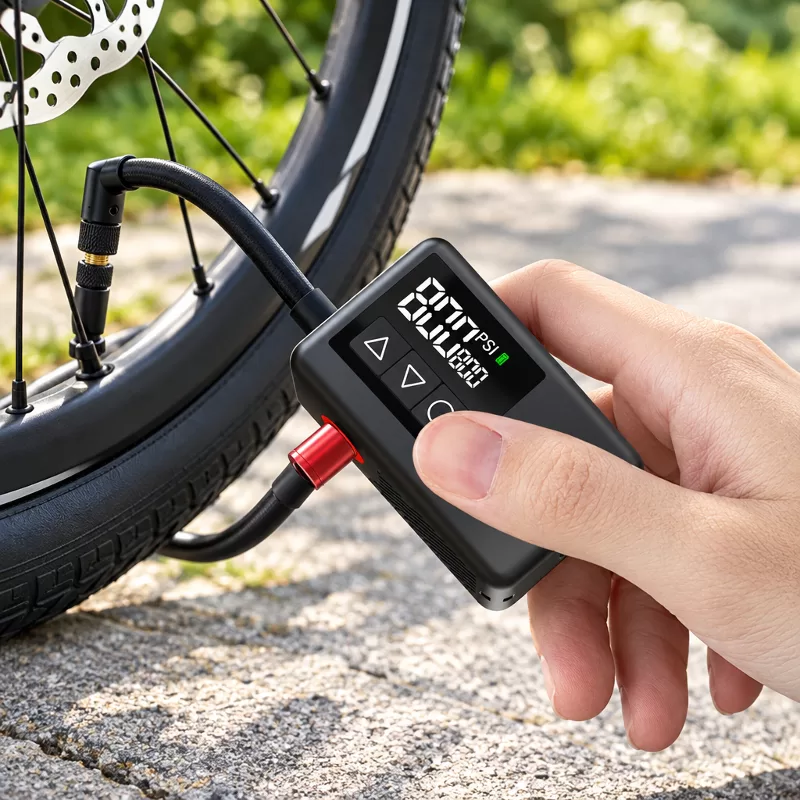
Valve Compatibility and Mechanical Connections
Navigating Presta (French) Valves
Presta valves dominate modern performance bicycles due to their narrow 6 mm profile, which requires a smaller drilling through the rim bed to preserve structural strength. Inside the stem sits a slender valve core controlled by a threaded locknut. For a compatible Presta setup, loosen the small valve tip before attaching the supplied French-valve adapter, following the pump’s connector instructions and avoiding side loading. Aligning and tightening the supplied connection without forcing the valve stem prevents air leaks and protects the delicate valve mechanism from structural damage.
Navigating Schrader (American) Valves
Schrader valves, measuring 8 mm in diameter, are standard on commuter bikes, children’s bikes, e-bikes, and automobiles. Inside the threaded barrel sits a spring-loaded pin that seals automatically until mechanically depressed by the pump chuck. Connecting an inflator to a Schrader valve demands sufficient threading depth or clamp force to depress that internal pin cleanly. If the connector does not depress the Schrader valve core correctly, airflow may be restricted and inflation may fail. Re-seat the connector rather than forcing it, ensuring an unhindered air path into the inner tube.
Multi-Discipline Adapter Ecosystem
A versatile inflator program must handle more than a single bicycle archetype. Carrying interchangeable adapters allows seamless transitions between road bikes, utility trailers, and sports gear.
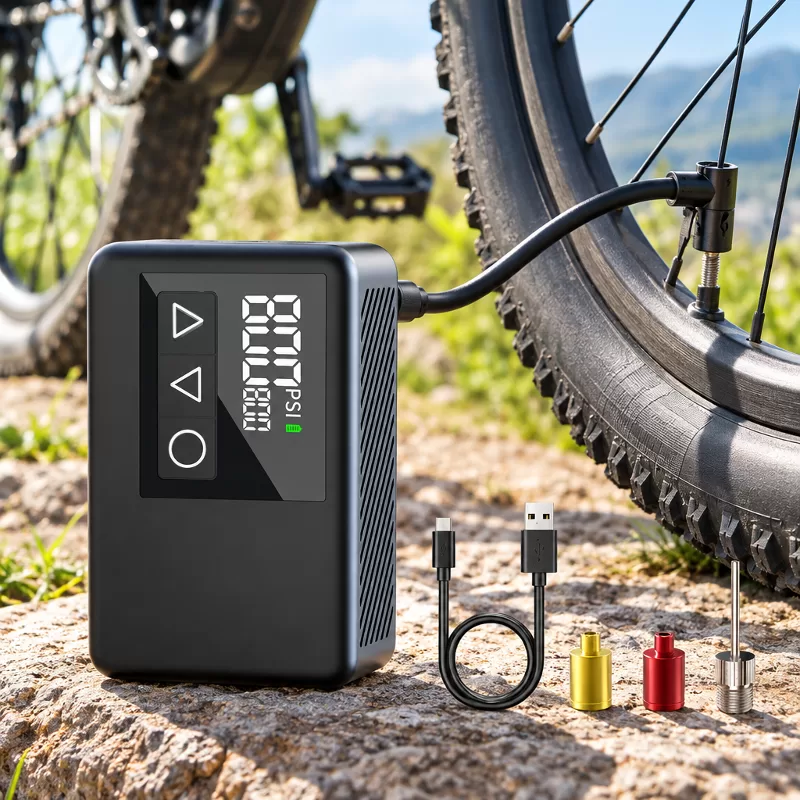
- French Valve Adapter: Connects to Presta stems on road, gravel, and competition mountain bikes without placing excessive bending stress on the valve core.
- Schrader Valve Adapter: Supports compatible Schrader-valve bicycle applications, including many commuter and e-bike tires.
- Inflation Needle: Adapts the high-pressure mini pump for low-volume sports equipment like soccer balls and basketballs.
- Type-C Fast Charging Cable: Supports A-to-C and C-to-C charging cords to replenish the battery from compatible wall chargers and portable power packs.
Preventing Common Attachment and Pressure-Loss Errors
Cross-threading poses a primary hazard when securing adapters onto valve stems. Always start threads by hand using gentle alignment until the thread seats cleanly, then thread until snug without using pliers or excessive torque. During removal, remove the connector promptly and check the pressure again if the connection releases noticeable air. Lingering on the valve stem allows pressurized air to bleed backward past the seal, so a prompt, clean twist preserves your target pressure while keeping the valve stem perfectly aligned.
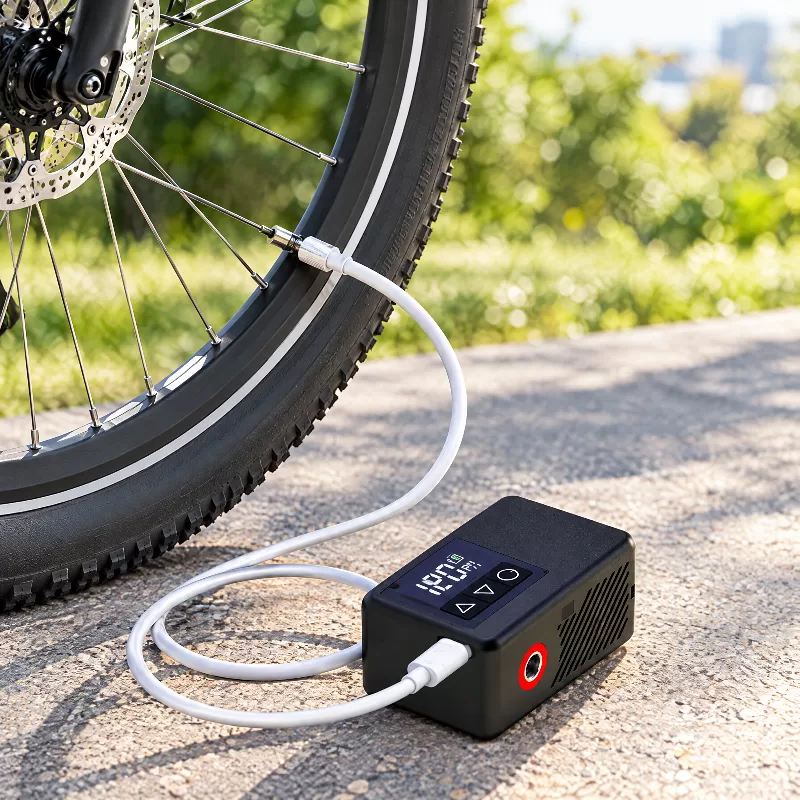
Determining the Correct Tyre Pressure for Your Ride
Reading Sidewall Boundaries vs. Rim Restraints
Sidewall markings state the tyre manufacturer’s permissible pressure range. They do not by themselves provide the ideal riding pressure, which also depends on rider load, tyre width, rim dimensions, casing construction, and surface conditions. Rim construction further complicates the equation. Hookless systems have model- and tire-size-specific maximum pressures. Never exceed the lower maximum marked by the rim or tyre manufacturer; some standards and combinations use limits around 5 bar (72.5 PSI), but that value is not universal and must always be confirmed against your specific setup.
Adapting Pressure to Tyre Width, Terrain, and Rider Weight
Bicycle tyres function as pneumatic springs. An over-inflated tyre bounces erratically off road irregularities, converting forward momentum into vertical vibration while degrading cornering grip. Conversely, an under-inflated casing risks pinch flats and excessive rolling drag against the tarmac. For optimal results, riders should consult a setup-specific pressure calculator or manufacturer chart, using the following illustrative starting ranges only as general points of departure:
- High-Volume Mountain Bike Tyres (Illustrative Baseline): Often begin around 22 to 35 PSI depending on terrain roughness, casing suppleness, and rider weight.
- Gravel Tyres (Illustrative Baseline): Often operate between 32 and 45 PSI, balancing tarmac efficiency against off-road compliance and puncture defense.
- Modern Endurance Road Tyres (Illustrative Baseline): Frequently set between 60 and 75 PSI for typical rider weights, enhancing grip without unnecessary casing deflection.
- Older Narrow Road Tyres (Illustrative Baseline): Older narrow tires may require higher pressures than wider modern tires, but use the tire and rim manufacturer’s limits and recommendations.
The Inaccuracy of the Thumb-Press Test
The traditional roadside technique of pinching tyre sidewalls between thumb and forefinger provides almost zero actionable data. Human skin and muscle tissue saturate easily; to an unassisted thumb, 40 PSI feels just as rigid as 70 PSI. An integrated pressure sensor can reduce guesswork and make repeatable inflation easier, although the displayed value should still be used within the tire and rim manufacturers’ limits. A clear digital readout helps prevent accidental under-inflation and eliminates reliance on crude tactile estimation.
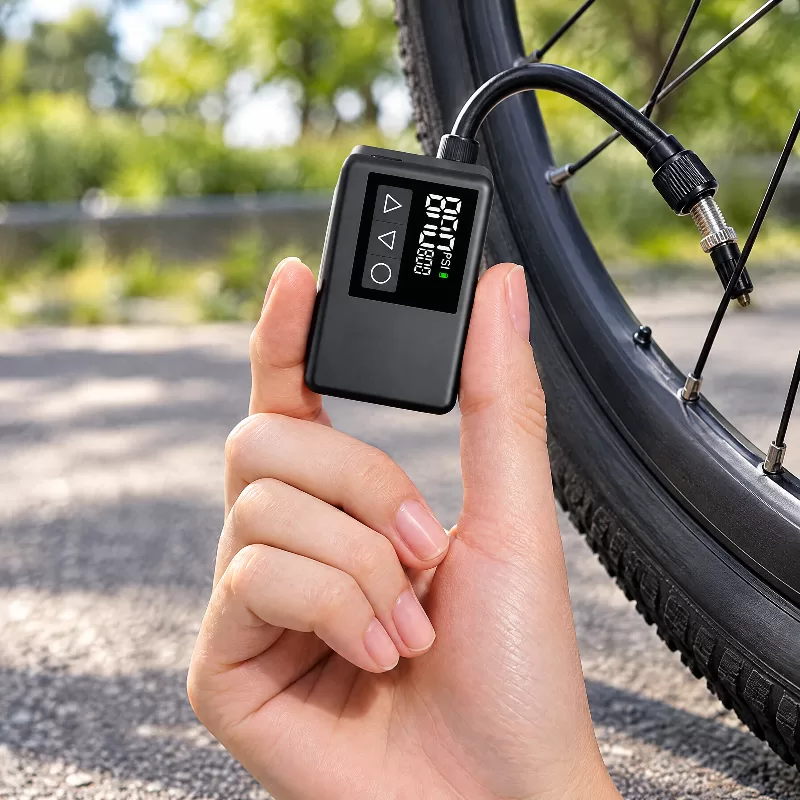
Step-by-Step Guide: How to Safely Inflate a Tyre on the Road
Step 1: Diagnosing Tyre and Rim Integrity
Before attaching any pumping device, inspect the tyre carcass thoroughly. Inspect the tread visually and, if necessary, use a cloth or gloved hand to identify embedded flints, wire, or glass, since pumping air into a casing with an unextracted sharp object merely guarantees an immediate secondary puncture. Simultaneously verify that the inner tube is completely tucked inside the rim well; if any portion of the tube pinches beneath the tyre bead, inflating the wheel will result in a violent blowout that can destroy the casing bead.
Step 2: Programming the Target Pressure Baseline
Power on your portable bike tyre inflator and review the active measurement screen. If the model supports multiple units, select PSI or BAR according to the tyre and rim guidance, and program your target figure using the adjustment interface. The BL01 includes automatic shut-off intended to stop inflation at the selected target. Users must still select a safe target below the applicable tire and rim limits and monitor the connection, ensuring the pump does not over-pressurize sensitive wheel components.
Step 3: Securing the Mechanical Valve Interface
Align the valve stem perpendicular to the rim. For a compatible Presta setup, loosen the small valve tip before attaching the supplied French-valve adapter, following the pump’s connector instructions and avoiding side loading. Thread your adapter firmly onto the valve body and engage the pump chuck until snug. A pressure reading can help indicate that the pump is connected; check the connector and valve for leaks if the reading is unstable or drops abruptly, adjusting the threading if necessary.
Step 4: Activating Inflation and Thermal Monitoring
Press the start switch to engage the motor. Support the pump body lightly in your hand or brace it steadily so that its vibrating mass does not yank sideways on the valve stem, listening closely to the steady mechanical rhythm of the piston stroke. Allow the pump to run toward its automatic shut-off limit. For repeated inflations, follow the product instructions and stop to let the unit cool if the housing or connector becomes excessively hot during high-pressure cycles.
Step 5: Clean Disconnection and Valve Sealing
Once the auto-stop function halts the motor, unscrew the chuck cleanly and promptly. A brief puff may come from air trapped in the connector, but check the valve and tire if pressure drops noticeably after removal. If using Presta valves, immediately spin the knurled locknut down until finger-tight against the valve stem to prevent accidental venting. Finally, replace the protective dust cap to keep dust, salt, and abrasive trail grit out of the sensitive valve mechanism.
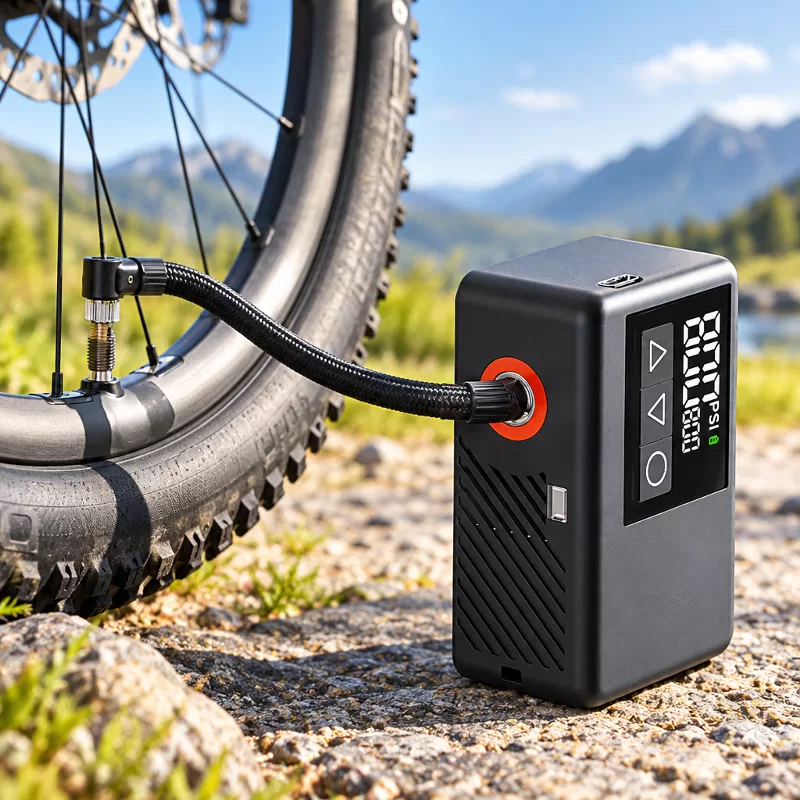
Technical Profile: Portable Rechargeable Bike Pump 120PSI BL01
Engineering Architecture and Motor Design
The engineering approach behind this unit centers on delivering functional pneumatic capacity within strictly limited physical envelopes. The BL01 utilizes a miniature brushless pump assembly coupled directly to an integrated pressure sensor. Brushless designs avoid carbon-brush wear and can offer efficiency advantages, but actual operating performance depends on the complete pump and control design. The BL01 is listed at approximately 40 W and 14 L/min airflow, with a stated pressure range of 2–120 PSI, powered by a 7.4V, 500mAh 25C polymer battery pack. The available specifications do not show how airflow changes as pressure rises.
Full Technical Specifications
Understanding exact manufacturer parameters ensures riders deploy the equipment within its intended design boundaries. The table below outlines the verified technical specifications for the BL01 mini inflator model:
| Engineering Parameter | BL01 Technical Specification |
|---|---|
| Model Designation | BL01 Mini Bike Tire Inflator |
| Pressure Range | 2 to 120 PSI |
| Air Delivery Rate | 14 L/min |
| Pumping Mechanism | Small brushless pump |
| Working Electrical Power | Approximately 40W |
| Battery Architecture | 7.4V, 500mAh (3.7Wh) 25C Polymer Pack |
| Cycle Durability Rating | 100 cycles at ≥80% original capacity |
| Continuous Operating Runtime | 5 to 7 minutes |
| Charging Port & Compatibility | USB Type-C (A-to-C and C-to-C supported) |
| Charging Input Rating | 5V / 1.5A (Under 2 hours charge time) |
| Acoustic Signature | ≤80 dB at 1.5 meters |
| Operating Temperature | -10°C to 45°C |
| Chassis Dimensions | 71.5 × 45 × 32 mm |
| Included Accessories | Type-C Cable, French Valve, Schrader Valve, Ball Needle |
Real-World Inflation Benchmarks
Theoretical airflow numbers only tell part of the story; what matters to a stranded cyclist is tyre capacity per charge. According to the manufacturer’s stated capacity figures from Newo, a fully charged BL01 can inflate approximately seven mountain bike tires to 38 PSI or approximately two road bike tires to 100 PSI. Actual results vary with starting pressure, tyre volume, ambient temperature, and connection losses during valve attachment and removal.
Operational Boundaries and Practical Precautions
While highly capable, miniature electric inflators must be operated with mechanical respect. The BL01 is specified for approximately five to seven minutes of runtime and has visible side ventilation openings; actual operating time depends on pressure, tyre volume, temperature, and operating conditions. The BL01 is specified for bicycle tires and sports balls, not passenger-car tires; use an inflator designed and rated for automotive applications. Allow the unit to cool if it becomes hot during use before storing it in cycling luggage.
Tailoring Inflation Strategies by Cycling Discipline
Road Cycling Requirements
Road riders often need a pressure appropriate to their tyre width, casing construction, rider load, and rim profile. For tubed systems, running pressure that is too low can increase pinch-flat risk, so riders must follow the tyre and rim guidance closely. Because road rims predominantly feature Presta valves, maintaining an airtight adapter interface is paramount. A compact electric pump can reduce the repeated manual force involved, but careful straight alignment is still necessary to avoid damaging a Presta stem during attachment and inflation.
Mountain and Gravel Riding Demands
Off-road riding emphasizes volume over pressure. A wide mountain bike casing operates at a modest pressure but requires displacing a substantial column of air. In cold or rainy trail conditions, sweaty hands can make pumping manual mini barrels nearly impossible. For gravel riders running tubeless configurations, the BL01 can help set a selected pressure through its display and automatic shut-off, subject to the accuracy and limits of the complete setup, making adjustments straightforward when moving between tarmac and rough gravel.
Urban Commuting and Utility E-Bikes
Commuters and e-bike riders prioritize absolute reliability and broad valve flexibility. Utility commuter bikes often feature robust Schrader valves mounted to heavy, puncture-resistant tyres that can be exhausting to inflate with pocket hand pumps. Because city commuters frequently use office desks or transport hubs as bases, the inflator’s Type-C charging port proves invaluable. It enables quick battery top-ups from compatible wall adapters, computers, or power banks without demanding specialized proprietary charging equipment.
Assembling an Emergency Repair Kit
A portable electric pump serves as one part of a coherent roadside repair strategy. Carrying an inflator without puncture repair essentials leaves you equipped to blow air into a tyre that cannot hold it. Riders should pack a tubeless plug kit or spare inner tubes suited to their wheel dimensions, accompanied by two sturdy composite tyre levers that will not scratch rim walls. Carry a valve-core tool only if your tubes or tubeless valves use removable Presta cores, and confirm that your electric pump is charged with its adapter seals clean before heading out.
Preventive Maintenance, Heat Management, and Storage
Dissipating Heat During High-Pressure Cycles
The laws of thermodynamics dictate that compressing air generates heat. When a micro-pump rapidly forces air against high pressure, internal mechanical components warm rapidly, which is normal but requires attentive handling. Avoid touching hot metal parts immediately after use and allow the pump to cool before packing it into an enclosed bag or placing it against other equipment, preventing heat from transferring into sensitive fabrics or inner tubes.
Battery Storage and Temperature Thresholds
The BL01 is specified for a working temperature of -10°C to 45°C. Leaving an electric inflator inside a parked vehicle during peak summer can expose it to extreme cabin temperatures, accelerating battery degradation and compromising cell life. The specification states 100 cycles at 80% original capacity or above under testing conditions. Follow the manufacturer’s instructions for charging and storage, especially in very cold or hot conditions, maintaining moderate charge levels during long off-season storage rather than storing it fully depleted.
Port Cleanliness and Valve Thread Care
Saddlebags and frame packs inevitably accumulate grit, moisture, and road debris over thousands of miles. Keep the Type-C port and adapters clean and dry because debris or moisture can interfere with charging or damage the connection threads. Inspect your inflator’s threaded air port before every ride. Store the included adapters in a small protective pouch, and wipe the exterior casing down with a clean, dry microfiber cloth after wet rides.
When a Portable Inflator Is Not the Appropriate Tool
Initial Tubeless Tyre Bead Seating
Some new or stubborn tubeless installations require a rapid, high-volume air supply to snap stiff tyre beads outward against rim shelves. Because the BL01 is specified for bicycle tires and sports balls rather than bead seating, use equipment recommended for the specific tire and rim combination, such as workshop compressors or reservoir floor pumps. Reserve your compact electric inflator for maintaining working pressures out on the road after proper bead seating is achieved.
Heavy Automotive and Commercial Tyres
Seeing a Schrader adapter included in the accessory kit might tempt users to attempt reinflating passenger car or light truck tyres. However, the BL01 is not specified for passenger-car tires; use an inflator designed and rated for automotive applications. The sheer air volume of an automotive tyre dwarfs bicycle casings, depleting the battery pack without achieving safe automotive inflation and putting unnecessary thermal strain on the miniature pump assembly.
Structural Tyre Punctures Without Prior Mechanical Repair
Pneumatic pressure cannot overcome structural tyre failure. If the casing has a sidewall cut, bead damage, or a puncture that the selected repair method cannot seal, repair or replace the tyre before inflating. Powering up an inflator against an unsealed casing will only dump stored battery energy into the ambient air, leaving you stranded with a depleted battery when the repair is finally executed.
Frequently Asked Questions (FAQ)
Can a portable electric bike pump damage a delicate Presta valve?
It can reduce repeated manual pumping effort, but it can still damage a Presta stem if the adapter is misaligned or the pump is allowed to pull sideways. Always thread the adapter straight, follow the connector instructions, and support the pump body steadily during operation to prevent bending the internal valve pin.
Is 120 PSI sufficient for modern high-performance road tyres?
Yes, the 120 PSI pump range covers many road setups, but the selected pressure must remain below the lower maximum specified by the tyre and rim. Many modern road setups use lower pressures than older narrow-tyre traditions, and correct inflation figures must always respect specific wheel manufacturer boundaries.
How many tyres can the BL01 inflate from a full charge?
According to the manufacturer’s stated capacity figures, a fully charged BL01 can inflate approximately seven mountain bike tires to 38 PSI or approximately two road bike tires to 100 PSI. Actual results vary with starting pressure, tyre volume, ambient temperature, and connection integrity.
Can I charge the inflator using a standard USB-C smartphone charger?
Yes. The BL01 supports A-to-C and C-to-C charging cables with an input rating of 5V / 1.5A, allowing charging from compatible wall adapters, computers, or power banks. Charging typically takes less than two hours from compatible power supplies.
Does an electric inflator replace my saddlebag puncture repair kit?
No. An inflator is a delivery mechanism for pressurized air, not a patch or sealant. It must be paired with tyre levers, spare inner tubes, or tubeless repair plugs to physically seal punctures before you can inflate and safely resume riding.
What should I do if the pump feels hot during use?
Thermal buildup is normal during compression cycles. Cease pumping once your target pressure is reached, avoid touching hot metal parts immediately after use, and allow the pump to cool in ambient air before packing it back into your cycling luggage.
Final Considerations for Roadside Preparedness
Adopting a modern portable bike tyre inflator transforms roadside repair from an exhausting upper-body workout into an exact, calculated procedure. By swapping manual guess-and-pump cycles for integrated pressure sensing and automated shut-off mechanisms, cyclists protect their rims, improve tyre longevity, and ride with genuine peace of mind. Pairing a reliable device like the BL01 with an organized puncture kit ensures that sudden flats remain brief mechanical interruptions rather than ride-ending disasters.
-
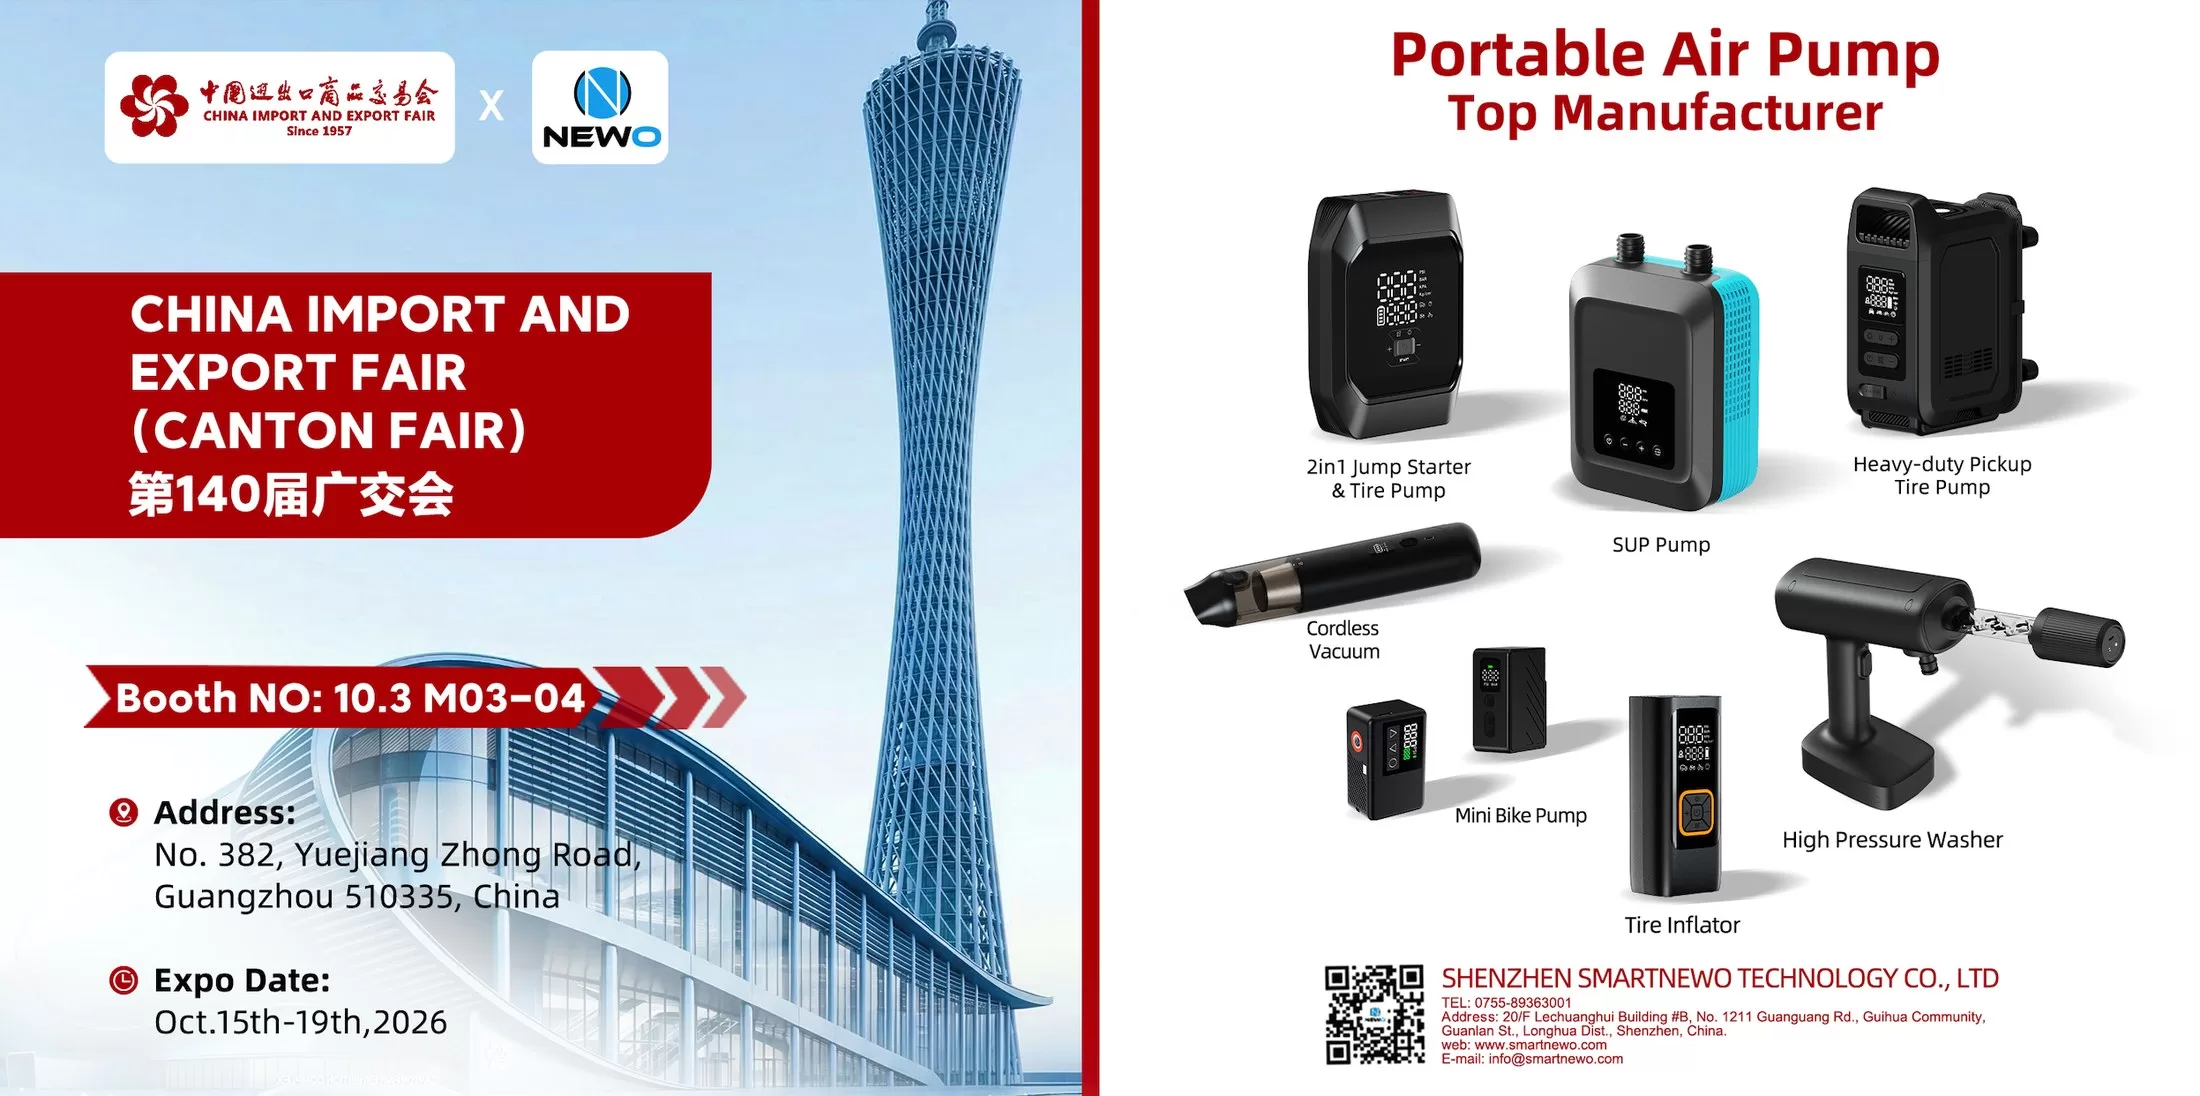
Meet NEWO at the 140th Canton Fair: Visit Booth 10.3 M03–04
Meet NEWO at the 140th Canton Fair in Guangzhou, October 15–19, 2026. Visit Booth 10.3 M03–04 to explore portable air pumps and discuss OEM, ODM and distribution opportunities.... -

As Shenzhen Welcomes the World for APEC 2026, NEWO Welcomes You to Our Factory
As Shenzhen prepares for APEC 2026, NEWO welcomes international buyers and partners to visit our factory, meet our team and explore future cooperation.... -
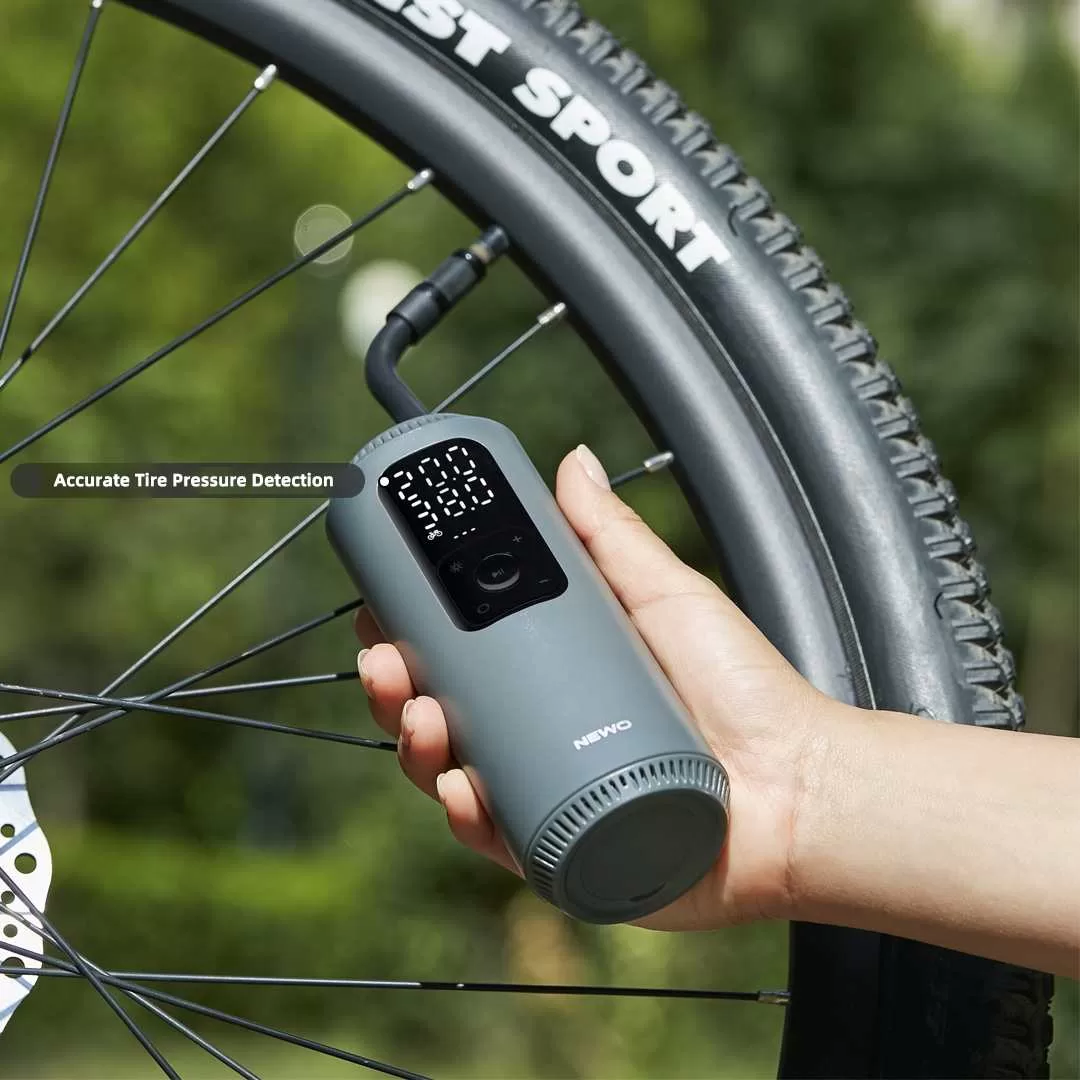
Leading the Way in Product Innovation and Excellence
Smartnewo exemplifies professionalism in product innovation and manufacturing. Their collaboration with Xiaomi Youpin on the G01 crowdfunding project highlights their expertise in creating compact, powerful inflatable pumps. Rigorous engineering, meticulous production processes, and advanced quality assurance underscore their commitment to excellence. The success of the G01 project, with significant market... -
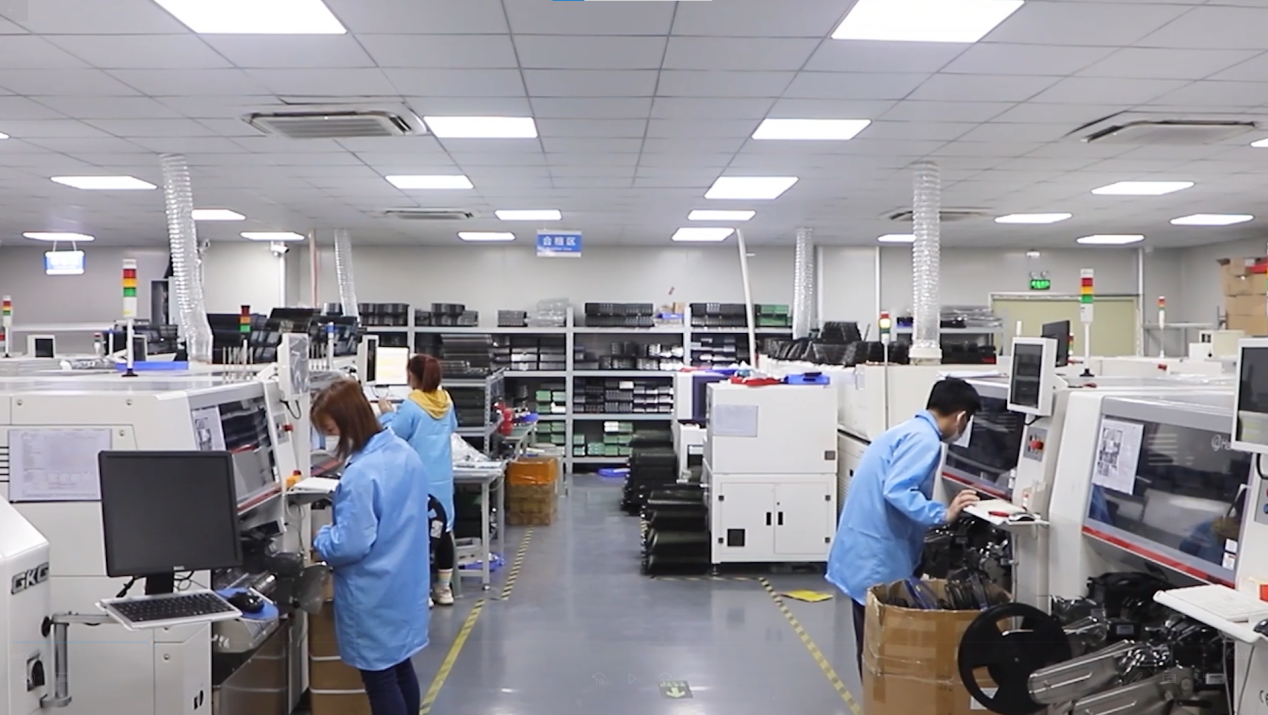
Essential Qualities of an Excellent Supplier
In today's competitive market, finding a reliable supplier is crucial for business success. Based on insights from Smartnewo and broader internet research, here are key qualities an excellent supplier must possess:... -
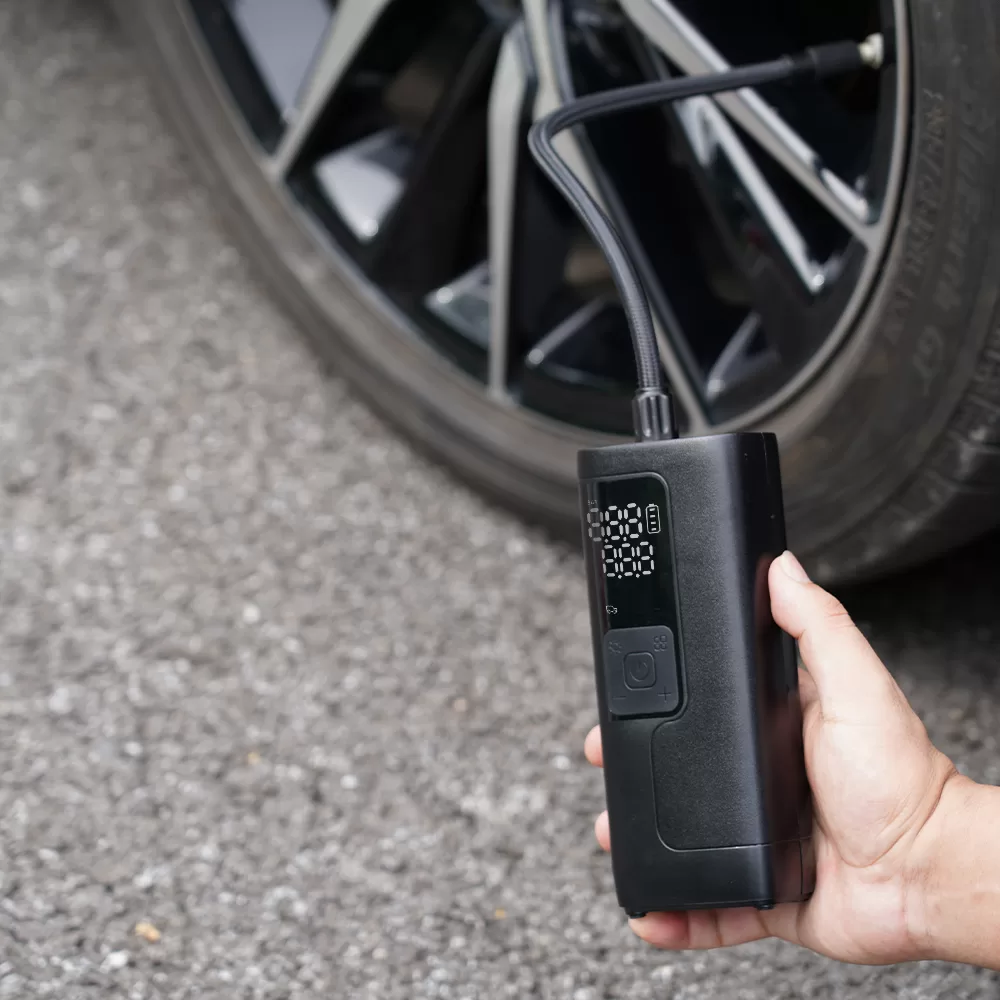
NW06 Tire Inflator: Compact Power for Quick Inflation
Summary The NW06 Tire Inflator delivers quick and efficient tire inflation with a powerful 35L/min airflow. It features a user-friendly LCD screen for real-time pressure monitoring, dual power options with a built-in 6000mAh battery, and multiple nozzle attachments for versatile use. Its compact design and integrated LED light ensure convenience and... -
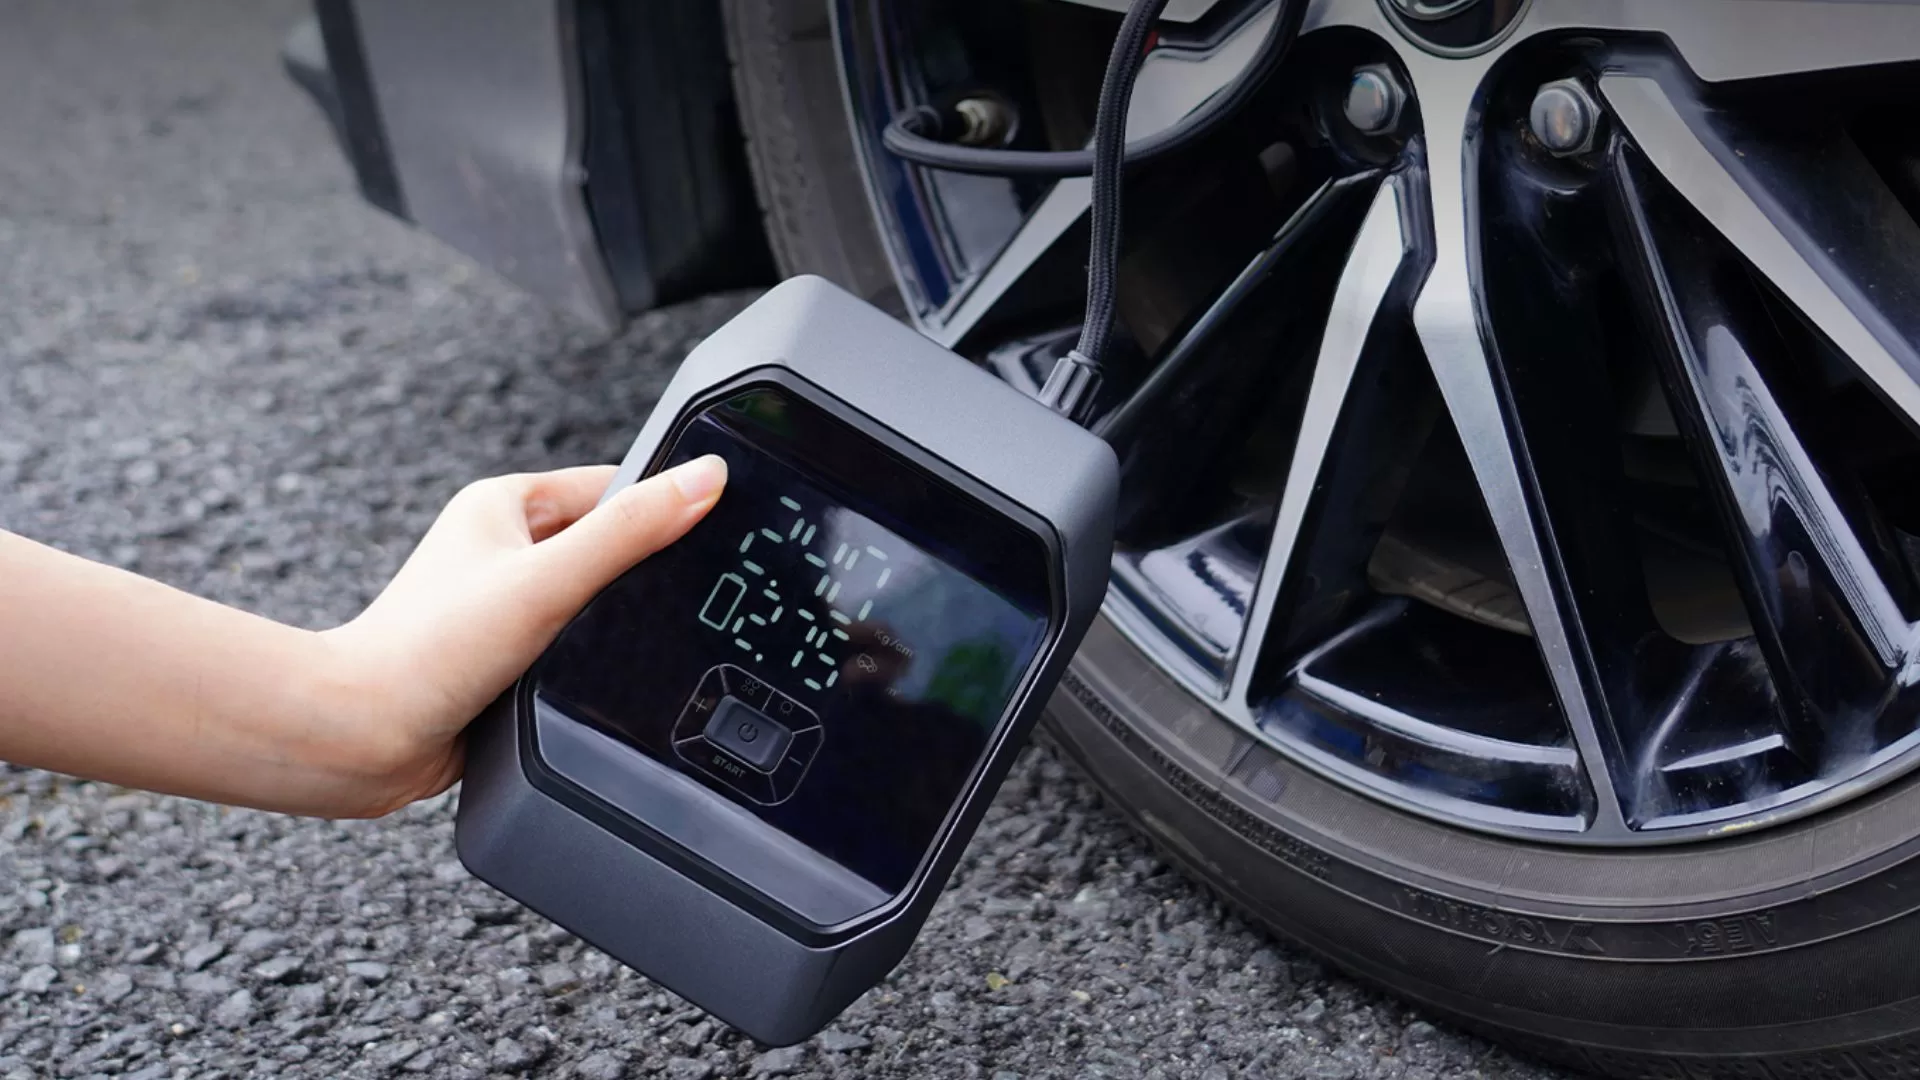
Unleash the Power of Portability: The SmartNewo Jump Starter with Air Compressor KF03
This guide will walk you through the steps to effectively use a portable tire inflator, helping you stay prepared and safe on the road.... -
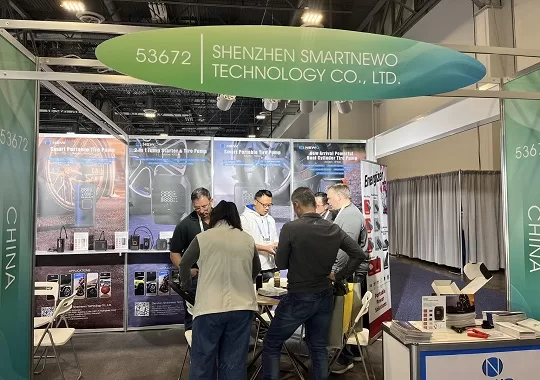
Newo Attends The 2024 Consumer Electronics Show (CES)
Smartnewo booth is located at 53672, Halls A-D, Level 2, Venetian Expo, Las Vegas Convention Center (LVCC). ... -
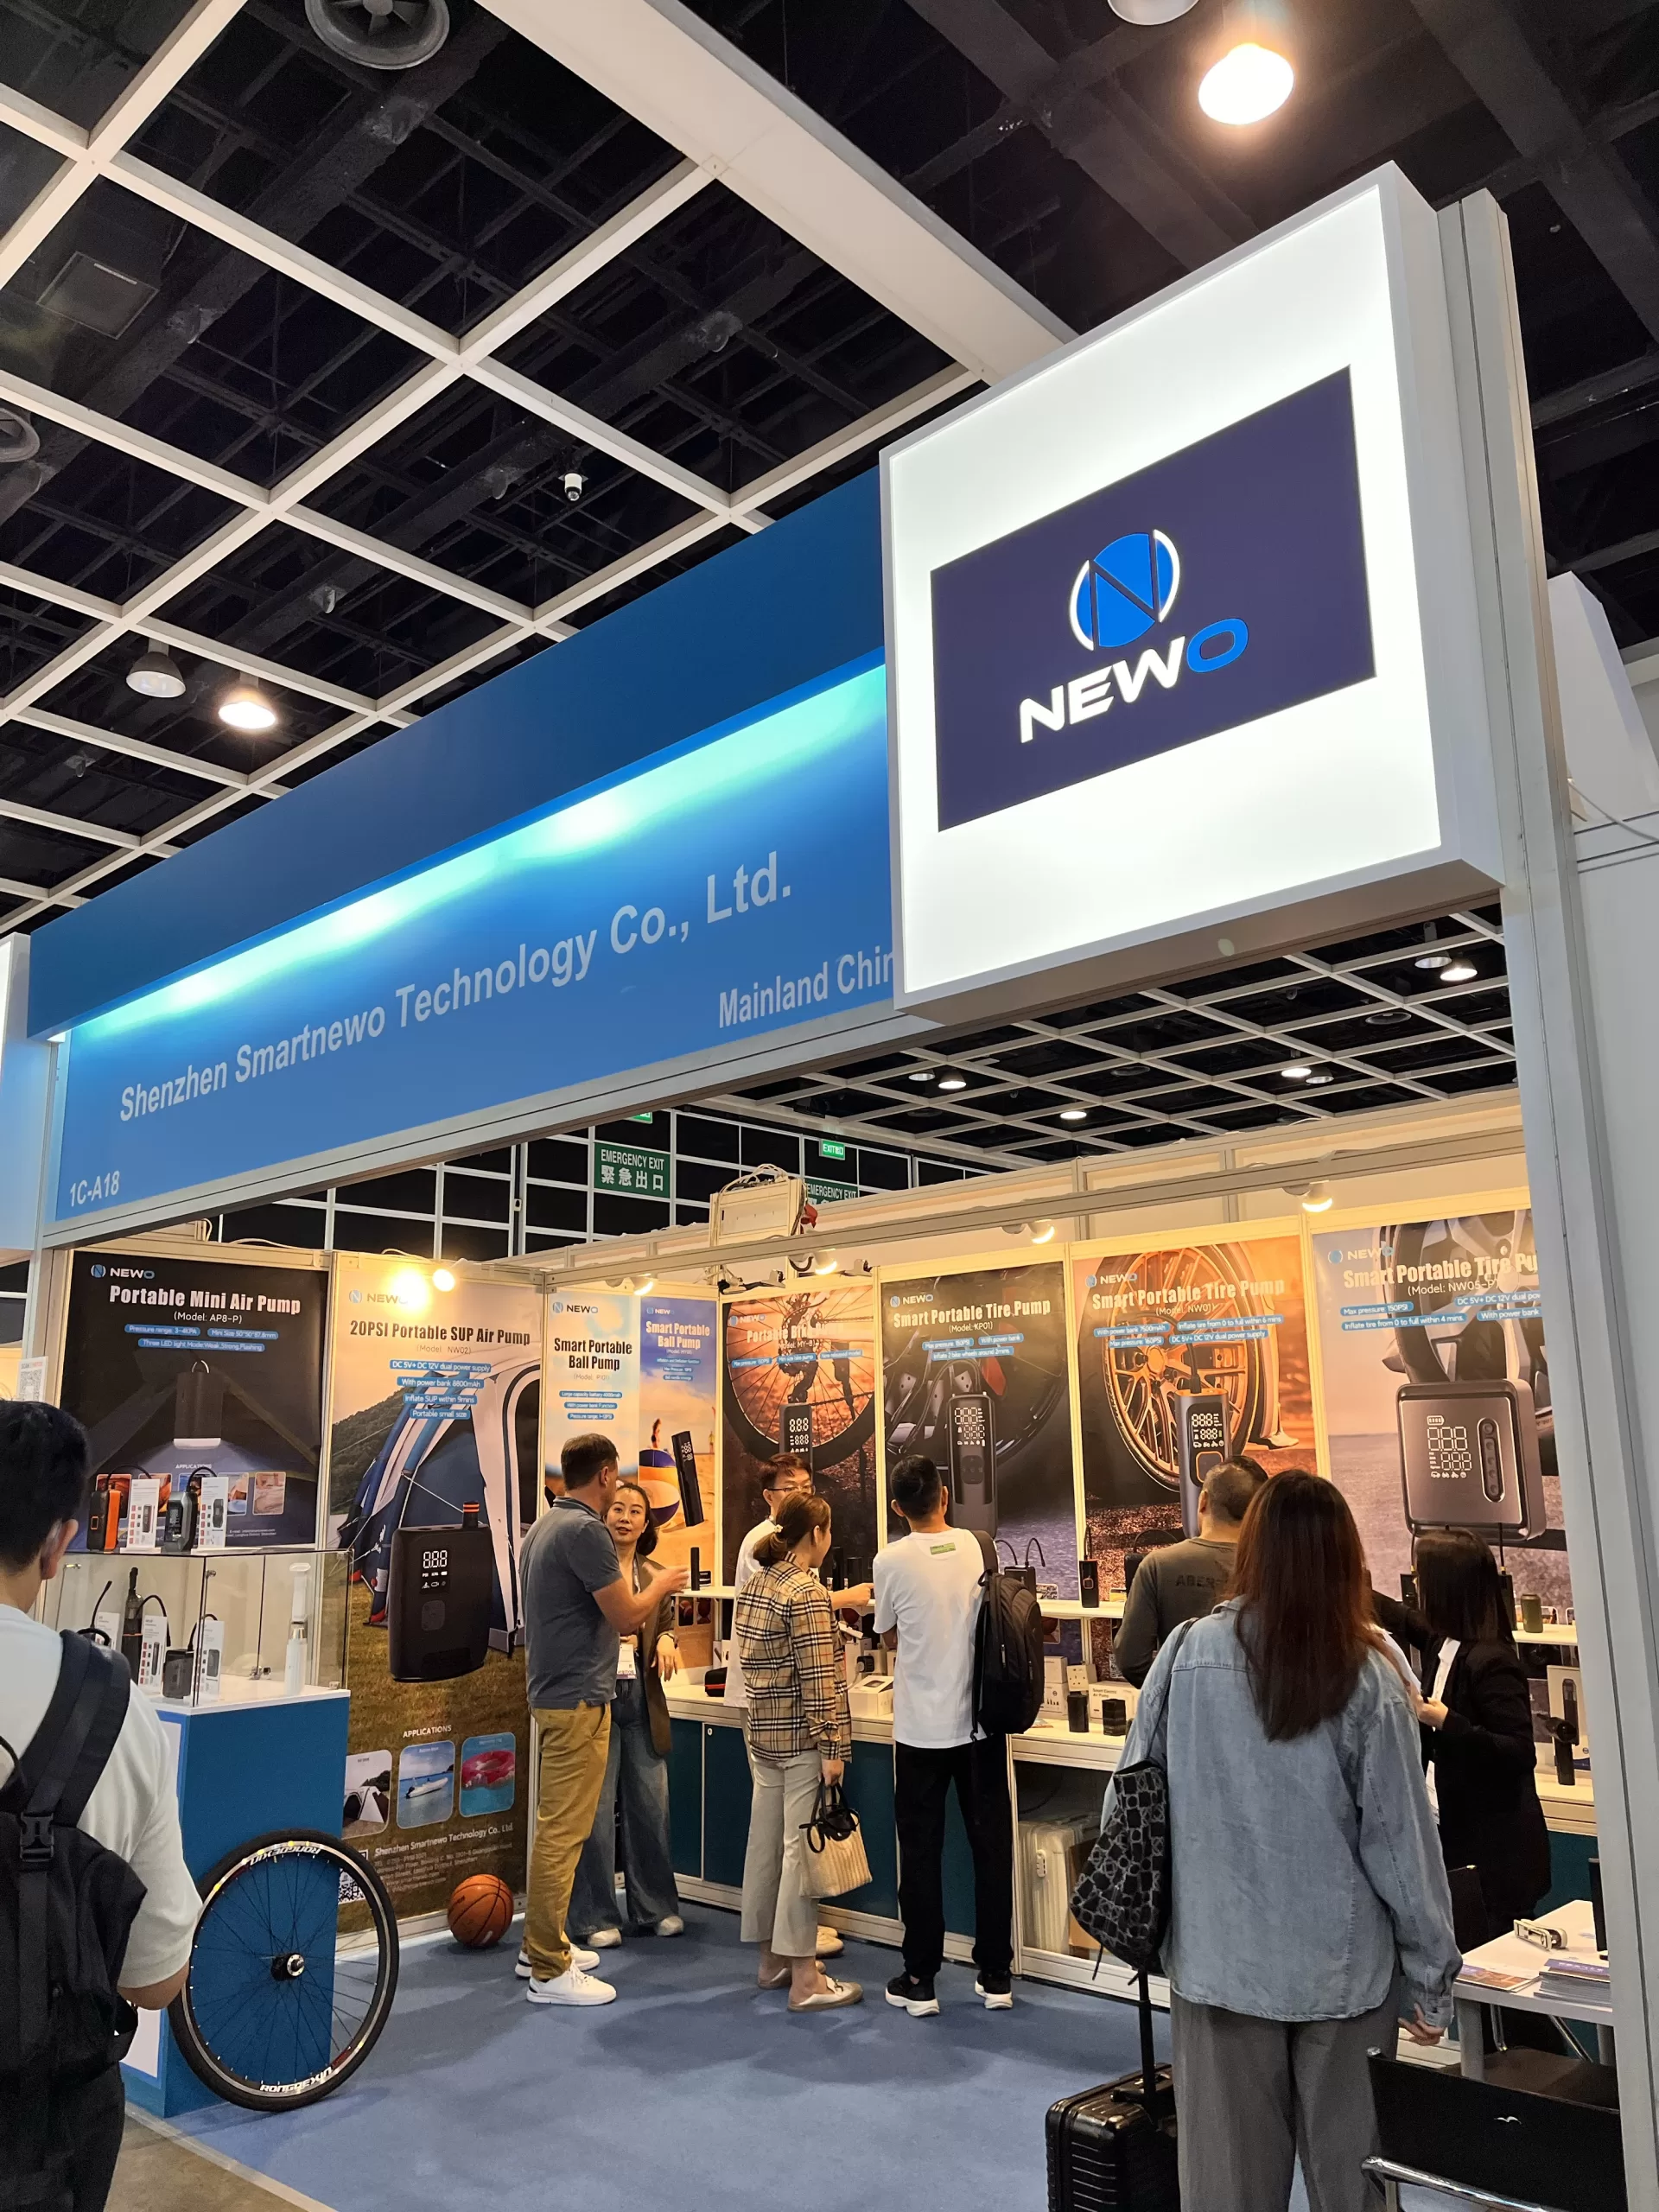
Smartnewo’s Dual-Cylinder Air Pump Rocks the Hong Kong Autumn Electronics Fair!
Smartnewo’s Dual-Cylinder Air Pump Rocks the Hong Kong Autumn Electronics Fair!... -
Meet at the Canton Fair! Smartnewo brings dual-cylinder air pumps, making your inflation experience faster and more stable!
NEWO has went deep communication and negotiation with customers from all over the world on booth.... -
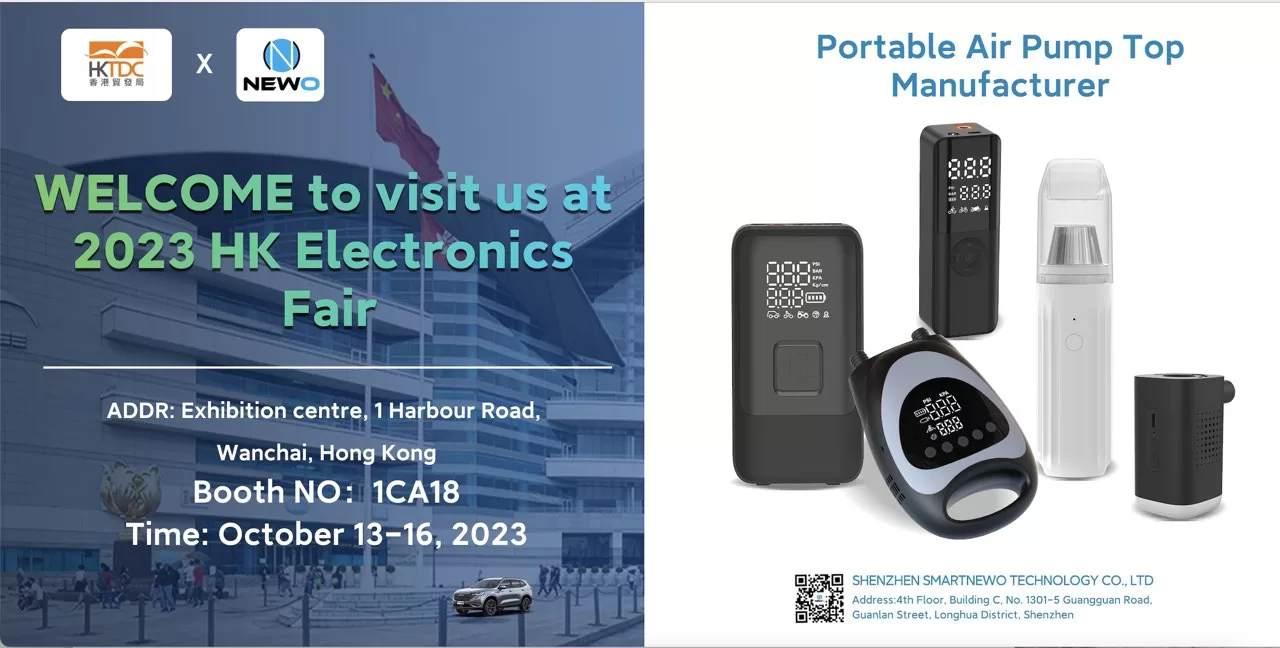
“Hong Kong Autumn Electronics Fair – 1CA18 (October 13th to 16th): Smartnewo invites you to visit our booth!
Hong Kong Autumn Electronics Fair...
-
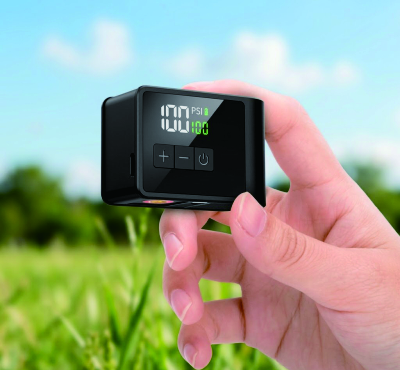
What to Check Before Ordering Custom Electric Bike Pumps
Plan custom electric bike pumps with a clear requirements freeze for valves, TPU tubes, portability, repeated top-ups, charging, and model-specific documents.... -

OEM vs ODM Air Pumps: Which Manufacturing Model Fits Your Brand?
Compare OEM and ODM air pump projects by design responsibility, change approval, development scope, and written ownership terms before choosing your route.... -

How to Choose a Reliable Tire Inflator Manufacturer in China
Choose a tire inflator manufacturer in China with a focused RFQ, supplier evidence, configuration checks, and clear sample-to-pilot decisions for your brand.... -
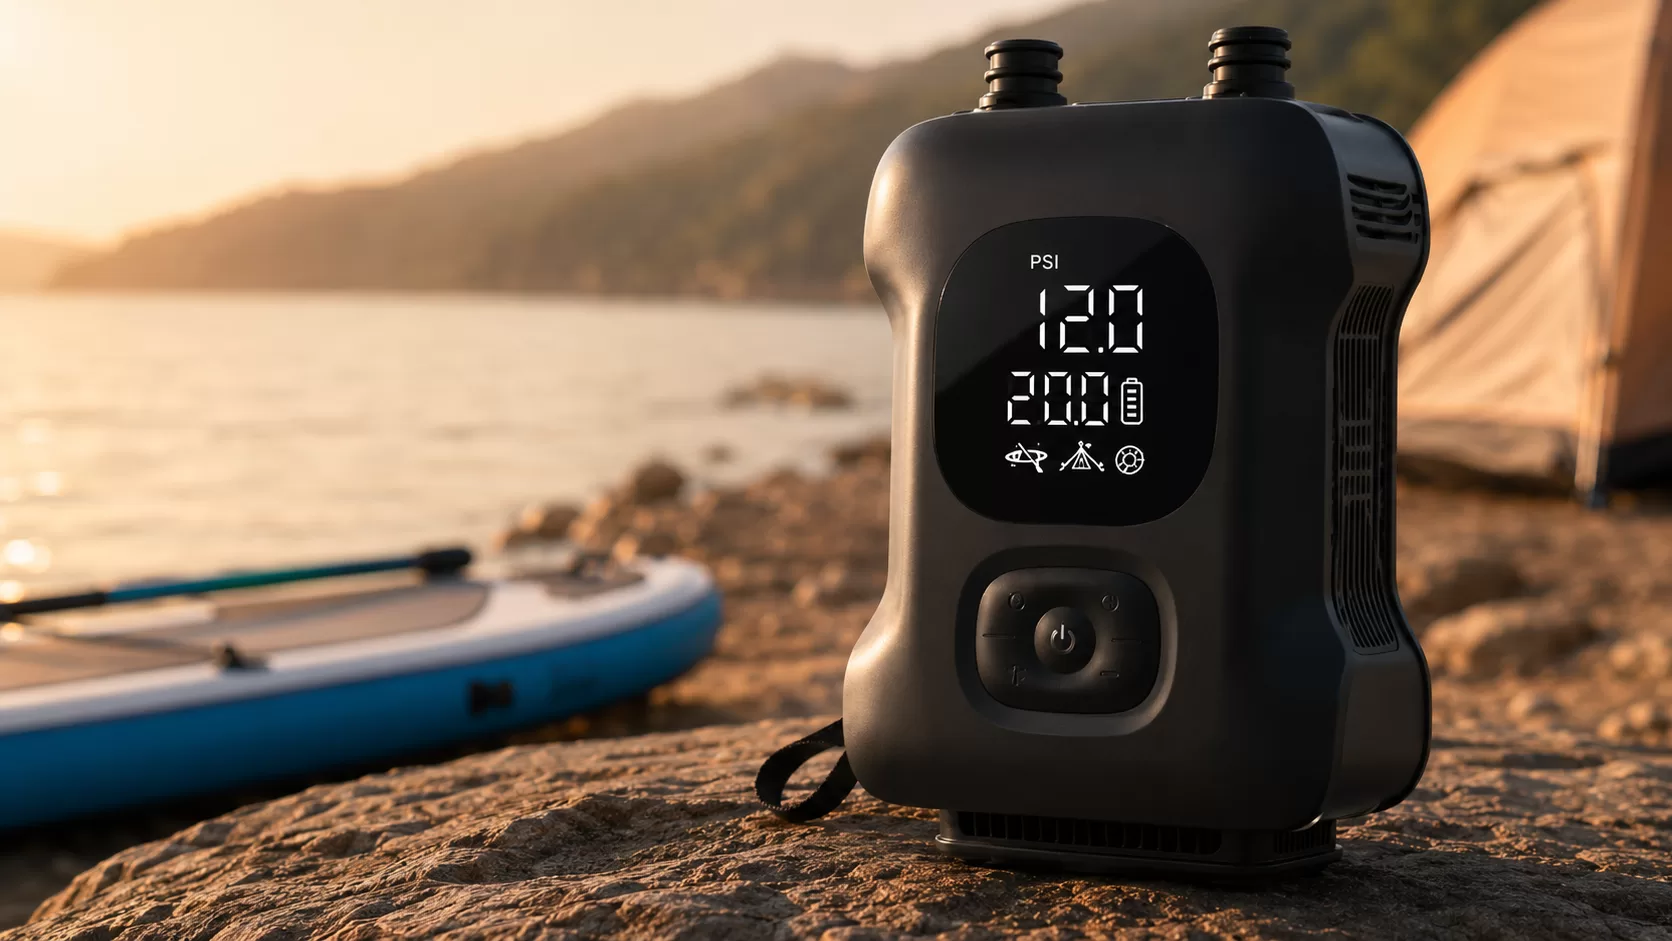
Rechargeable Electric SUP Pump for Paddle Boards: Faster Inflation for SUPs, Kayaks and Inflatable Tents
The BL10-C Portable Electric Bike Tire Inflator is a compact and lightweight mini electric bike pump designed for modern cyclists. With up to 120 PSI pressure, a digital LED display, preset pressure control, automatic shut-off, USB-C charging, and multiple valve adapters, BL10-C offers a convenient inflation solution for road bikes,... -
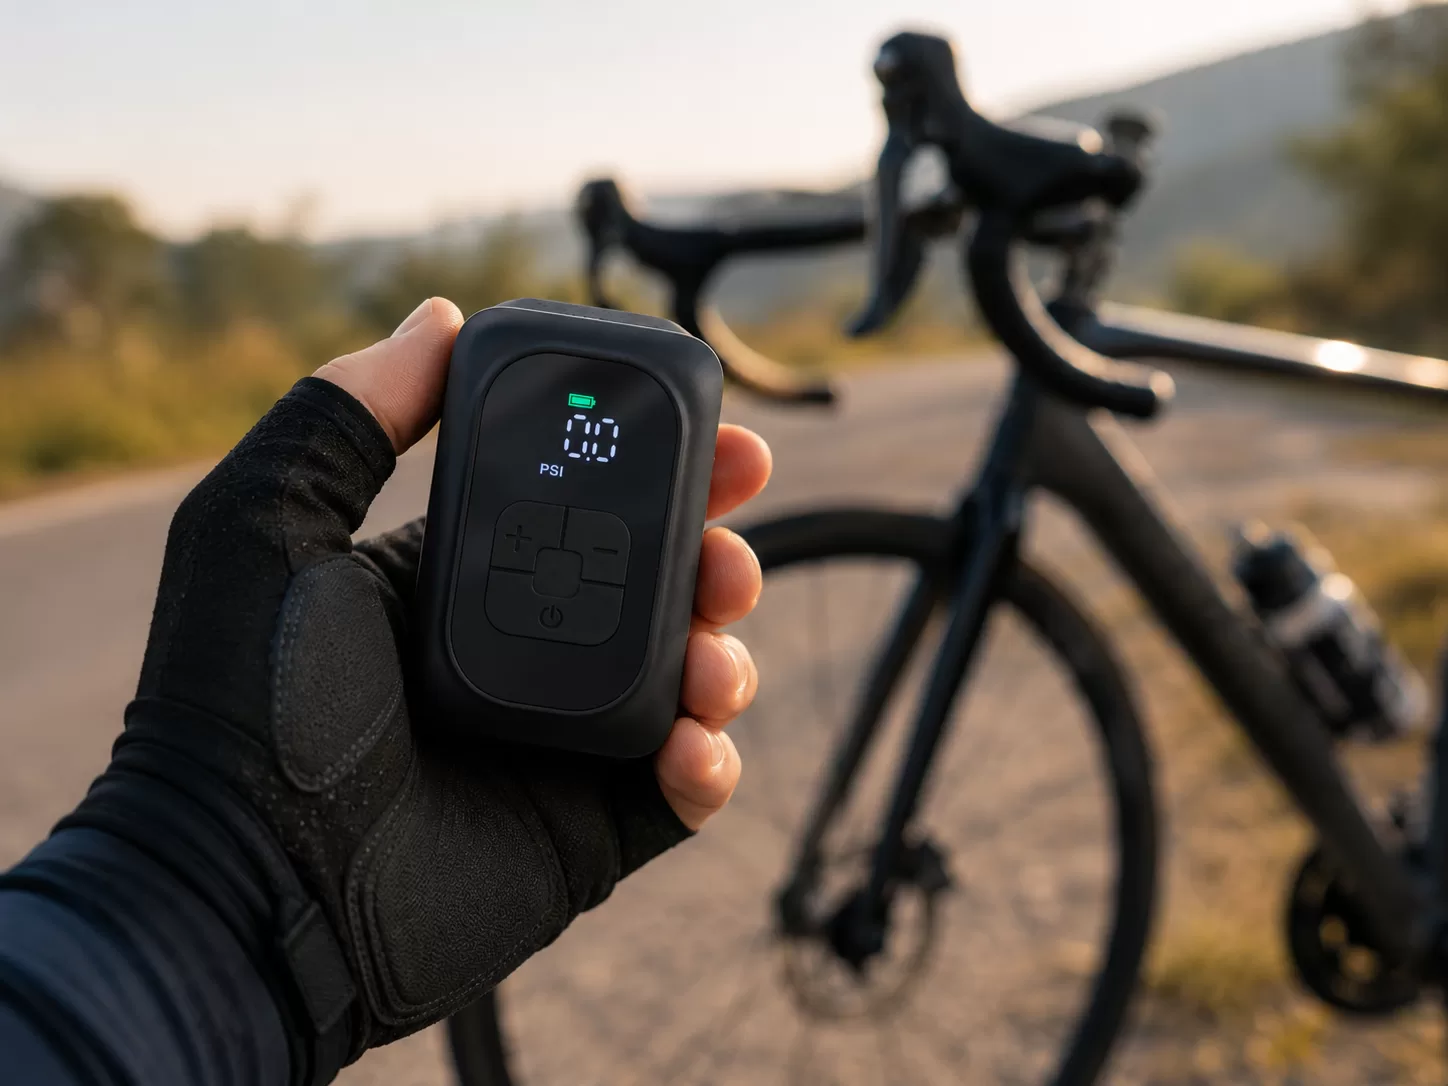
Are Electric Bike Pumps Worth It in 2026? Electric Pump vs CO₂ vs Mini Hand Pump
Discover whether electric bike pumps are worth it in 2026. This guide compares electric bike pumps, CO₂ inflators, and mini hand pumps for road cycling, gravel riding, commuting, and long-distance rides. Learn the pros, limitations, best use cases, and key features to look for before choosing the right portable tire... -
BL10-C Portable Electric Bike Tire Inflator: Small Size, Reliable Power for Every Ride
The BL10-C Portable Electric Bike Tire Inflator is a compact and lightweight mini electric bike pump designed for modern cyclists. With up to 120 PSI pressure, a digital LED display, preset pressure control, automatic shut-off, USB-C charging, and multiple valve adapters, BL10-C offers a convenient inflation solution for road bikes,... -
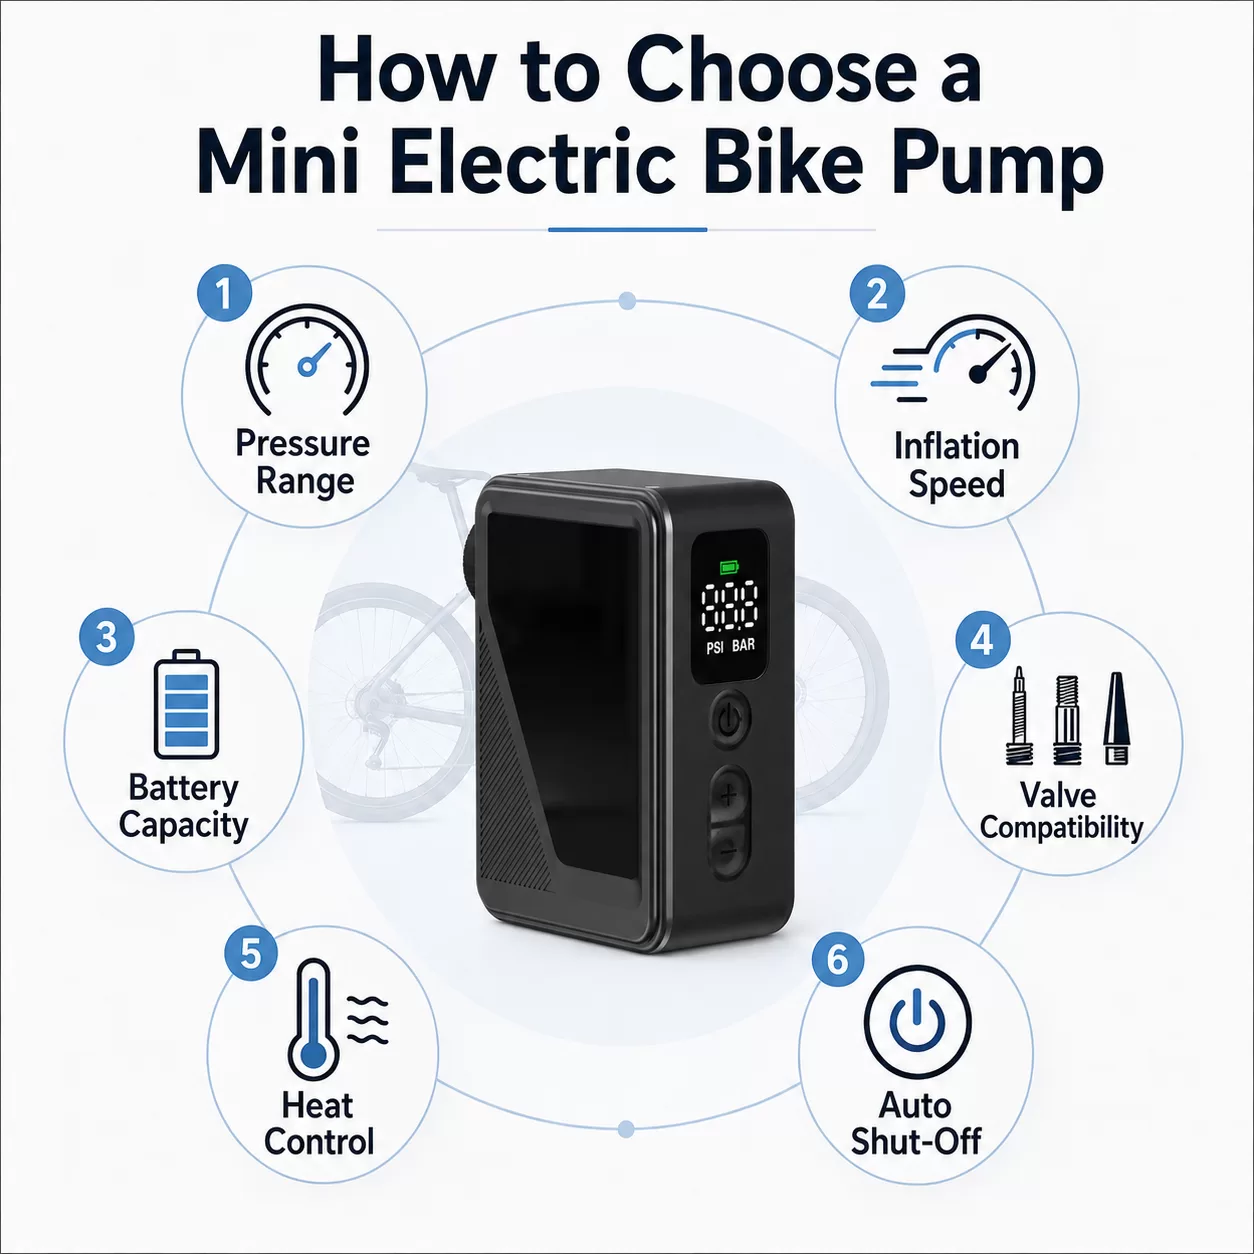
Why Mini Electric Bike Pumps Are Becoming Essential for Modern Cycling
Discover why mini electric bike pumps are becoming essential for modern cyclists. Learn how portable electric bike pumps improve tire pressure management, riding safety, and convenience.... -
The Ultimate Smart Solution for Easy Outdoor Adventures in 2026
Discover how a spring travel air pump simplifies outdoor trips with fast inflation, smart features, and powerful performance—perfect for every adventure.... -
Powerful 5-in-1 Portable Car Tire Inflator and Jump Starter: The Ultimate Emergency Tool for Every Driver
Why Every Driver Needs a Portable Car Tire Inflator and Jump Starter Modern drivers face many unexpected situations on the road. A flat tire, low tire pressure, or a dead car battery can happen at the worst possible time. That’s why having a portable car tire inflator and jump starter is... -
7 Real Cycling Scenarios That Show Why Every Rider Should Carry a Mini Bike Pump
Cycling is one of the most freeing activities you can enjoy. Whether you’re commuting to work, riding through city streets, or exploring quiet countryside roads, a bike ride can instantly improve your day. But there’s one small problem that almost every cyclist eventually faces: Low tire pressure. It might happen...
-
How Is a Football Properly Inflated?
The correct inflation of a football - with not too much and not too little air - is a hotly debated topic among footballers.... -
Application Scenarios of Car Inflator Pump
Often long-distance business trips or play car owners because the road may be more remote areas, in this case if you encounter a tire leak....