

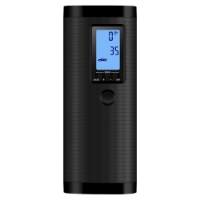
 Portable Tire Inflators
 Electric Air Pumps
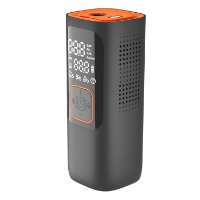 Electric Car Tyre Pumps
 Electric Ball Pumps
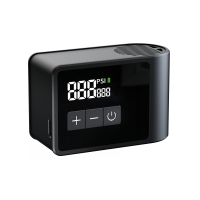 Electric Bike Pump
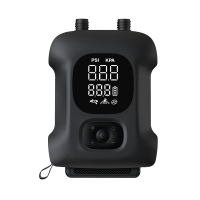 SUP Air Pump

Portable Motorcycle Pump: How to Choose and Use the Right Tire Inflator
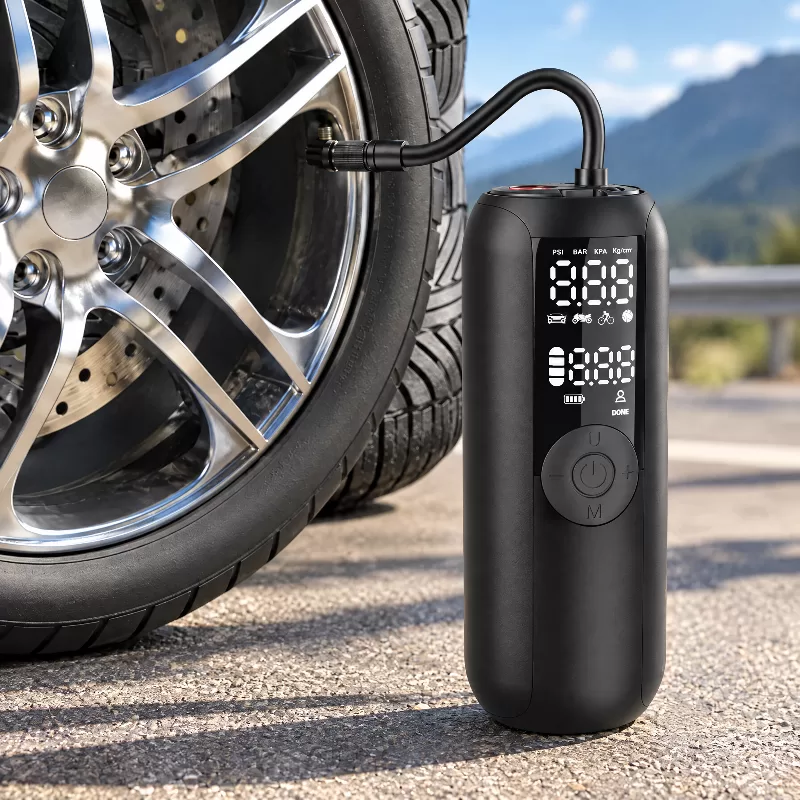
A dependable portable motorcycle pump is an indispensable piece of emergency gear for two-wheel riders facing variable road surfaces and remote routes. Motorcycles balance on small contact patches, meaning minor pressure variances noticeably alter cornering traction, braking stability, and rim safety. When a slow puncture develops far from service plazas, relying on roadside service stations often leads to disappointment or stranded journeys.
Modern cordless inflators provide autonomous pneumatic control directly from your tail pack or tank bag. Selecting the ideal portable motorcycle pump requires balancing physical dimensions, battery capacity, thermal management, and nozzle ergonomics. This comprehensive engineering guide examines inflation physics, operation protocols, and product architectures to keep your motorcycle rolling smoothly on every tour.
Understanding Portable Motorcycle Pumps and Roadside Inflation
Definition and Operating Mechanics
A portable motorcycle pump integrates a miniature reciprocating compressor, an electric motor, and a digital pressure transducer into an enclosure sized for vehicle packing. Unlike high-volume workshop compressors driven by stationary motors, these compact units employ small cylinders to compress ambient air into manageable pneumatic output.
Connecting the pump establishes a sealed circuit between the internal pressure gauge and the tire valve core. As the motor cycles the internal piston, intake valves draw ambient air while one-way exhaust valves push pressurized air into the tire casing. The digital processor monitors incoming pressure values and halts motor operation when target thresholds are reached.
Portable air pumps serve primarily for maintenance checks, routine topping up, and roadside emergency inflation. They supply steady pressure, yet they cannot seat unseated tubeless tire beads or substitute for physical tire repair plugs.
Why Every Rider Needs Dedicated Onboard Air
Tires can lose pressure gradually through normal permeation, temperature changes, valve issues, punctures, or wheel problems. Underinflation increases flexing, heat, wear, and the risk of tire failure during high-speed highway riding or technical off-pavement maneuvers.
Fuel-station gauges may vary in condition and accuracy, so carrying a reliable personal pressure gauge or using the inflator’s reading as a reference is recommended. Heavy commercial chucks frequently strain motorcycle valve stems, and uncalibrated mechanical dials can mislead riders. Carrying a personal electric inflator provides consistent diagnostic readings anywhere your ride leads.
Compact air systems grant riders independence during extended tours. Whether compensating for mountain chill or recovering after an emergency puncture repair, having controlled pneumatic power onboard eliminates vulnerability along unpaved logging routes and remote mountain passes.
Key Technical Criteria for Selecting a Portable Motorcycle Pump
Pressure Capability Versus Practical Airflow
Evaluating tire inflators requires distinguishing between ultimate pressure ratings and practical volumetric airflow. Consumer packaging often highlights peak figures such as 150 PSI, yet street motorcycle tires operate at substantially lower working pressures. The pump’s 150 PSI rating is its stated maximum output, not a recommended motorcycle-tire setting. Tire sidewall pressure relates to the tire’s rated load; use the motorcycle manufacturer’s cold-pressure recommendation.
Airflow, measured in liters per minute (L/min), dictates how rapidly the unit transfers volume into the tire cavity. The LP1 model is specified at 15 to 18 L/min airflow, but actual motorcycle-tire inflation time depends on tire volume, starting pressure, temperature, and battery condition. Units with insufficient air displacement run longer, accumulating heat that can trigger thermal protection cutoffs before reaching target pressure.
Inflator Piston Cycles -> Generates Heat in Cylinder Head -> Air Enters Valve Stem -> Real-time Sensor Adjusts Cutoff
Digital Accuracy and Auto-Shutoff Mechanisms
Many modern electric units use electronic pressure sensors and digital readouts, but buyers should look for a stated accuracy specification when precise tuning is needed. Analog dial gauges rely on internal mechanical elements that can fall out of calibration after suffering repeated chassis vibration in luggage racks. Clear LED screens remove visual ambiguity during pre-dawn checks or nighttime roadside stops.
Automatic shut-off stops inflation when the displayed pressure reaches the selected target; verify the final pressure with a reliable gauge when accuracy is critical. Once you enter your target specification, the micro-controller manages motor cycling until the sensor detects the cutoff threshold. This automated cycle helps prevent severe overinflation compared to unmonitored manual lines.
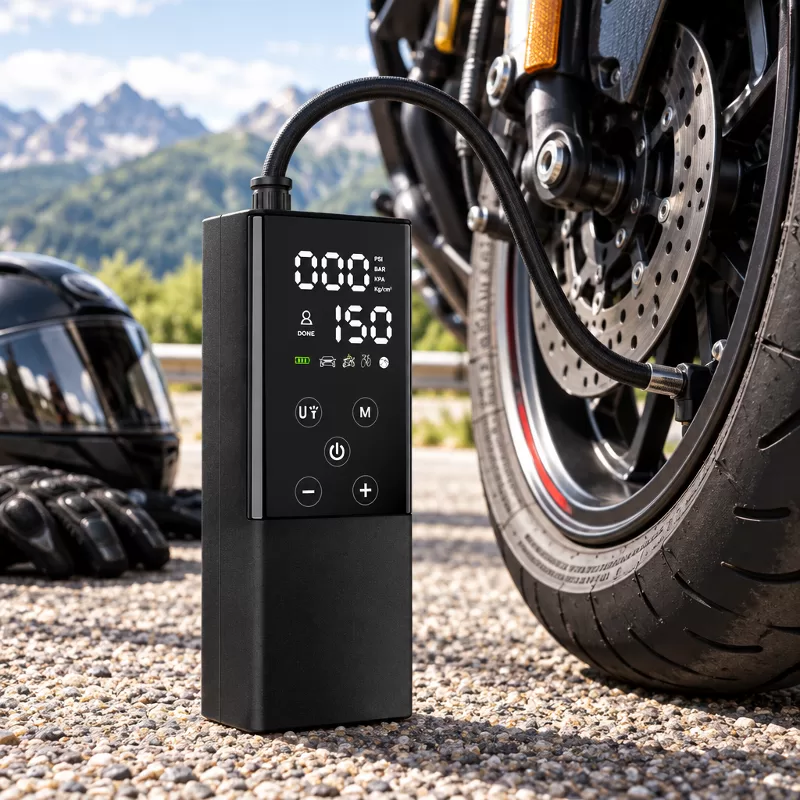
- Multi-Unit Readouts: Allows riders to toggle between PSI, BAR, KPA, and Kg/cm² to match vehicle placard specifications across international borders.
- Real-Time Sampling: Active sensor monitoring tracks tire cavity pressure without requiring users to pause motor cycling manually.
- Digital Display Modes: Presents preset targets and live pressure side-by-side to assist with structured inflation tracking.
Battery Capacity, Power Delivery, and Storage Durability
Cordless inflators avoid the external power cable and motorcycle accessory-circuit limitations that can affect some 12V compressors. The rechargeable battery in the LP1 is specified at 2000 mAh, 7.4 V, and 14.8 Wh. This capacity provides sufficient reserve energy for roadside top-ups while allowing the tool to fit inside jacket pockets or small tool rolls.
Recharging versatility matters just as much as raw cell capacity on multi-day itineraries. Modern Type-C charging inputs drawing standard 10 W power accept power from cockpit accessory ports, portable power banks, or standard wall adapters. Riders no longer need to carry proprietary charging bricks across remote territory.
Newo specifies an operating temperature range of -10°C to 45°C for the LP1. Actual output and battery performance may vary with temperature. Battery management circuits safeguard internal cells against overvoltage and severe discharge, helping maintain reliability through varying riding seasons.
Hose Flexibility and Valve Stem Accessibility
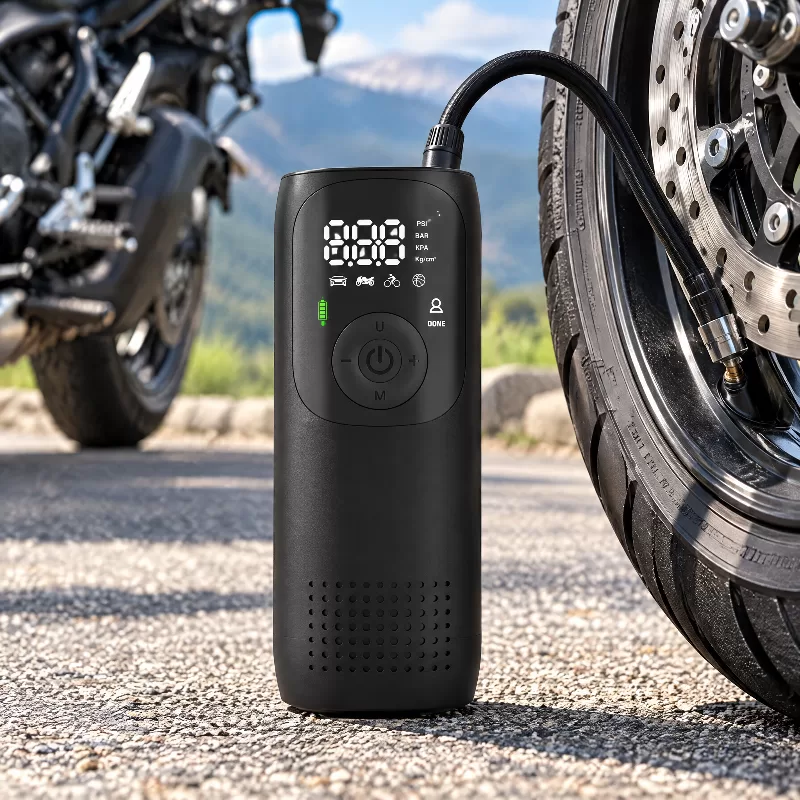
Motorcycle wheel layouts pose significant clearance obstacles for rigid air chucks. Large dual front brake rotors, hub castings, and dense wire spokes leave minimal clearance around valve stems. Straight, rigid pump nozzles can bind against brake discs or strain short rubber stems.
Flexible hoses solve these clearance puzzles by bending comfortably around hub obstructions. Connecting the supplied hose and the correct valve adapter securely establishes a reliable seal without imposing lateral shear force against the stem. Storing this hose directly inside the pump body protects connections and keeps gear organized.
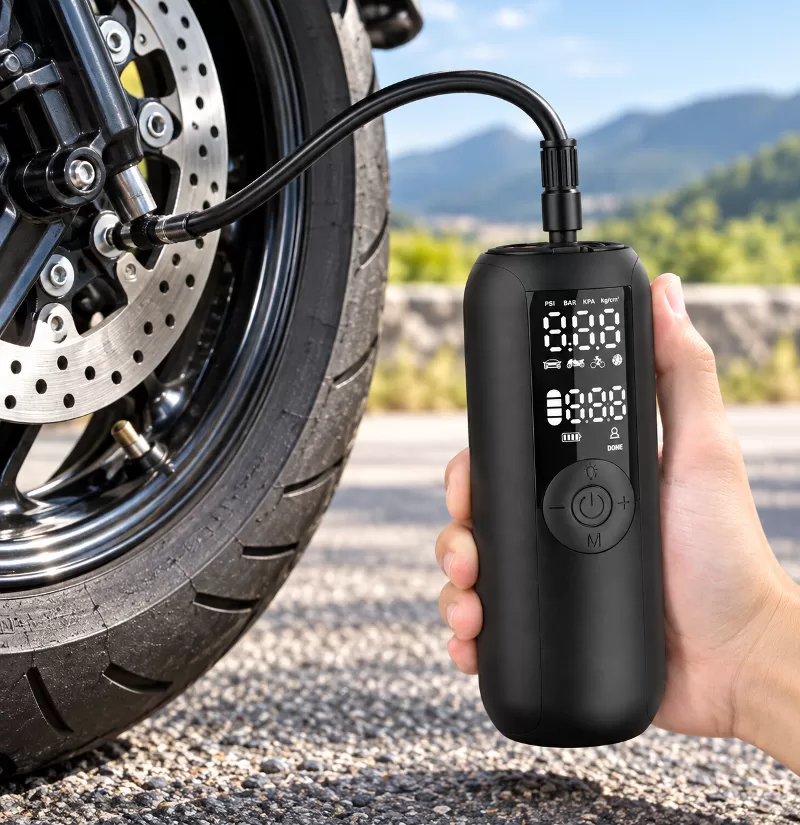
Technical Profile: Compact Cordless Electric Inflators
First-Party Specifications Overview
For riders demanding a compact, self-contained pneumatic solution, the LP1 provides focused capabilities in a minimalist profile. Designed to address the spatial constraints faced by motorcycle commuters and cross-country tourers, the device integrates core inflation hardware into an easy-to-carry package.
The LP1 measures 157 × 61 × 61 mm and weighs 438 g, adopting a cylindrical shape that drops into fairing pockets, frame bags, or tail racks. It delivers an operational pressure span from 0 to 150 PSI with its cylinder size specified by the manufacturer as 14 cylinder. Driven by a 35 W brushed motor, the LP1 is specified at 15 to 18 L/min airflow.
| Engineering Specification | Manufacturer Data (LP1) |
|---|---|
| Product Architecture | Portable Cordless Electric Air Pump |
| Working Pressure Span | 0 to 150 PSI |
| Volumetric Airflow | 15 to 18 L/min |
| Cylinder Specification | Listed by manufacturer as 14 cylinder |
| Motor Classification & Power | Brushed DC Motor / 35 W |
| Motor Service Life | 200 to 400 hours |
| Battery Architecture | 2000 mAh, 7.4 V, 14.8 Wh |
| Battery Lifecycle | 300 cycles (to ≥ 80% baseline capacity) |
| Charging Protocol & Duration | Type-C interface (10 W input) / 2 to 3 hours |
| Continuous Operating Runtime | 20 to 30 minutes |
| Acoustic Noise Threshold | ≤ 85 dB at 1-meter radius |
| Operational Temperature | -10°C to 45°C |
| Chassis Dimensions & Mass | 157 × 61 × 61 mm / 438 g |
| Preset Application Modes | 5 selectable modes |
Functional Design and Safety Architecture
The tool’s chassis incorporates an internal housing cavity designed specifically to conceal the flexible 2-in-1 inflation hose when packed. This design protects the air passage threads from dirt, gravel, and pack moisture, preventing roadside hardware losses. The high-contrast LED screen displays active tire pressure, user presets, battery level, and current pressure units side-by-side.
The manufacturer lists motor overcurrent protection and battery-protection voltage values of 8.4 V and 6 V; consult the product manual for the exact protection behavior. These hardware safeguards help protect the battery pack against damage if the pump runs under heavy load. An integrated LED light source illuminates valve stems during nighttime breakdowns.
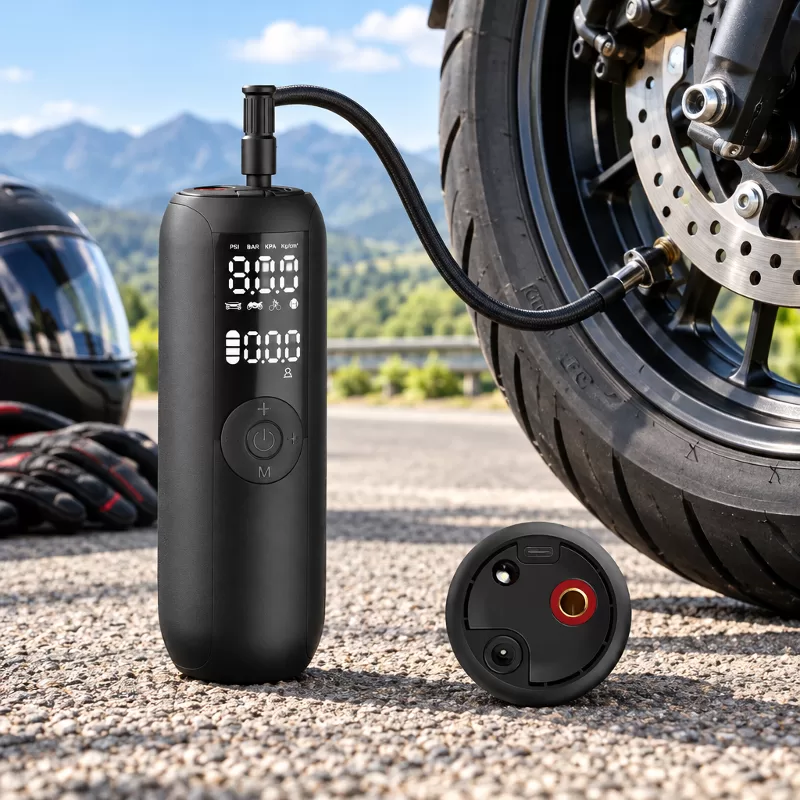
Manufacturer-Stated Inflation Capacity
According to manufacturer testing data, a fully charged LP1 can inflate up to 8 motorcycle tires or provide 10 to 15 bicycle tire inflations on a single charge. For passenger automobiles, it manages approximately 2 tire top-ups, or up to 50 sports ball fills from its 14.8 Wh battery core.
Actual field performance varies depending on starting air pressures, tire casing volume, ambient temperature, and valve stem conditions. Topping off a touring motorcycle tire from a slightly low reading consumes far less battery power than reinflating a fully flat tire. The 20 to 30-minute operational runtime provides a functional margin for routine field maintenance.
Step-by-Step Guide: Safe Motorcycle Tire Inflation
Step 1: Determining Accurate Target Pressures
Always locate the manufacturer’s cold tire pressure placard fixed to your swingarm, inner frame rail, or owner’s handbook before inflating. Never use the maximum inflation figure molded into the tire sidewall rubber; that marking denotes the structural casing limit under maximum load, not your motorcycle’s engineered operational pressure.
If the owner’s manual provides separate pressures for a passenger or luggage load, use those settings. Do not increase pressure beyond the motorcycle manufacturer’s recommendation merely to accommodate extra weight. Following the vehicle placard ensures the tire carcass flexes correctly and maintains its intended contact patch.
Step 2: Pre-Inflation Visual and Tactile Inspection
Take time to inspect the exposed tread face and sidewalls before attaching the pump chuck. Spin the wheel slowly, scanning for embedded debris, nails, cuts, or irregular carcass wear. Identifying foreign objects while the motorcycle is parked allows for controlled assessment before tire integrity is compromised on the highway.
Examine the valve stem rubber base for dry rot, cracking, or loose cores. High-speed wheel rotation imposes centrifugal forces on valve stems, turning small structural cracks into severe leaks. Ensure the stem points cleanly away from sharp rotor surfaces before threading your inflation hardware.
Step 3: Proper Hose Attachment and Baseline Reading
- Remove the protective valve cap and clear away any trapped grit from the Schrader valve opening.
- Power on the digital inflator to initialize the display and view the system status.
- Extract the flexible hose from its storage cavity and secure the supplied hose and valve connector squarely onto the tire valve stem.
- Confirm that the connector seats firmly without audible hissing to establish an airtight seal.
- Read the ambient baseline pressure shown on the digital display and evaluate how much air the tire has lost.
Remove Valve Cap -> Clean Dust -> Power On Pump -> Secure Connector -> Read Baseline Cold PSI
Step 4: Setting Parameters and Operating the Pump
Select your preferred measurement units—such as PSI or BAR—using the inflator’s controls. Adjust the target value using the setting buttons as directed in the product manual until the display matches your motorcycle placard specification. Engage the primary power switch to start the internal motor.
The inflator will run while the digital readout tracks rising pressure inside the tire. Avoid leaving the operating machine unattended on loose gravel where vibration could move it against brake discs. The integrated automatic shut-off mechanism will halt the motor once internal pressure sensors register the preselected target.
Step 5: Disconnection and Secondary Verification
Disconnect the nozzle promptly with a smooth turn or release to minimize air leakage during detachment. Listen for a brief release without extended hissing that could bleed air from your freshly filled tire. Reinstall the valve cap firmly to keep moisture and road grit away from the spring-loaded internal core pin.
During lengthy tours, cross-reference your electric pump’s internal readout with a standalone pressure gauge when precision is critical. Comparing readouts across two separate diagnostic tools validates calibration accuracy and keeps your tires running safely within specified operational limits.
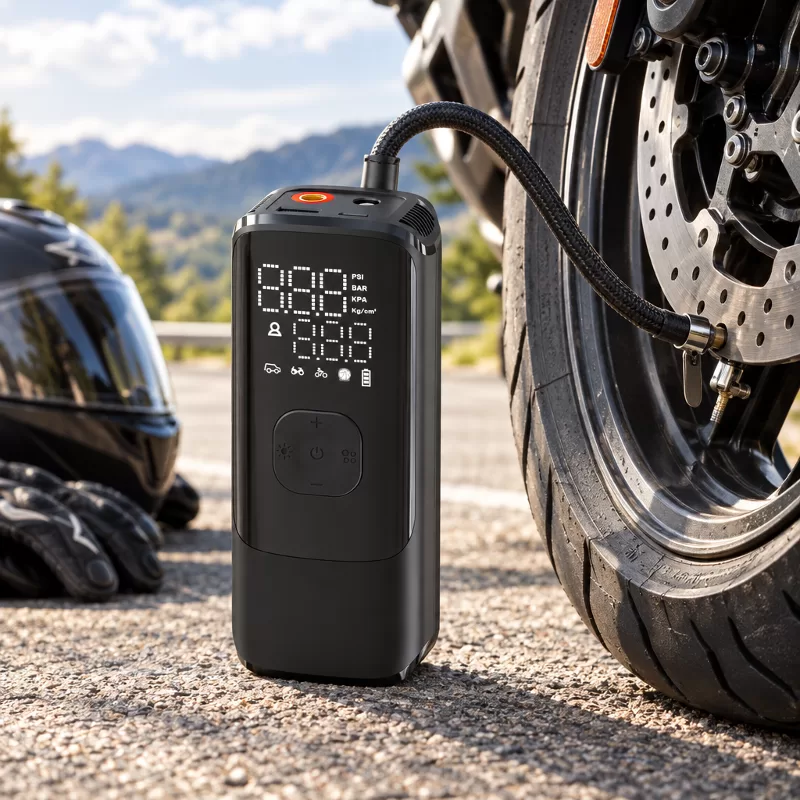
Temperature Dynamics: Cold Versus Hot Tire Pressure Management
The Physics of Heat Buildup in Motorcycle Tires
Motorcycle tire pressures fluctuate predictably in response to ambient temperatures and internal carcass friction. As the rubber rolls across road surfaces, mechanical deflection and friction generate thermal energy that warms the trapped air mass. Heating air within a fixed volume causes internal pressure to rise during normal riding.
Sustained highway travel or aggressive riding can increase tire pressure several PSI above cold baseline figures. This pressure increase is expected and factored into motorcycle chassis engineering. The higher internal pressure helps stabilize the carcass against excess flexing once tires achieve steady operating temperatures.
Safe Procedures for In-Route Checks
Never bleed air out of a warm motorcycle tire down to cold placard numbers during a midday fuel stop. Lowering hot pressure reduces the total air mass inside the tire. When the rubber cools down later, internal pressure plummets below safe limits, resulting in severe underinflation when you resume your journey.
If air must be added while the tire is hot, follow the motorcycle or tire manufacturer’s hot-pressure guidance; otherwise add air conservatively and recheck the pressure when cold. Never bleed a hot tire simply to reach the cold target. Measuring pressures when tires are cold—after being parked for several hours—remains the baseline standard for safe riding.
Cold Tire Baseline (36 PSI) -> Ridden at Speed -> Normal Hot Expansion (40 PSI) -> DO NOT BLEED AIR
Comparing Roadside Inflation Alternatives
Portable Electric Inflators Versus Hand and Foot Pumps
Manual bicycle floor pumps and hand-operated stroke pumps demand substantial physical effort on motorcycle tires. Manual pumps can require many strokes and substantial effort on larger motorcycle tires, especially when starting pressure is low. In high-altitude or hot desert environments, this physical exertion quickly leads to fatigue.
Manual pumps also lack integrated auto-shutoff capabilities and rely on mechanical analog gauges that can lose accuracy after prolonged luggage vibration. Quality cordless electric pumps compress air automatically using internal motor assemblies. Riders dial in their desired pressure, start the machine, and conserve energy for the route ahead.
Portable Electric Inflators Versus Compressed CO₂ Kits
Threaded CO₂ canisters provide rapid, compact air injection prized by off-road riders where rapid deployment is necessary. However, CO₂ cartridges are single-use and make fine pressure adjustment difficult. After using one, check the pressure with an accurate gauge and replace the gas with normal air when practical.
Carrying multiple single-use steel bulbs also adds waste and leaves riders stranded if repeated punctures exhaust their supply. An electric pump draws ambient air continuously, providing multiple inflation cycles across multi-week journeys without needing disposable gas refills.
| Inflation Method | Air Supply Limits | Pressure Control | Comparative Form Factor | Physical Exertion |
|---|---|---|---|---|
| Cordless Electric Pump | Recharges via Type-C / Multi-use | Automated Digital Auto-Stop | Compact cylindrical body (e.g., LP1 is 157 mm / 438 g) | Zero Manual Effort |
| Manual Hand Pump | Unlimited (Piston Stroke) | Manual Eyeball / Analog Dial | Extended manual barrel requiring physical stroke length | High Exertion / Fatigue |
| CO₂ Canister Kit | 2 to 3 Single-Use Bulbs | Manual Guesswork / No Auto-Stop | Ultra-compact pocket pouch with disposable cartridges | Instant Discharge / Cold Canister |
| 12V Hardwired Pump | Unlimited (Vehicle Electrical) | Varied Digital or Analog | Bulkier chassis with integrated power leads | Zero Manual Effort |
Cordless Lithium Pumps Versus 12V Hardwired Mini Compressors
Tethered 12V compressors run off the motorcycle’s battery via direct terminal connections or accessory power sockets. While tethered units provide continuous power without recharge pauses, their power cables can catch on hot exhausts or snag around chassis hardware. Some motorcycle accessory circuits can also trip if compressor motors draw high startup current.
Cordless inflators avoid the external power cable and motorcycle accessory-circuit limitations that can affect some 12V compressors. You can carry the unit around both sides of the motorcycle, adjust pressure on another motorcycle, or inflate compatible sports and swimming-ring accessories. When packed into luggage, a cordless inflator remains clean, compact, and ready for deployment.
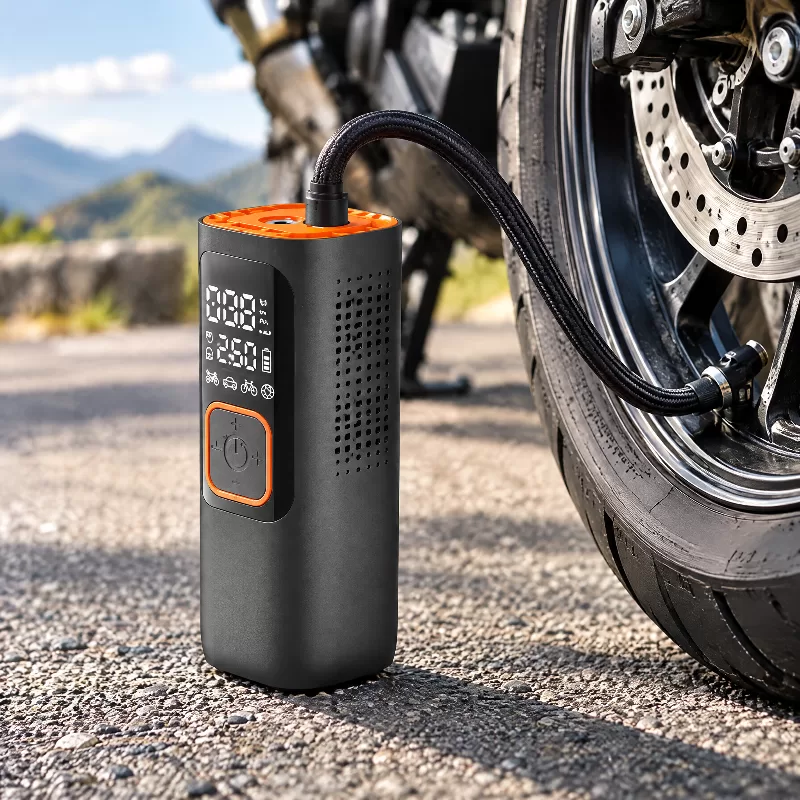
Critical Mistakes to Avoid When Using a Portable Inflator
Using Sidewall Max PSI as the Inflation Goal
A frequent error among riders is reading the maximum pressure stamped into the tire sidewall rubber and setting the inflator accordingly. The sidewall marking identifies the tire’s pressure associated with its maximum rated load and must not be exceeded. It is not automatically the motorcycle’s normal target; follow the motorcycle manufacturer’s recommended cold pressure.
Overinflation alters the contact patch, reducing grip during braking and cornering. Ride quality turns harsh as the stiff tire transfers road irregularities directly through the suspension to the handlebars. Always set pressures according to your motorcycle frame placard recommendations rather than the tire sidewall molding.
- Altered Contact Patch: Overinflation crowns the tread profile, reducing the rubber contact area available during emergency stops.
- Increased Impact Harshness: High internal pressure leaves the casing unyielding, increasing the risk of rim cracks and wheel damage on sharp potholes.
- Accelerated Center Wear: Overinflated tires wear prematurely along the tread center, degrading handling agility over time.
Attempting to Inflate Seriously Damaged or Unseated Tires
An electric tire inflator is an air supply tool, not a physical tire patch. Attempting to pump air into a tire with an unsealed puncture, torn sidewall cords, or a compromised bead is ineffective and can overheat the pump motor as air vents immediately through the opening.
If the motorcycle has a tubeless tire and the puncture is within the repairable tread area, follow the repair-kit instructions and do not remove the object until you are ready to perform the repair. Tube-type or sidewall damage requires a different response and professional service. Once the puncture is properly plugged, use your inflator to bring the tire back to recommended running pressure.
Assess Damage -> Prepare Kit -> Remove Object & Insert Plug -> Inflate to Spec -> Seek Professional Inspection
Ignoring Inflator Duty Cycle and Thermal Limits
Small electric motors generate friction heat quickly inside compact, enclosed pump bodies. While the LP1 delivers 20 to 30 minutes of runtime, running any small compressor continuously against high backpressure generates thermal stress. Heat transfers outward into the flexible hose coupling and cylinder components.
Give your portable inflator brief pauses between consecutive tire inflations to allow thermal energy to dissipate. Letting the cylinder cool for a few minutes preserves internal valve seals and lithium battery health. Managing operating cycles sensibly helps ensure your inflator provides dependable service across years of riding.
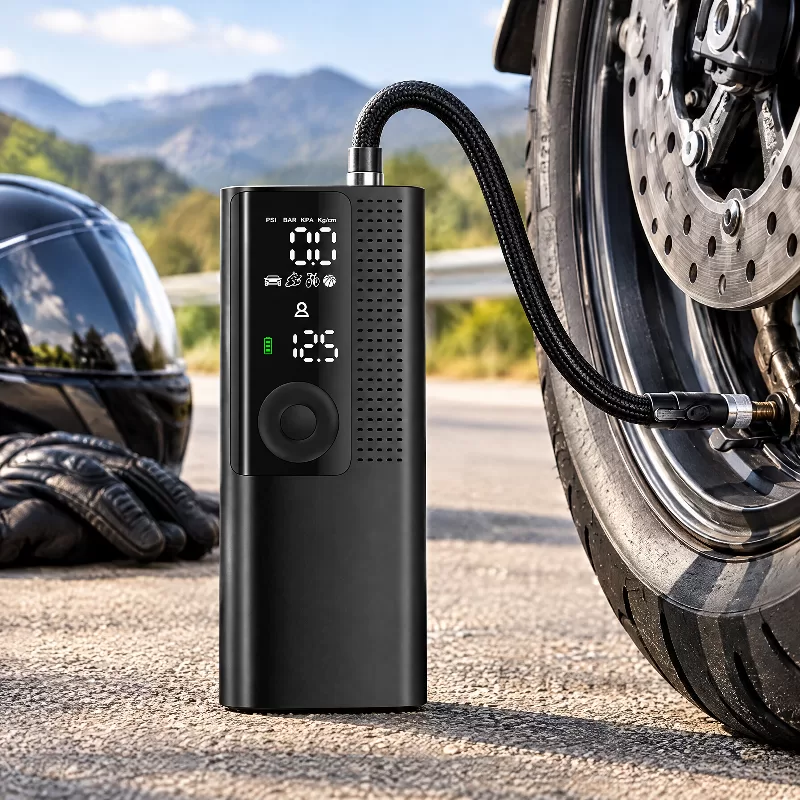
Essential Pre-Trip Tire and Tool Checklist
Pre-Departure Inspection Protocol
- Verify Baseline Pressures: Check both front and rear wheels with your digital inflator while cold, adjusting values to match your luggage weight.
- Scan Carcass Condition: Inspect tread channels with a flashlight, checking wear indicators to ensure sufficient legal depth for your journey.
- Confirm Battery Level: Power up your cordless pump to check that the battery display indicates a full charge before departure.
- Pack Charging Accessories: Store a durable Type-C USB charging cable alongside the inflator to recharge from motorcycle accessory ports on the road.
- Inspect Hardware Connectors: Confirm that your hose threads turn smoothly and that backup adapters for sports valves or Presta cores are safely stored inside the kit.
Emergency Roadside Action Plan
Pull your motorcycle entirely off the active travel lane onto a flat, solid asphalt or concrete shoulder. Switch on your hazard lights and place the motorcycle securely on its centerstand or sidestand. Keep your head up and stay alert to passing traffic before kneeling beside the machine to inspect the tire.
If the motorcycle has a tubeless tire and the puncture is within the repairable tread area, follow the repair-kit instructions and do not remove the object until you are ready to perform the repair. After a temporary repair, check pressure frequently, ride only as permitted by the repair and tire manufacturers, and obtain professional inspection or replacement as soon as practical.
Frequently Asked Questions (FAQs)
What PSI should I set on a portable motorcycle pump?
Motorcycle pressures vary by model and load. Set the pump to the cold front and rear pressures listed on the motorcycle placard or in the owner’s manual. Never use the maximum PSI marked on the tire sidewall, as that figure reflects structural load limits rather than operational suspension tuning.
Can a 150 PSI pump handle large touring motorcycle tires?
The LP1 is rated for up to 150 PSI, well above the operating pressure of many road motorcycles; this rating alone does not predict inflation speed or duty-cycle performance. Suitability depends on overall airflow, cylinder volume, and battery runtime rather than peak pressure limits alone.
Can I use a portable motorcycle pump on a warm tire during a ride?
You can use a portable pump to check pressure or add air to a leaking tire while traveling, but never bleed a hot tire simply to reach the cold target. Tires naturally gain pressure from road heat. Bleeding hot air results in severe underinflation once the carcass cools down.
Can a portable inflator reseat a tubeless motorcycle tire bead?
The LP1 is intended for controlled tire inflation, not bead seating. Do not attempt to reseat an unseated bead with it; use manufacturer-approved high-volume equipment and follow proper tire-service safety procedures. Compact pumps are engineered for valve-controlled top-ups rather than high-volume bead seating.
How often should the inflator’s internal battery be recharged?
Follow the LP1 manual’s storage and charging instructions, and verify battery charge before embarking on a trip. Rechargeable lithium batteries experience gradual self-discharge over time. Checking the battery before every major tour ensures full operating runtime whenever roadside punctures occur.
Do I still need to carry a separate tire pressure gauge?
While quality inflators incorporate electronic pressure sensors, carrying an inexpensive standalone pencil or digital gauge offers helpful redundancy on remote routes. Cross-checking pressures across two separate gauges confirms calibration accuracy and provides backup peace of mind.
Can I run the inflator directly from my motorcycle’s 12V USB port while pumping?
The LP1 charges its internal battery through a 10 W Type-C input, which is designed for battery replenishing rather than direct pass-through motor operation. For best results, allow the internal battery to charge between rides, and operate the unit cordlessly when adjusting tire pressures.
Conclusion and Buying Decision
Maintaining correct tire pressure is essential for motorcycle stability, cornering confidence, and tread life. Riding on uncalibrated tires compromises braking performance, accelerates center tread wear, and increases puncture risks along highway expansion joints. Investing in a dedicated portable motorcycle pump gives you total control over tire maintenance wherever the road takes you.
When evaluating pumps, prioritize accurate digital displays, dependable automatic shutoff, flexible hose routing, and compact exterior dimensions. The LP1 combines a 150 PSI pressure ceiling, 15 to 18 L/min airflow, integrated hose storage, and a 438 g form factor into an efficient travel companion. Equipping your motorcycle kit with a dedicated portable motorcycle pump ensures dependable pneumatic control across every mile of open road.
-
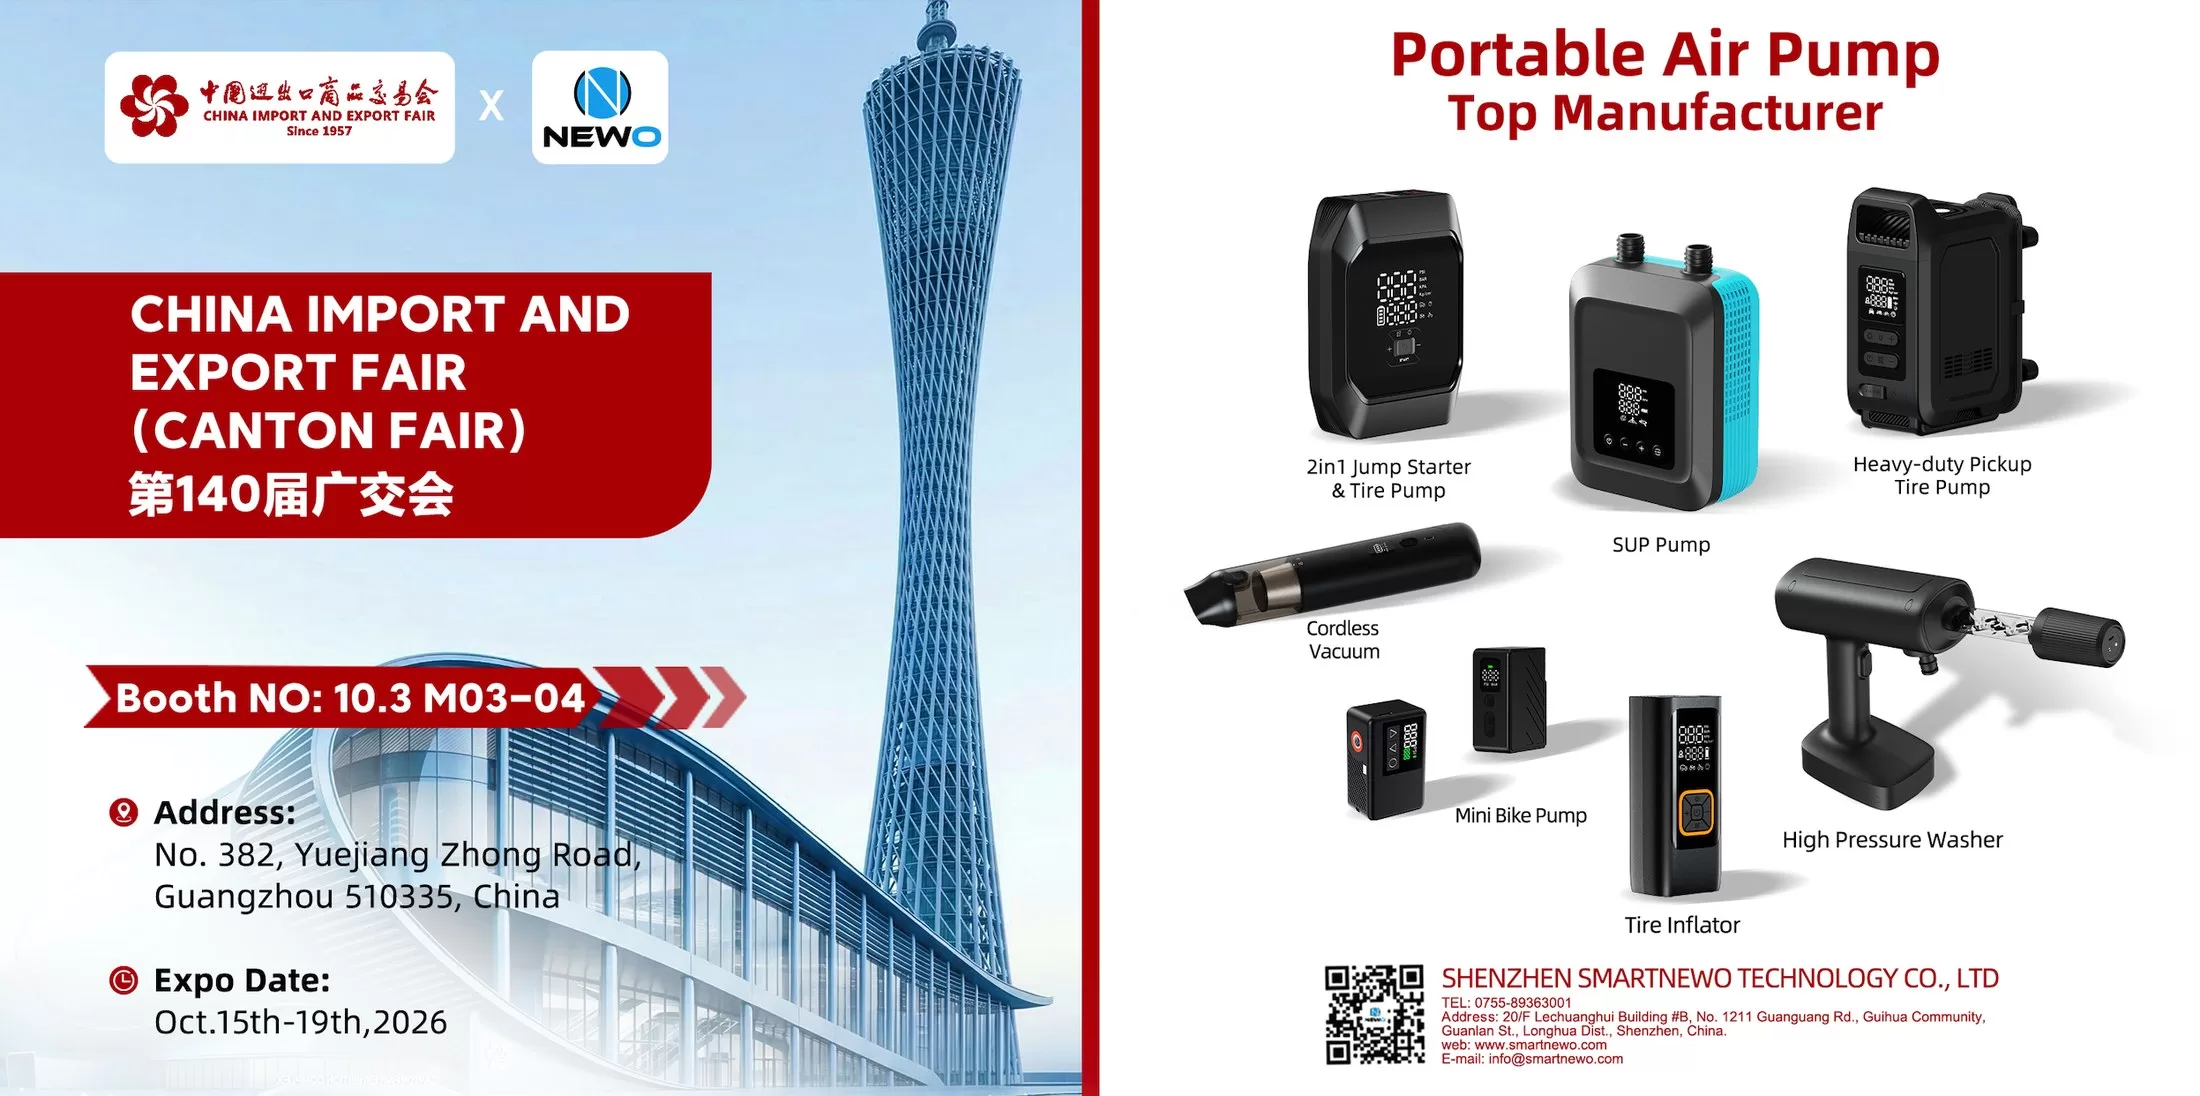
Meet NEWO at the 140th Canton Fair: Visit Booth 10.3 M03–04
Meet NEWO at the 140th Canton Fair in Guangzhou, October 15–19, 2026. Visit Booth 10.3 M03–04 to explore portable air pumps and discuss OEM, ODM and distribution opportunities.... -

As Shenzhen Welcomes the World for APEC 2026, NEWO Welcomes You to Our Factory
As Shenzhen prepares for APEC 2026, NEWO welcomes international buyers and partners to visit our factory, meet our team and explore future cooperation.... -
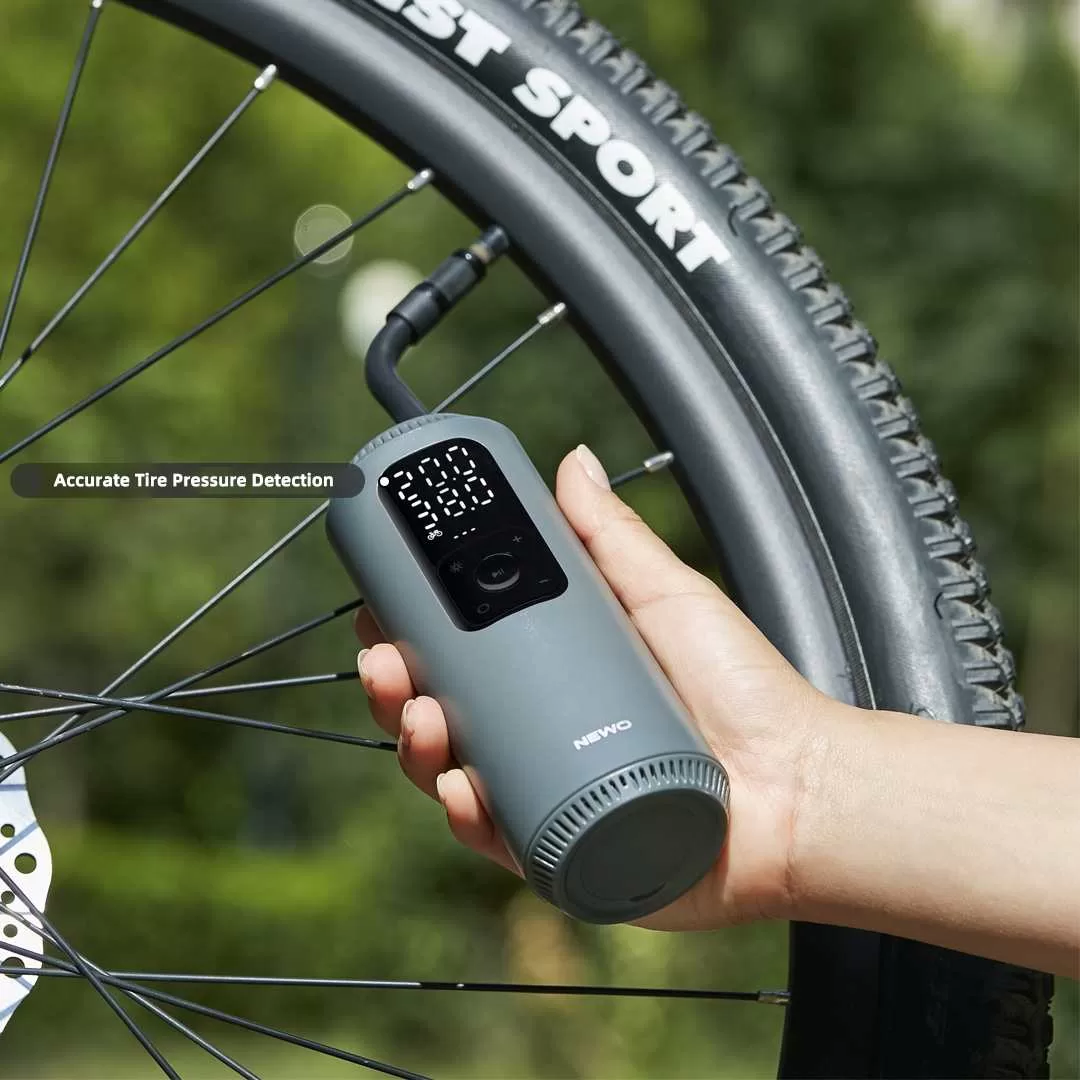
Leading the Way in Product Innovation and Excellence
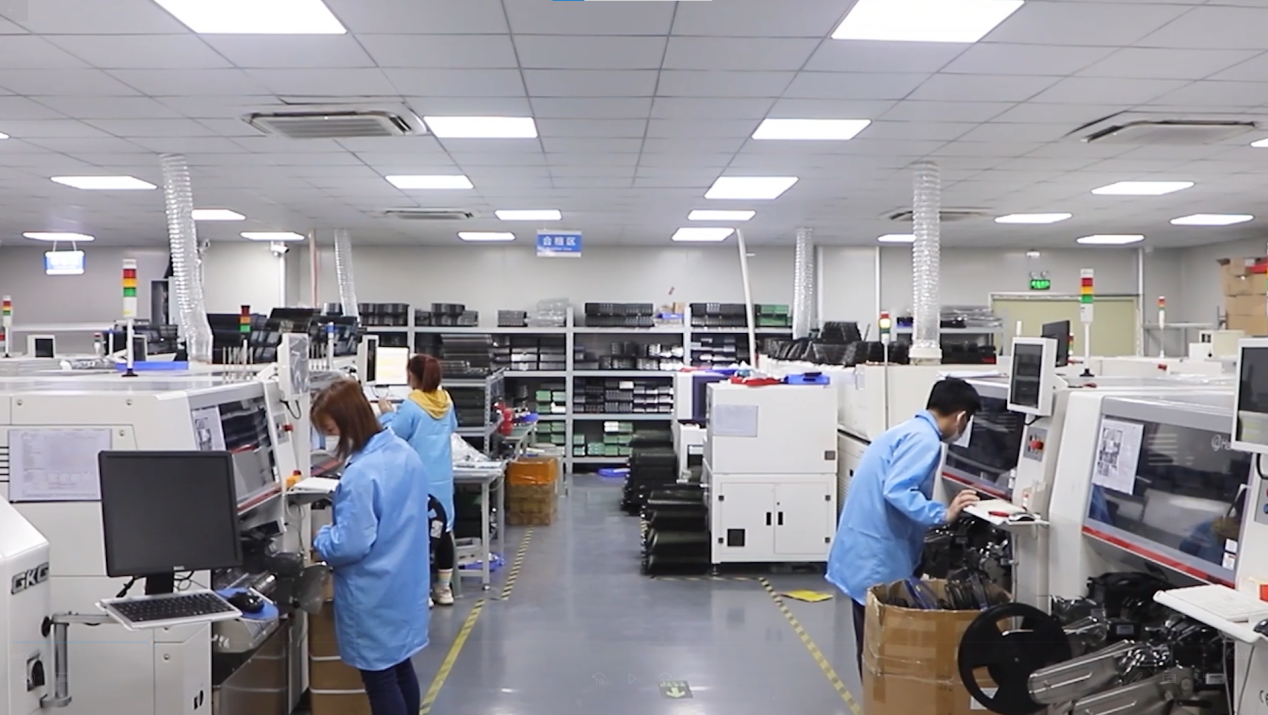
Smartnewo exemplifies professionalism in product innovation and manufacturing. Their collaboration with Xiaomi Youpin on the G01 crowdfunding project highlights their expertise in creating compact, powerful inflatable pumps. Rigorous engineering, meticulous production processes, and advanced quality assurance underscore their commitment to excellence. The success of the G01 project, with significant market... -
Essential Qualities of an Excellent Supplier
In today's competitive market, finding a reliable supplier is crucial for business success. Based on insights from Smartnewo and broader internet research, here are key qualities an excellent supplier must possess:... -
NW06 Tire Inflator: Compact Power for Quick Inflation
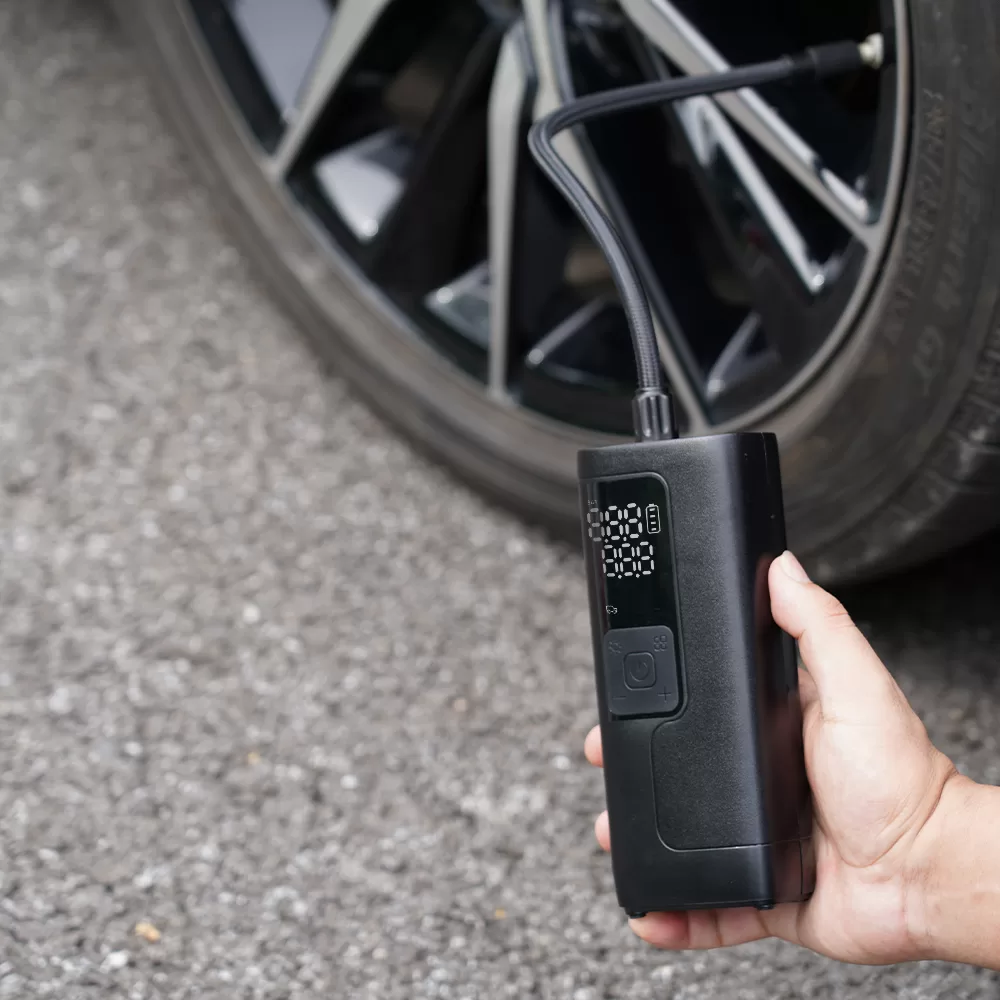
Summary The NW06 Tire Inflator delivers quick and efficient tire inflation with a powerful 35L/min airflow. It features a user-friendly LCD screen for real-time pressure monitoring, dual power options with a built-in 6000mAh battery, and multiple nozzle attachments for versatile use. Its compact design and integrated LED light ensure convenience and... -
Unleash the Power of Portability: The SmartNewo Jump Starter with Air Compressor KF03
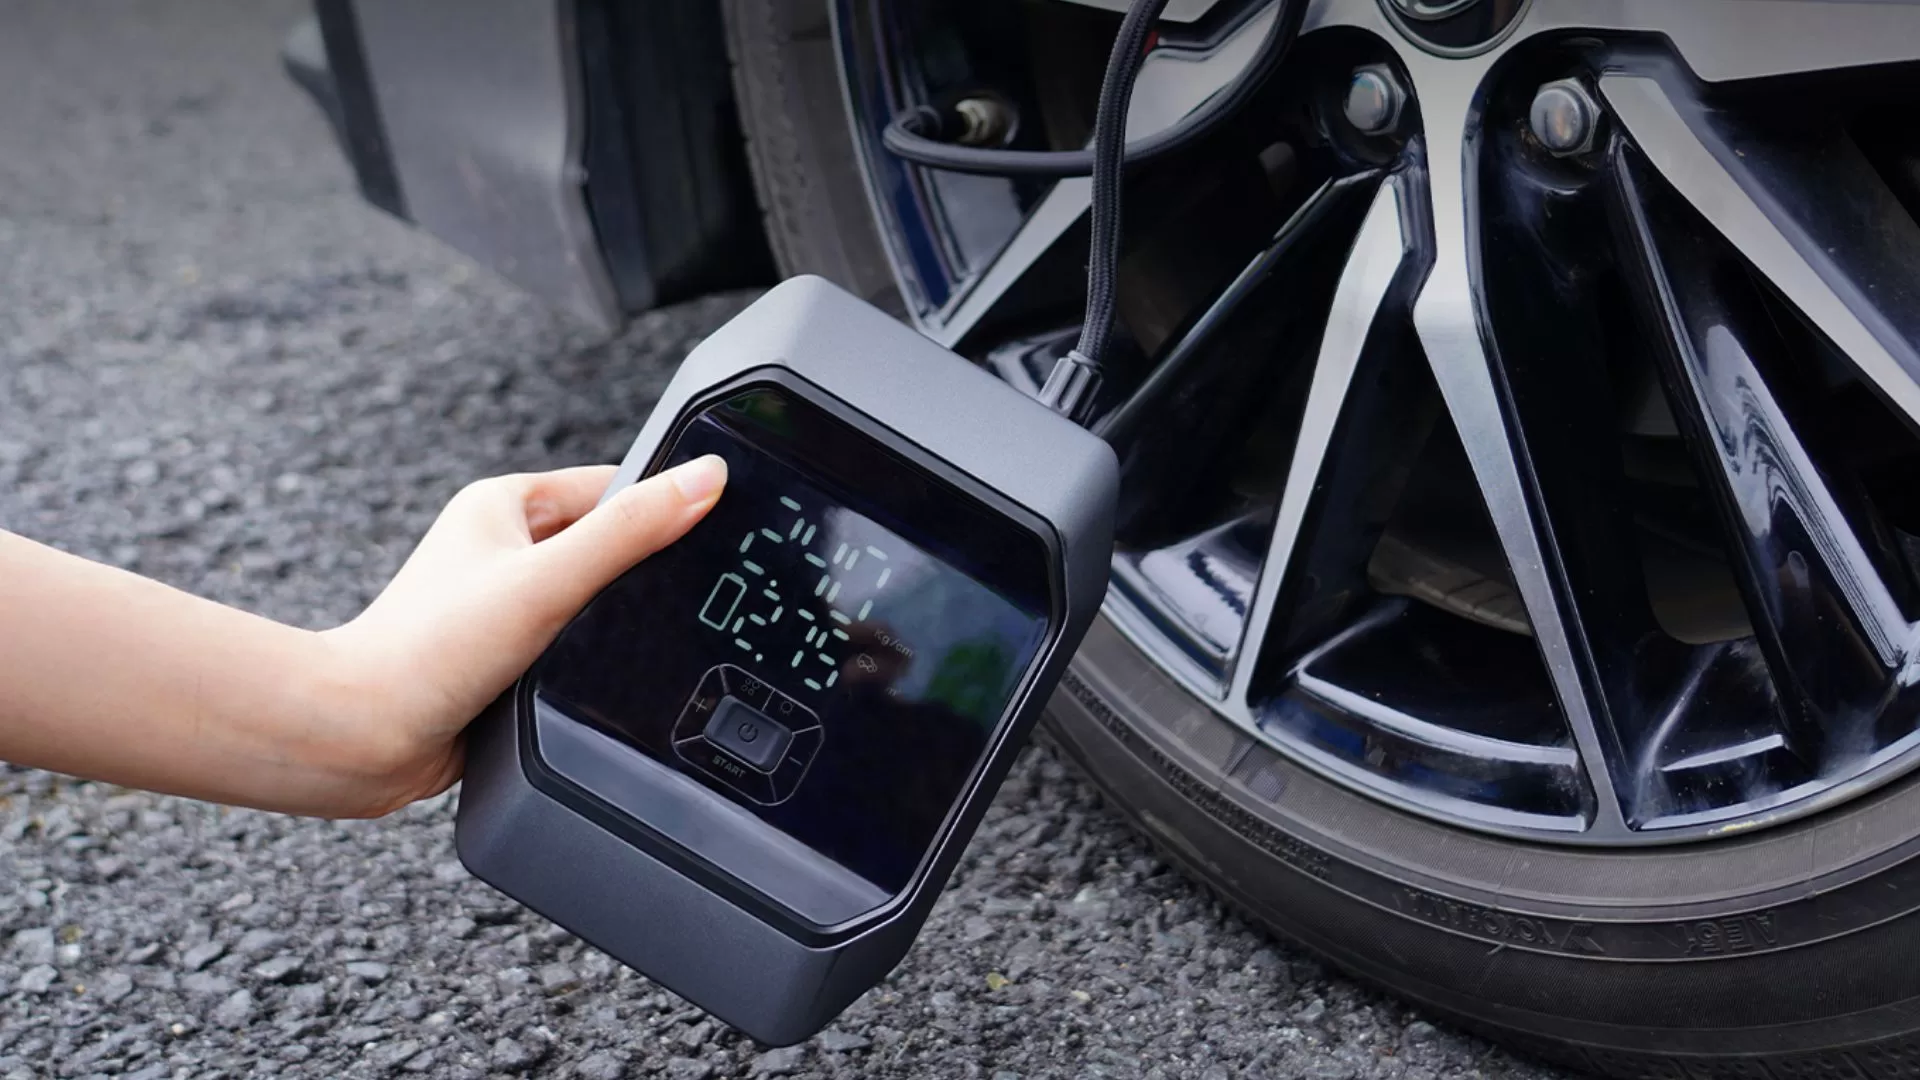
This guide will walk you through the steps to effectively use a portable tire inflator, helping you stay prepared and safe on the road.... -
Newo Attends The 2024 Consumer Electronics Show (CES)
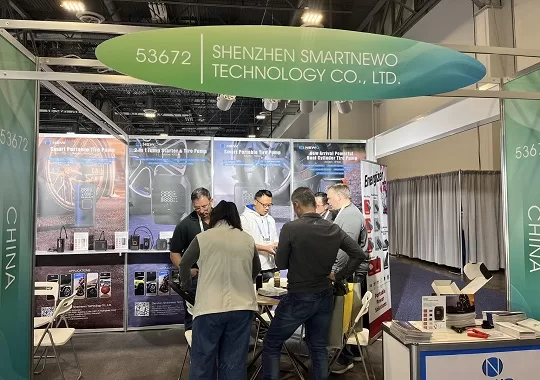
Smartnewo booth is located at 53672, Halls A-D, Level 2, Venetian Expo, Las Vegas Convention Center (LVCC). ... -
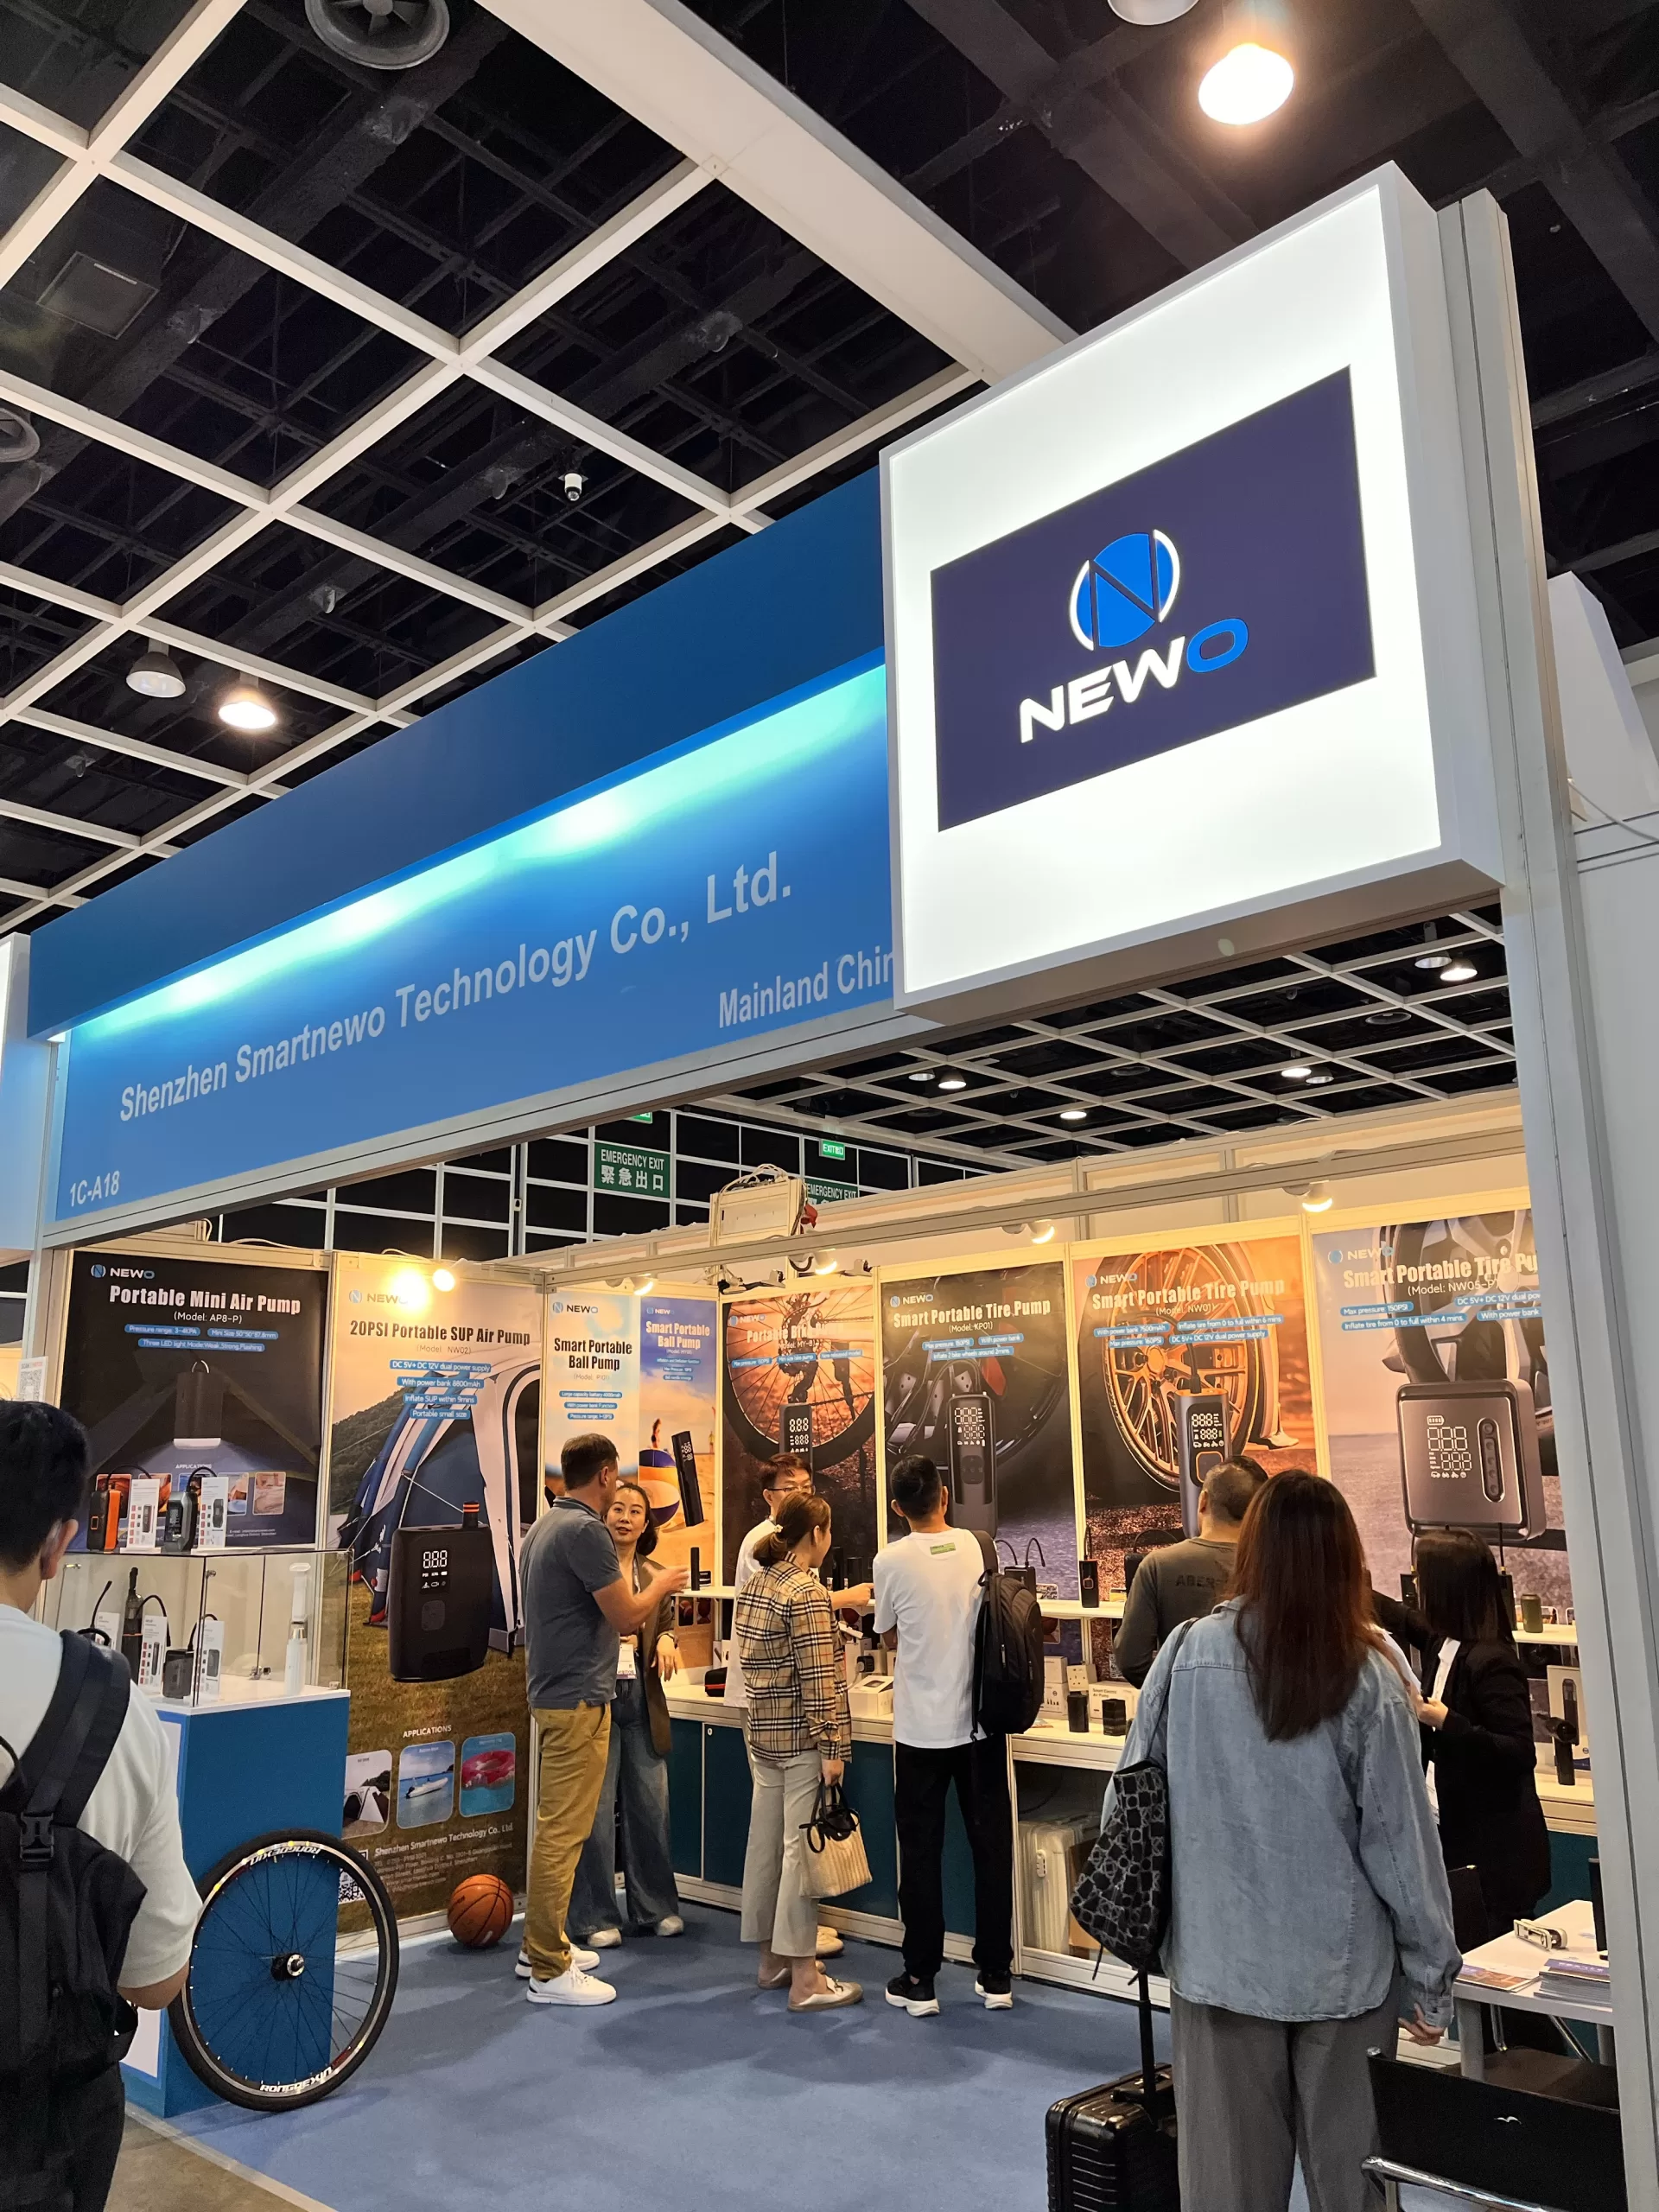
Smartnewo’s Dual-Cylinder Air Pump Rocks the Hong Kong Autumn Electronics Fair!
Smartnewo’s Dual-Cylinder Air Pump Rocks the Hong Kong Autumn Electronics Fair!... -
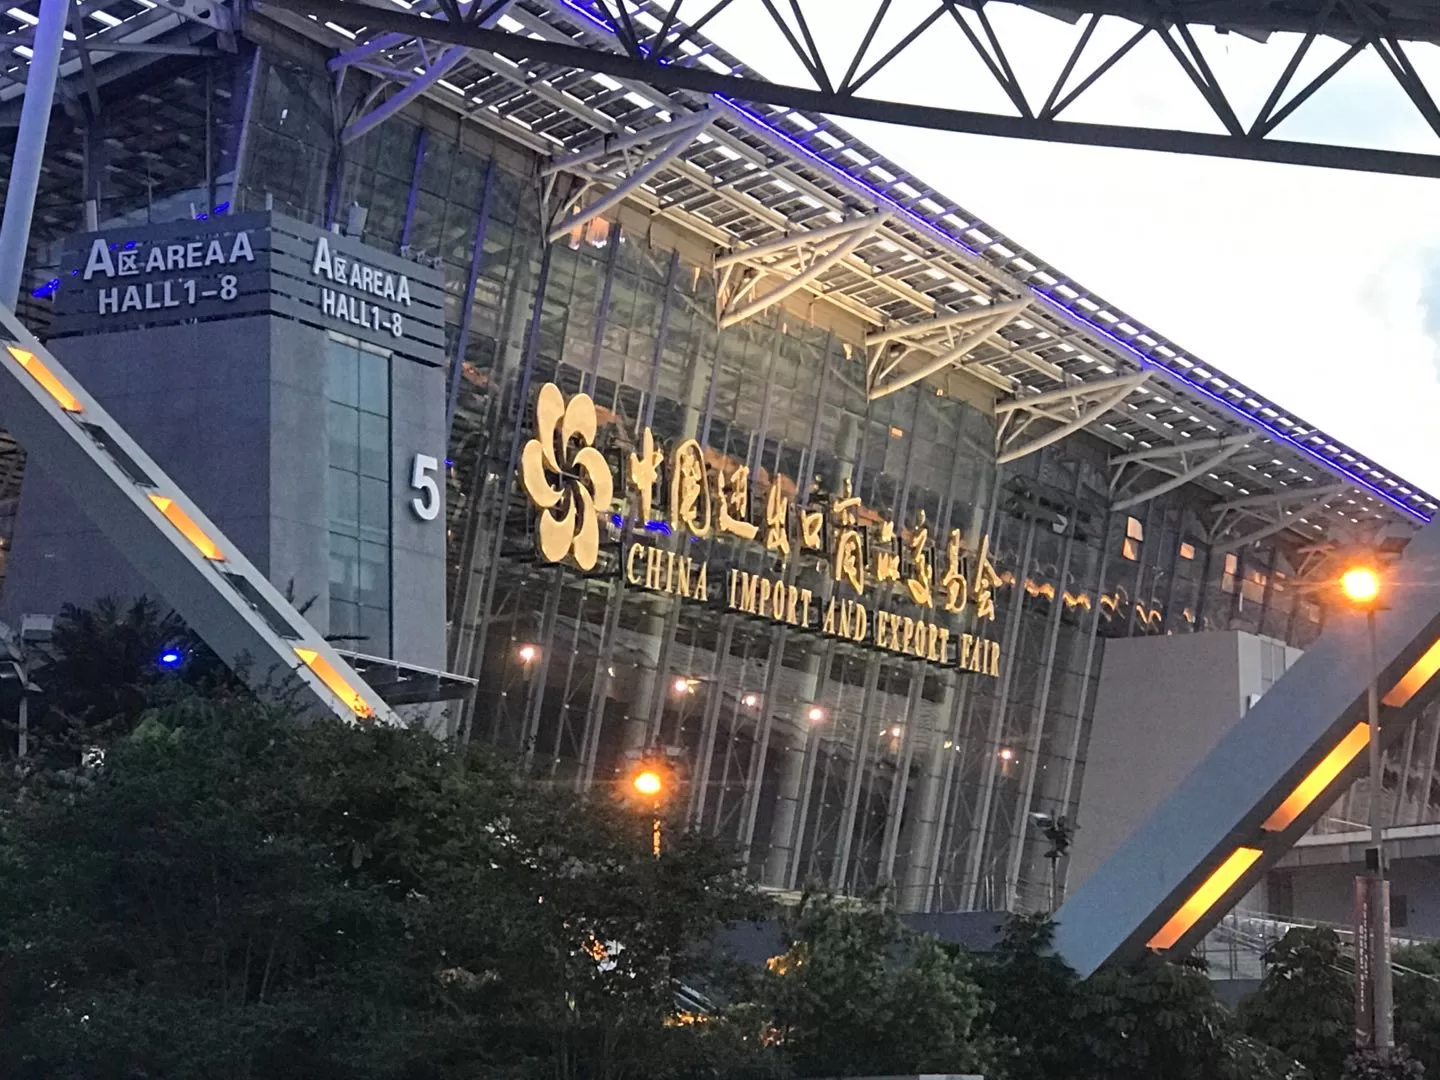
Meet at the Canton Fair! Smartnewo brings dual-cylinder air pumps, making your inflation experience faster and more stable!
NEWO has went deep communication and negotiation with customers from all over the world on booth.... -
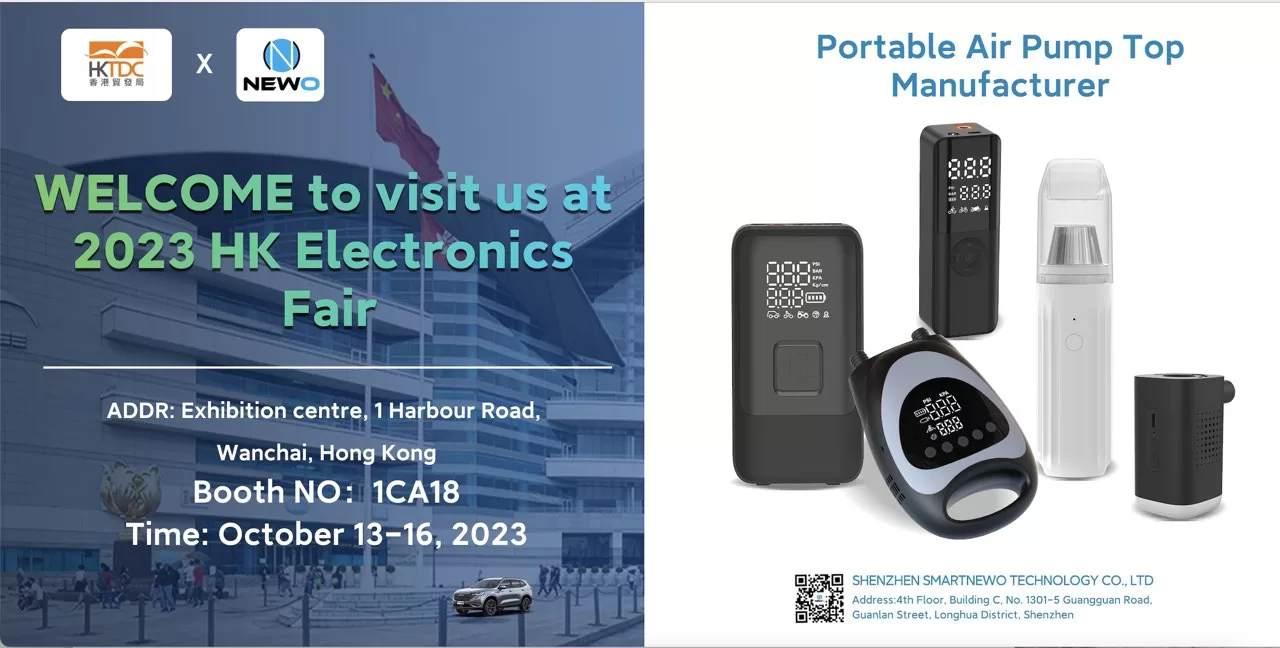
“Hong Kong Autumn Electronics Fair – 1CA18 (October 13th to 16th): Smartnewo invites you to visit our booth!
Hong Kong Autumn Electronics Fair...
-
What to Check Before Ordering Custom Electric Bike Pumps
Plan custom electric bike pumps with a clear requirements freeze for valves, TPU tubes, portability, repeated top-ups, charging, and model-specific documents.... -

OEM vs ODM Air Pumps: Which Manufacturing Model Fits Your Brand?
Compare OEM and ODM air pump projects by design responsibility, change approval, development scope, and written ownership terms before choosing your route.... -

How to Choose a Reliable Tire Inflator Manufacturer in China
Choose a tire inflator manufacturer in China with a focused RFQ, supplier evidence, configuration checks, and clear sample-to-pilot decisions for your brand.... -
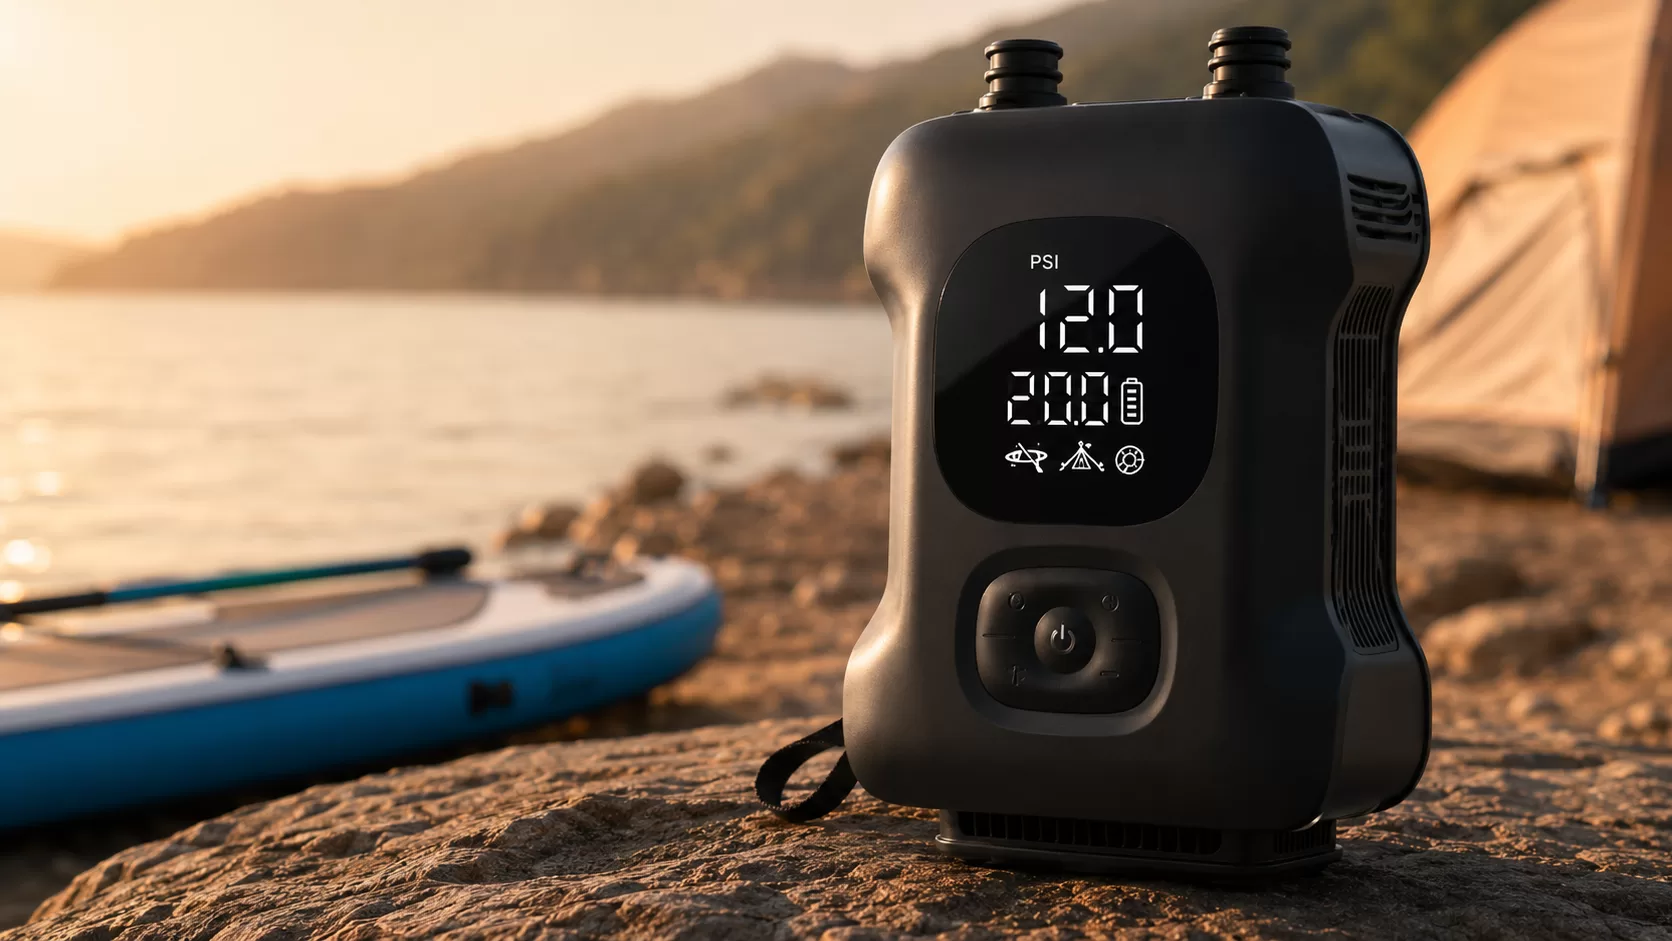
Rechargeable Electric SUP Pump for Paddle Boards: Faster Inflation for SUPs, Kayaks and Inflatable Tents
The BL10-C Portable Electric Bike Tire Inflator is a compact and lightweight mini electric bike pump designed for modern cyclists. With up to 120 PSI pressure, a digital LED display, preset pressure control, automatic shut-off, USB-C charging, and multiple valve adapters, BL10-C offers a convenient inflation solution for road bikes,... -
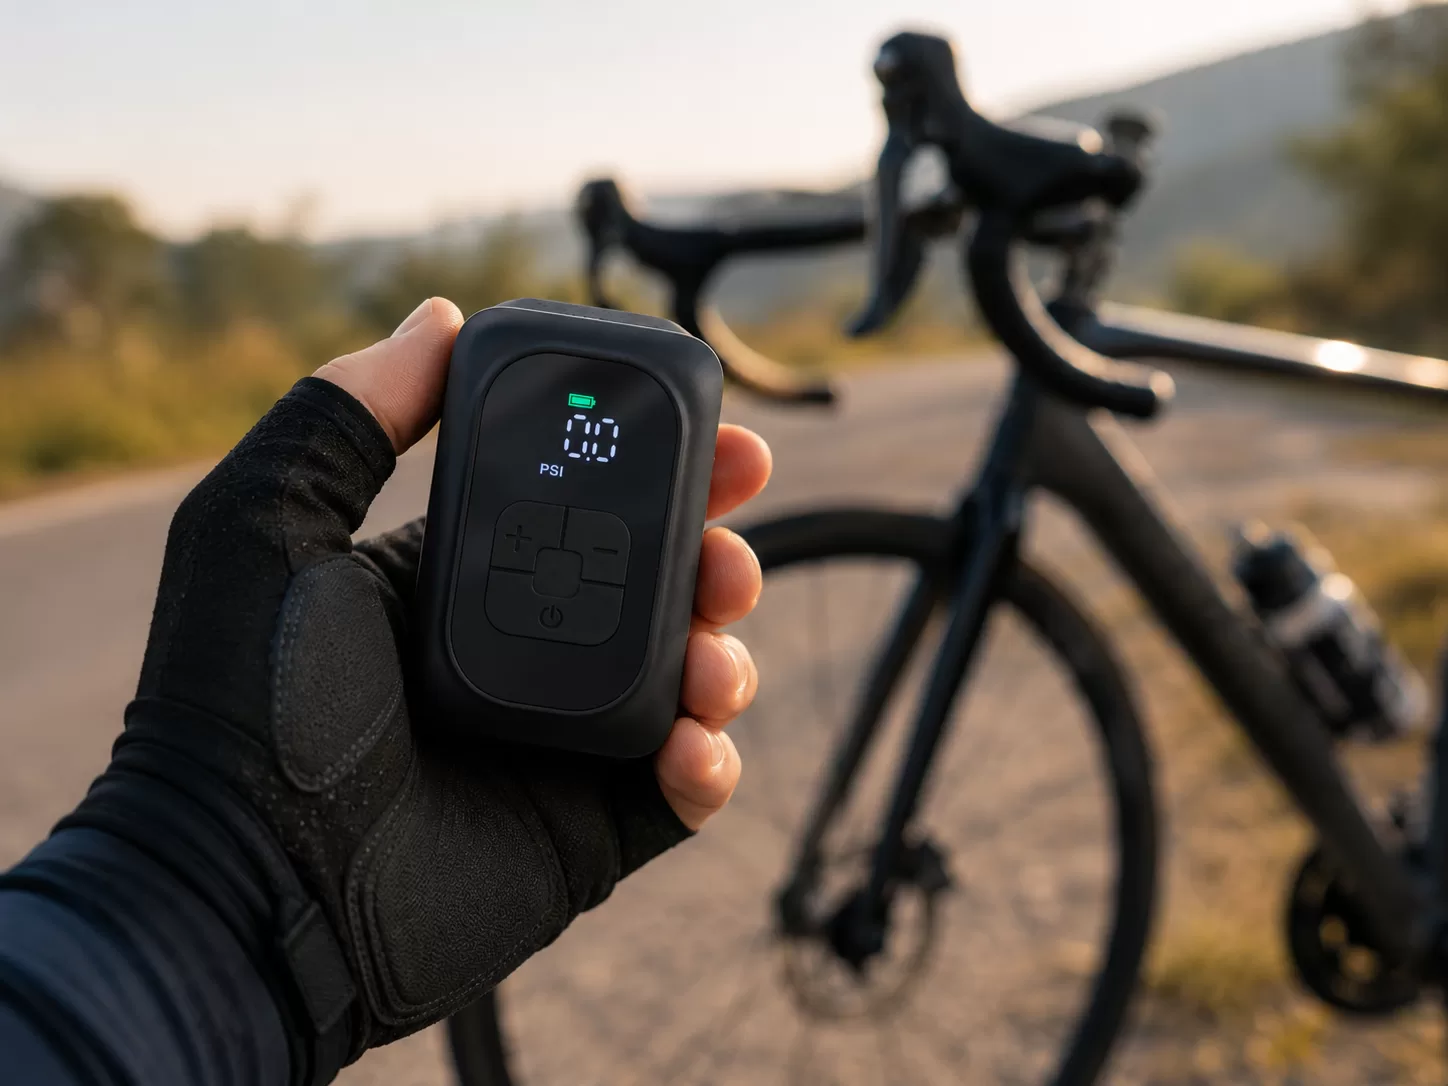
Are Electric Bike Pumps Worth It in 2026? Electric Pump vs CO₂ vs Mini Hand Pump
Discover whether electric bike pumps are worth it in 2026. This guide compares electric bike pumps, CO₂ inflators, and mini hand pumps for road cycling, gravel riding, commuting, and long-distance rides. Learn the pros, limitations, best use cases, and key features to look for before choosing the right portable tire... -
BL10-C Portable Electric Bike Tire Inflator: Small Size, Reliable Power for Every Ride
The BL10-C Portable Electric Bike Tire Inflator is a compact and lightweight mini electric bike pump designed for modern cyclists. With up to 120 PSI pressure, a digital LED display, preset pressure control, automatic shut-off, USB-C charging, and multiple valve adapters, BL10-C offers a convenient inflation solution for road bikes,... -
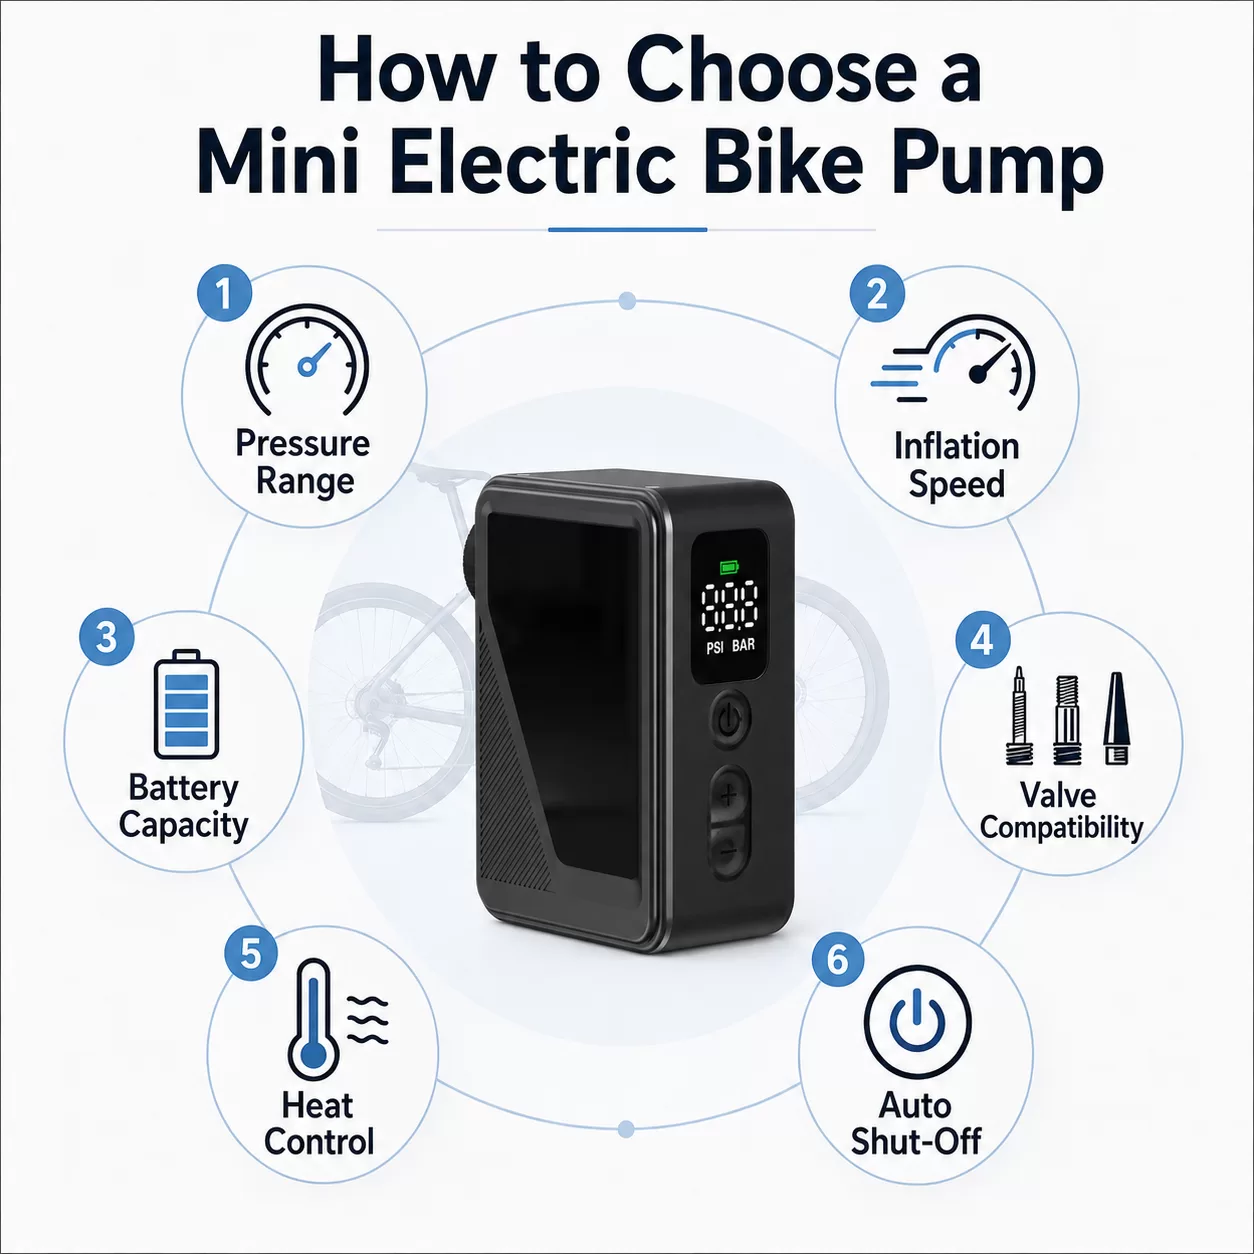
Why Mini Electric Bike Pumps Are Becoming Essential for Modern Cycling
Discover why mini electric bike pumps are becoming essential for modern cyclists. Learn how portable electric bike pumps improve tire pressure management, riding safety, and convenience.... -
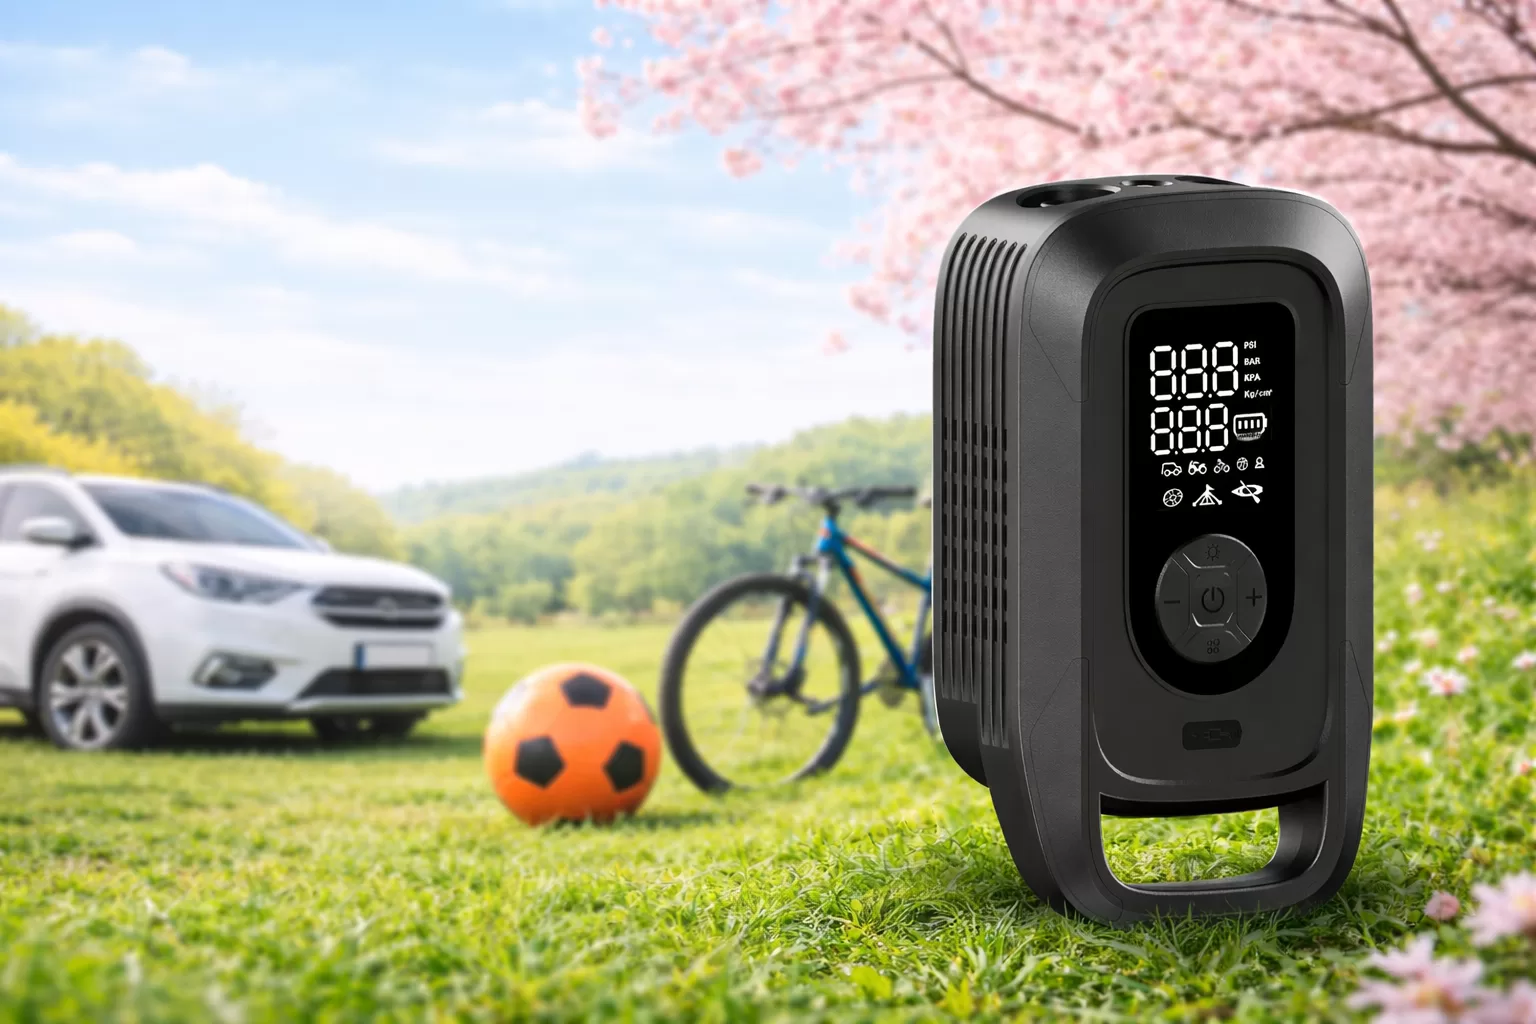
The Ultimate Smart Solution for Easy Outdoor Adventures in 2026
Discover how a spring travel air pump simplifies outdoor trips with fast inflation, smart features, and powerful performance—perfect for every adventure.... -
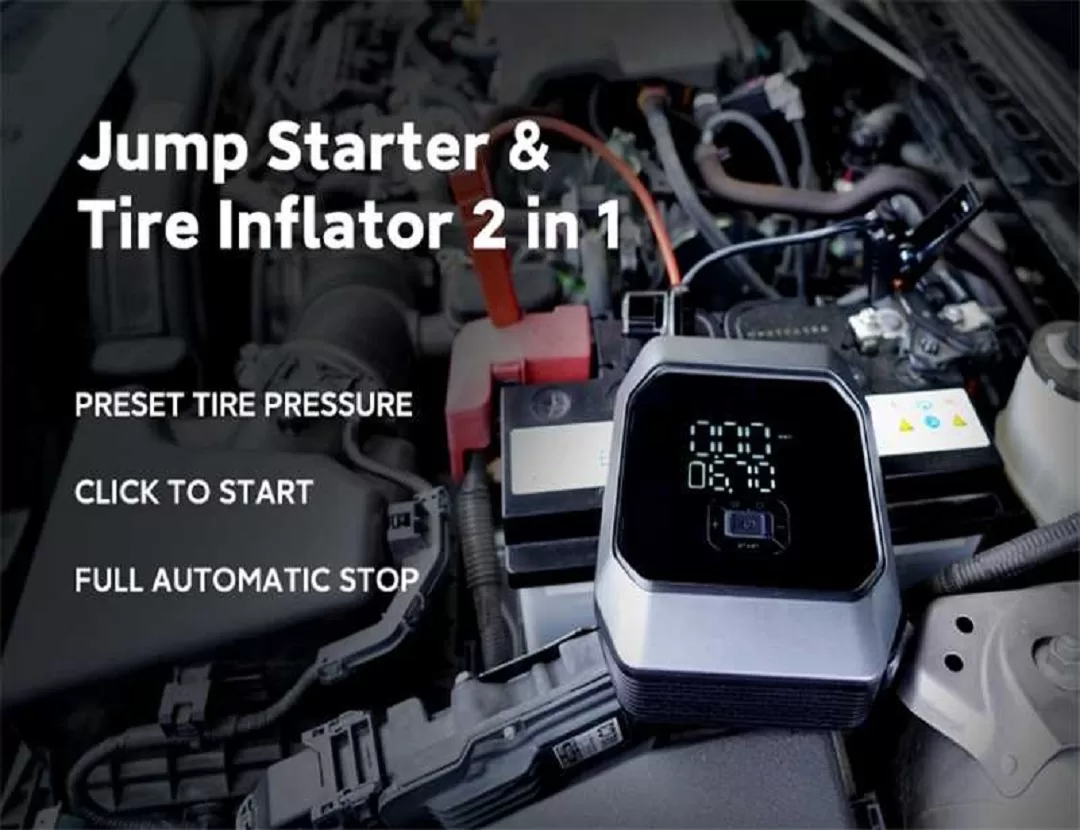
Powerful 5-in-1 Portable Car Tire Inflator and Jump Starter: The Ultimate Emergency Tool for Every Driver
Why Every Driver Needs a Portable Car Tire Inflator and Jump Starter Modern drivers face many unexpected situations on the road. A flat tire, low tire pressure, or a dead car battery can happen at the worst possible time. That’s why having a portable car tire inflator and jump starter is... -
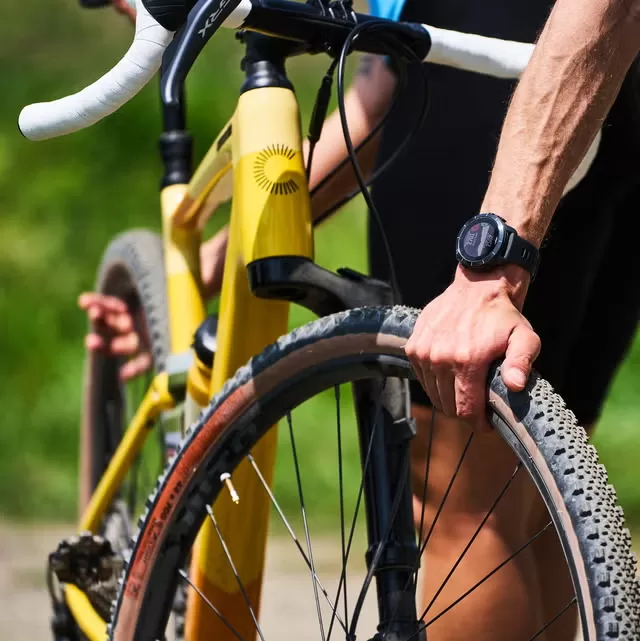
7 Real Cycling Scenarios That Show Why Every Rider Should Carry a Mini Bike Pump
Cycling is one of the most freeing activities you can enjoy. Whether you’re commuting to work, riding through city streets, or exploring quiet countryside roads, a bike ride can instantly improve your day. But there’s one small problem that almost every cyclist eventually faces: Low tire pressure. It might happen...
-
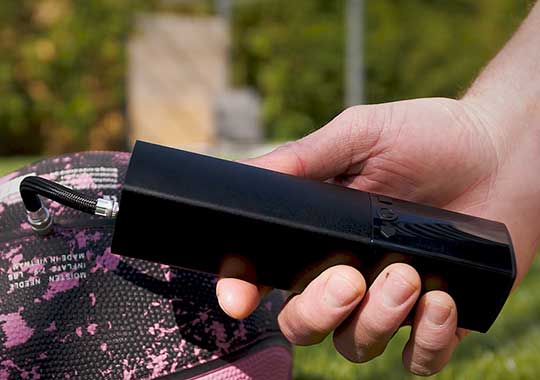
How Is a Football Properly Inflated?
The correct inflation of a football - with not too much and not too little air - is a hotly debated topic among footballers.... -
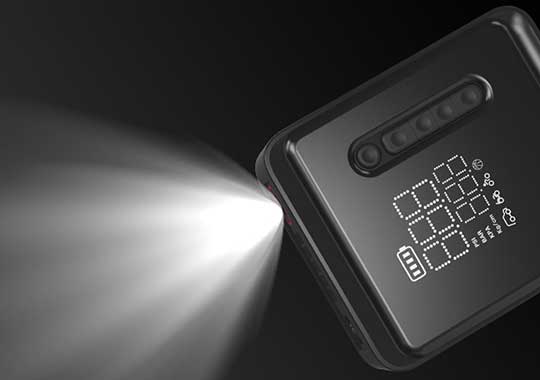
Application Scenarios of Car Inflator Pump
Often long-distance business trips or play car owners because the road may be more remote areas, in this case if you encounter a tire leak....